


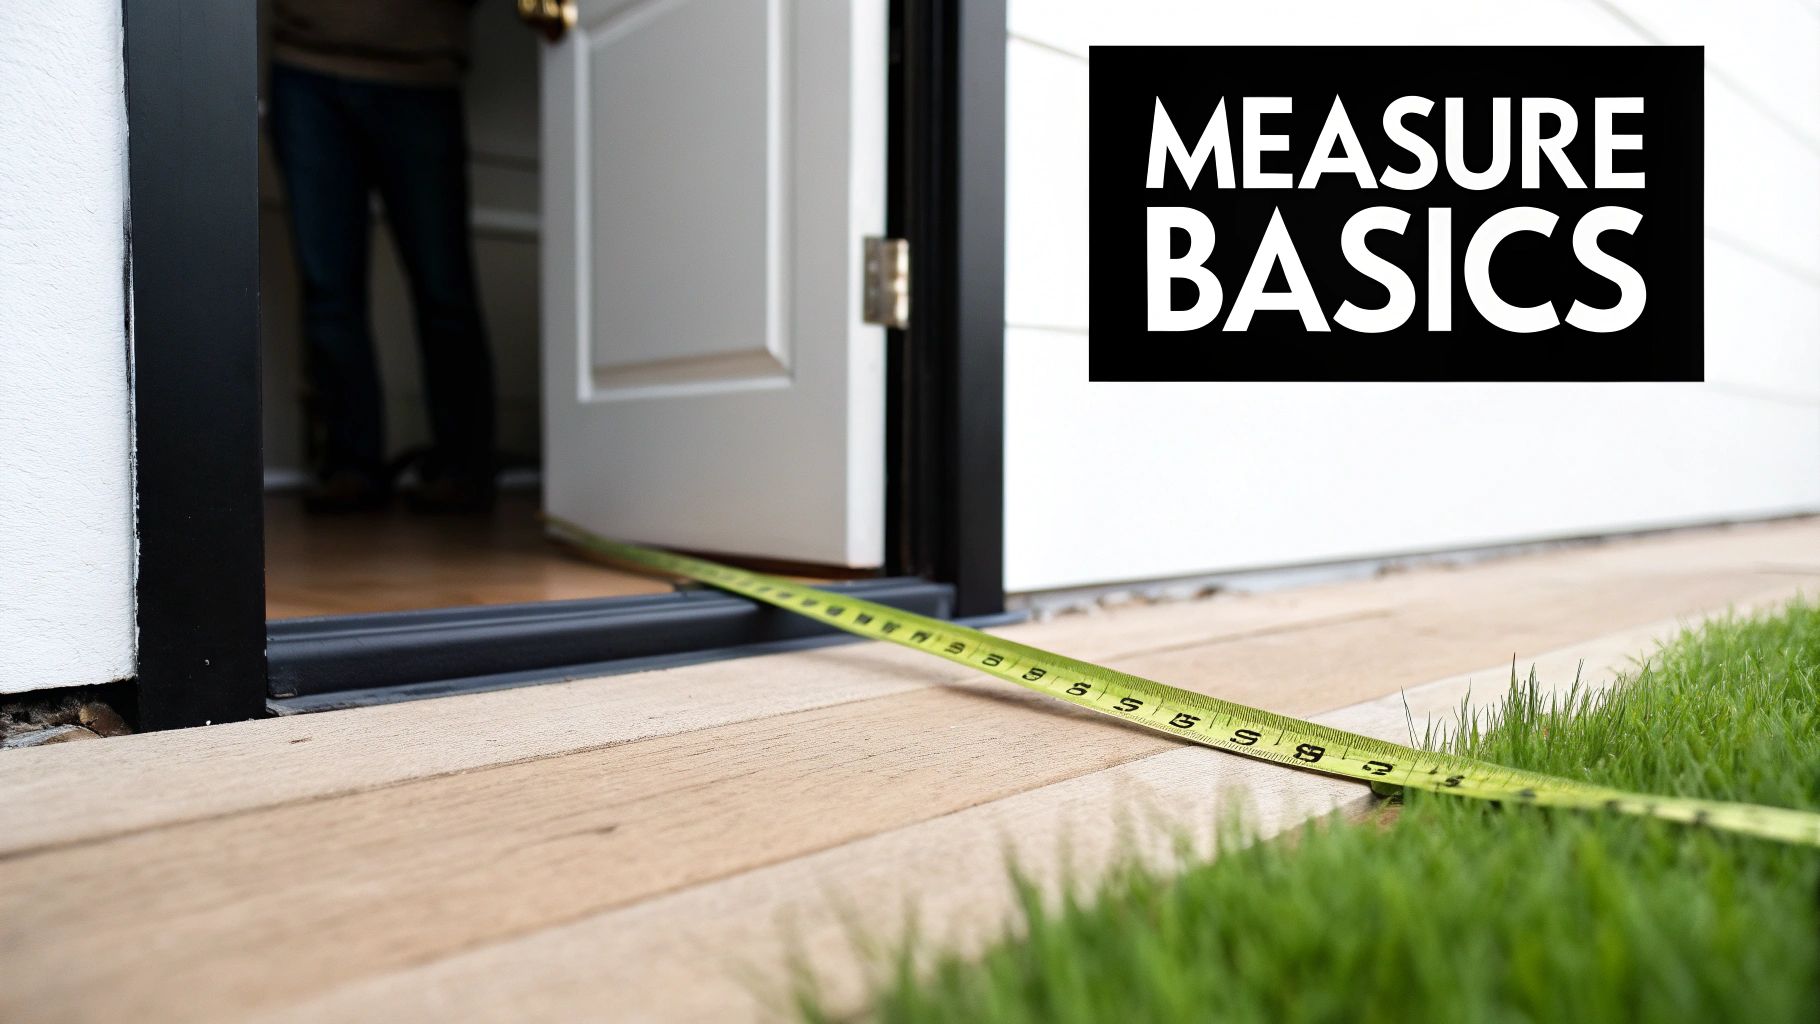
The Door Measurement Foundation: What You Need to Know
Before grabbing your tape measure, it's vital to understand why accurate door measurements are so important. Precision isn't just about a perfect fit; it's about preventing costly rework, ensuring smooth operation, and maximizing energy efficiency. Taking the time to measure correctly now will save you both frustration and money later.
Why Precision Matters
Imagine your door opening as one piece of a puzzle and the door itself as the other. Even a small difference in dimensions can prevent the pieces from fitting together. This can lead to drafts, sticking doors, and difficulty latching. A gap as small as 1/8 inch can significantly reduce insulation, resulting in higher energy bills.
Key Dimensions: Height, Width, and Thickness
When measuring for a new door, there are three critical dimensions you need to accurately capture: height, width, and thickness. Experienced carpenters stress the importance of taking each measurement at multiple points. This accounts for any variations in the opening, ensuring you get the truest dimensions. You might be interested in: How to master...
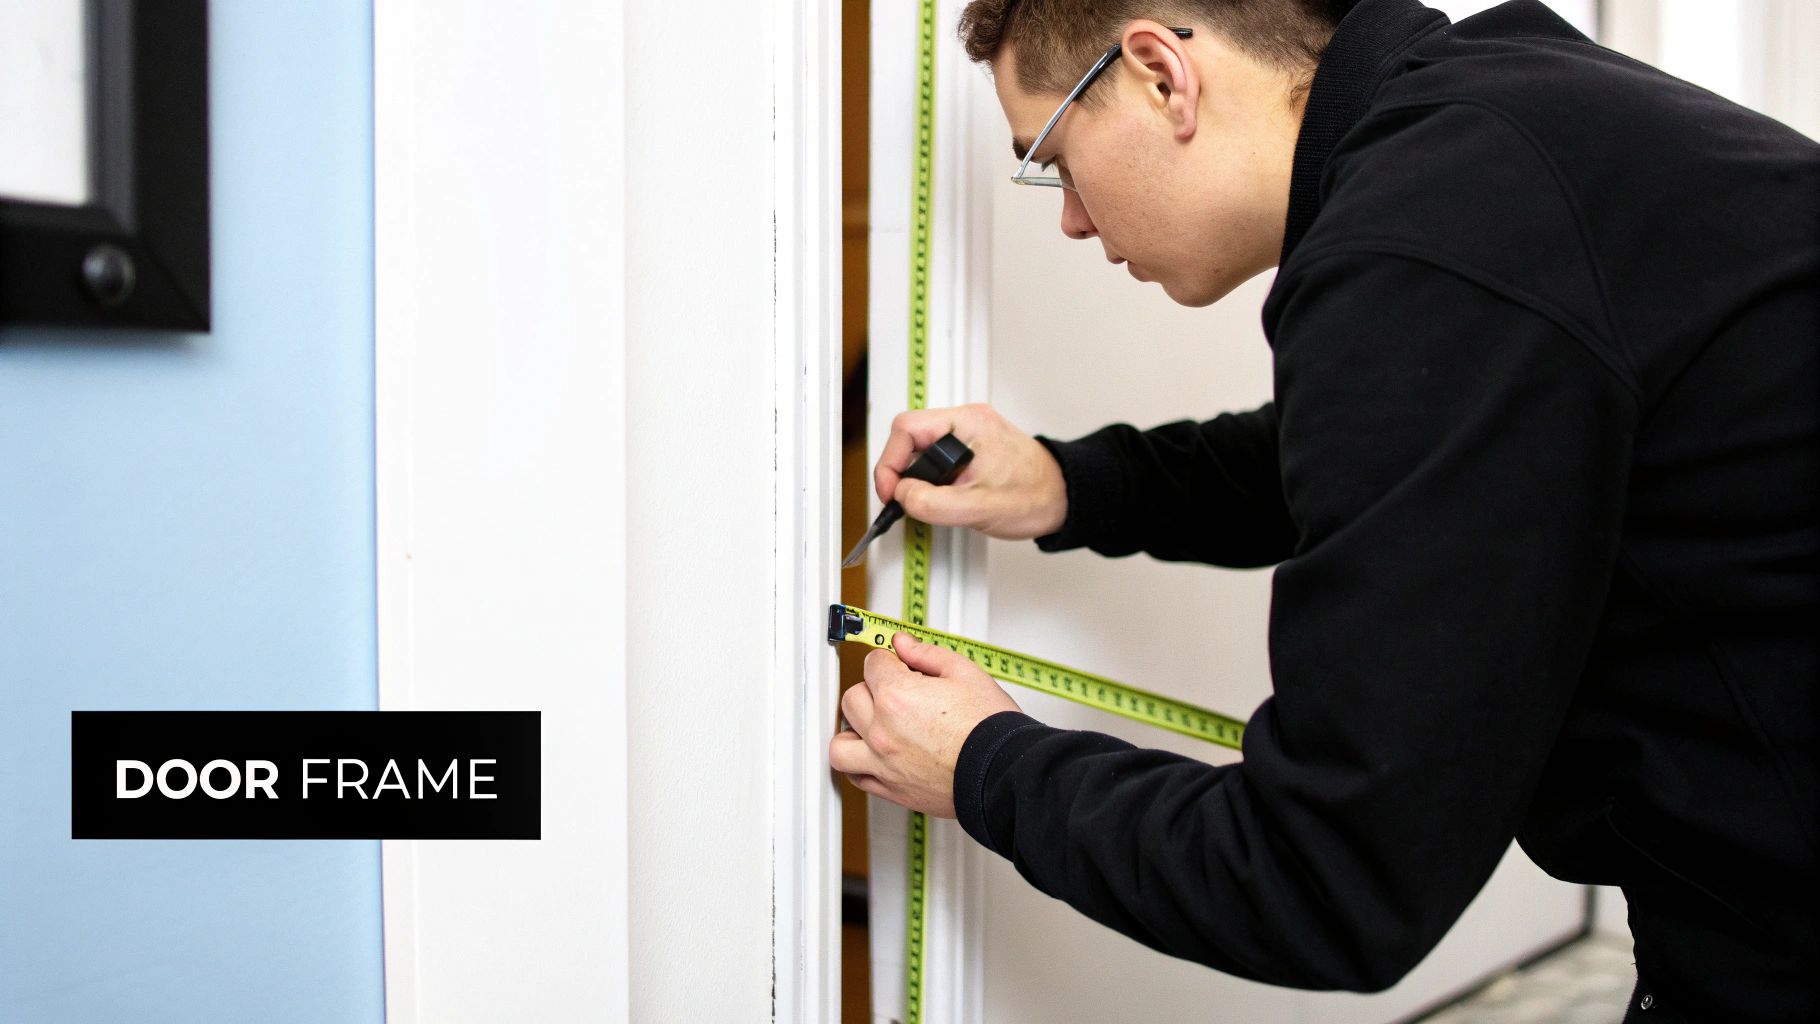
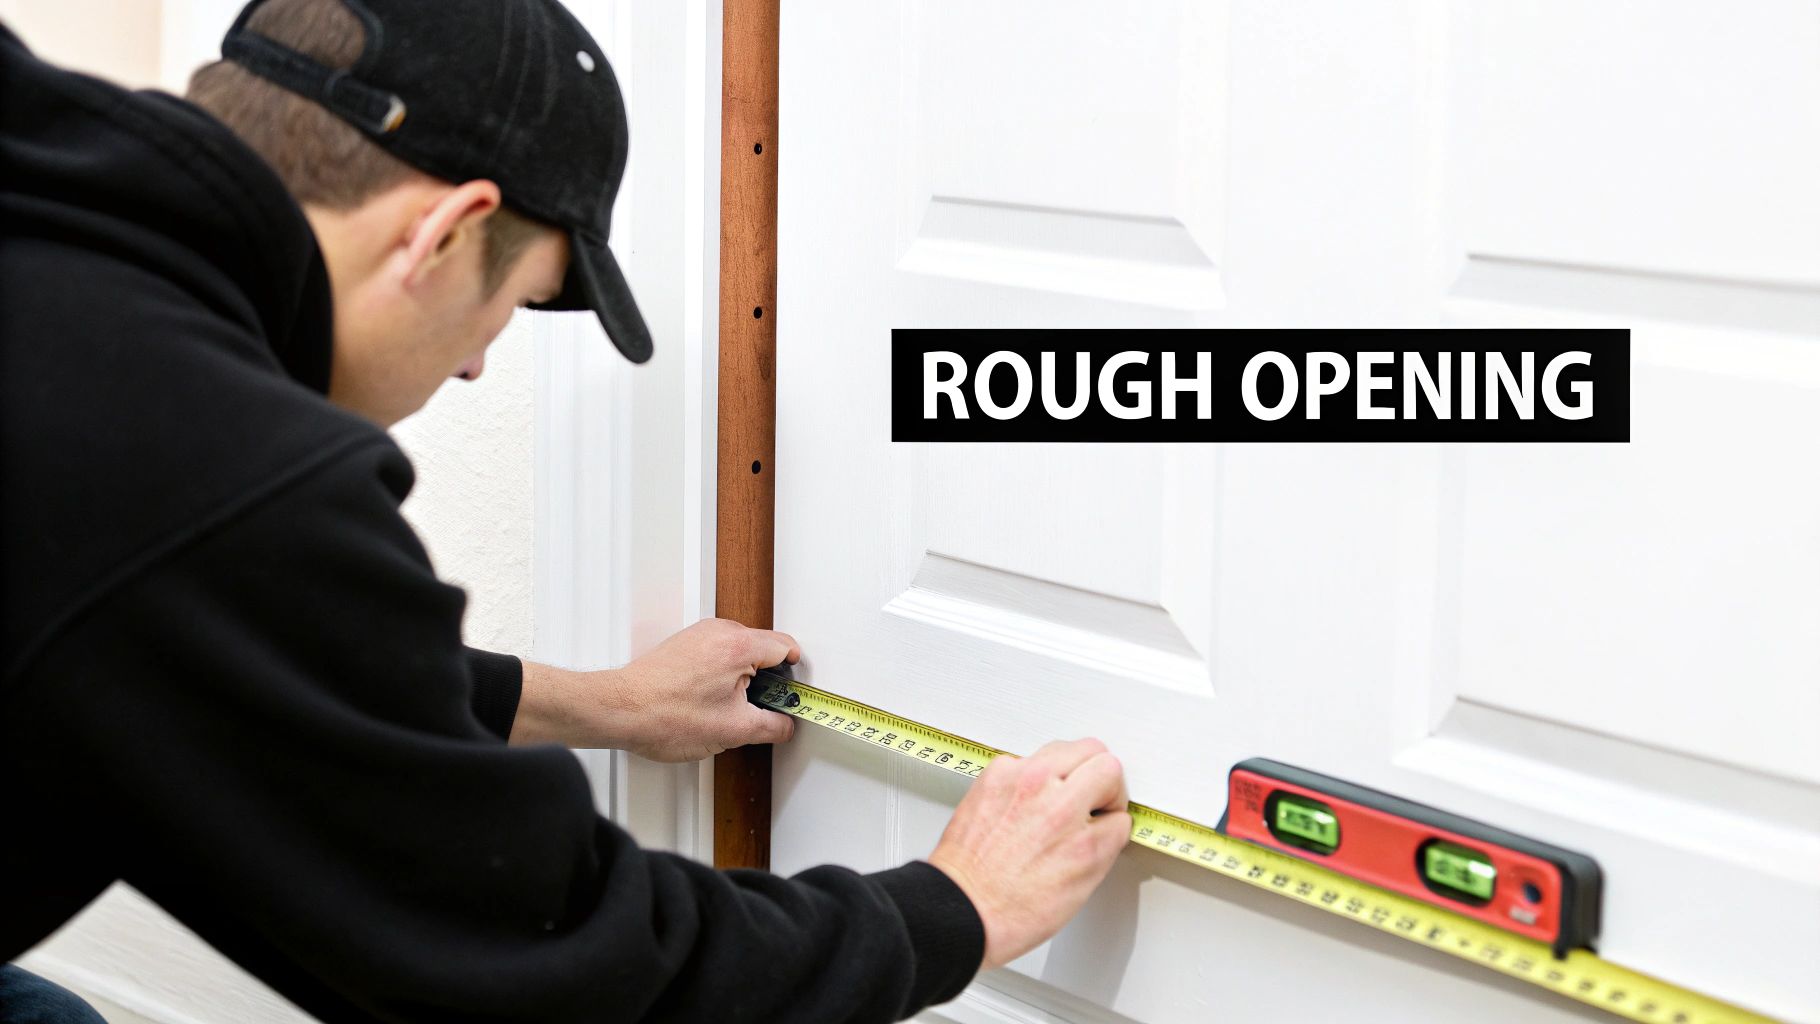
Rough Opening vs. Finished Door Size
One common area of confusion, even for seasoned DIYers, is the difference between the rough opening and the finished door size. The rough opening refers to the framed space before installing the door jamb. The finished door size, on the other hand, is the measurement of the door itself. Understanding this distinction is crucial for ordering the correct door size. It’s interesting to note that historical doors were often much larger than today’s standard sizes. For example, the oldest surviving door in Britain, at Westminster Abbey, was originally about 9 feet high and 4.5 feet wide before being resized. Learn more about historical door sizes here: Momentous Events In Door History.
Tools and Preparation
A tape measure is essential, but other tools can improve accuracy. A level ensures your measurements are plumb and level, while a square helps confirm 90-degree angles in your opening. Proper preparation is equally important. This involves removing any existing trim or molding that might obstruct accurate measurements, giving you a clear picture of the opening. Read also: How to master...
Measuring Like a Pro: The Step-by-Step Process That Works
Accurate measurements are the foundation of a successful door installation. This guide provides a step-by-step process to help you measure for a new door like a pro. Getting these initial steps right is as important as accurately measuring kitchen cabinets.
Gathering Your Tools
Before you start, gather the essential tools. A tape measure is key, but a few other items will help ensure pinpoint accuracy.
- Tape Measure: Choose one at least 25 feet long to accommodate larger doors.
- Pencil and Paper: Writing down your measurements as you take them helps prevent mistakes and makes comparing figures easier.
- Level: A level is vital for ensuring your measurements are plumb and true.
- Square: A carpenter's square helps you verify those all-important 90-degree angles.
Measuring the Height
Measuring height involves more than just measuring from floor to ceiling. For accurate results, follow these steps:
- Multiple Measurements: Take height measurements at three points: the left, middle, and right sides of the door opening.
- Floor Considerations: If new flooring is planned, account for its thickness. Measure from the subfloor to the top of the rough opening.
- Smallest Measurement: Use the smallest of the three height measurements. This accounts for any inconsistencies in the opening.
Measuring the Width
Just like with height, measuring width at several points ensures accuracy and accounts for variations.
- Three-Point Measurement: Measure the width at the top, middle, and bottom of the opening.
- Smallest Measurement: Record the smallest of these width measurements for the truest representation.
- Obstructions: Factor in any obstructions within the opening, such as pipes or wiring.
Measuring the Thickness
Don't forget the door's thickness—it’s a crucial measurement.
- Existing Jamb: Measure the thickness of the existing door jamb.
- Standard Thickness: While most standard doors are 1 3/8 inches thick, variations exist, so always double-check.
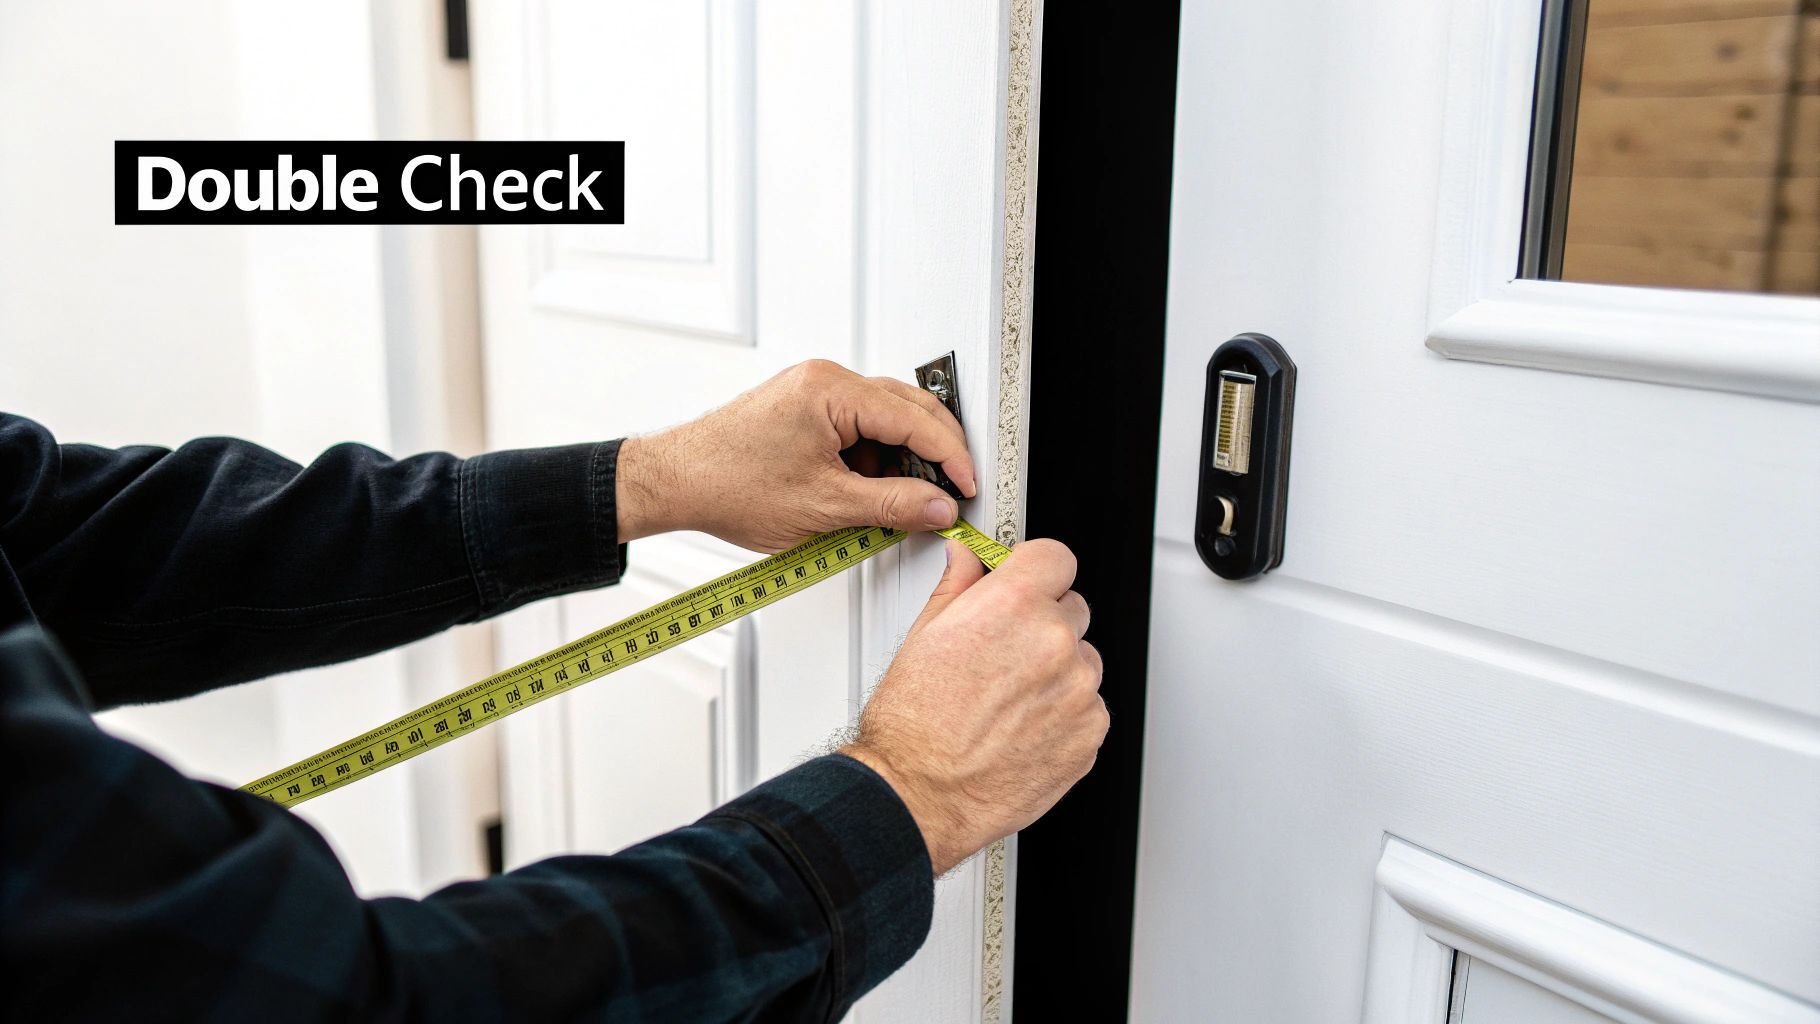
The Diagonal Check
This simple check verifies that your opening is square.
- Corner to Corner: Measure diagonally from one top corner to the opposite bottom corner. Repeat for the other diagonal.
- Square Opening: Matching diagonal measurements mean a square opening. A difference exceeding 1/4 inch indicates the opening isn't square. For more information, check out this resource: How to master...
Considering Standard Sizes
Understanding standard door sizes is helpful. In the United States, these typically range from 78 to 80 inches in height and 24 to 36 inches in width. These measurements are generally consistent globally. However, historic or custom doors often deviate from these norms. For example, historic doors may have unusual dimensions or shapes due to their age, materials, or original design. This is important to consider, especially when replacing a historic door. You can learn more about historical door sizes.
To help visualize standard dimensions, let's look at a comparison table:
Standard Door Measurement Guidelines Comprehensive comparison of standard door dimensions across different types and applications
| Door Type | Standard Width (inches) | Standard Height (inches) | Common Applications |
|---|---|---|---|
| Interior | 24, 28, 30, 32, 36 | 80 | Bedrooms, bathrooms, closets |
| Exterior | 30, 32, 36 | 80 | Entryways, patios |
| Closet | 24, 28 | 80 | Closets, pantries |
This table highlights the most common dimensions for interior, exterior, and closet doors. While these are standard sizes, confirming your measurements is always recommended.
Replacement Doors: Swing and Handing
For replacements, knowing the swing direction (inward or outward) and handing (left or right) of the old door is essential. This ensures the new door operates correctly and that the hardware aligns. Plenty of online resources can guide you through determining swing and handing if needed.
Beyond Basics: Measuring for Different Door Types
Not all doors are created equal, and the same can be said for the measuring process. The fundamentals of measuring height, width, and thickness apply across the board. However, certain door types demand a more meticulous approach to guarantee a flawless fit and seamless operation. You might be interested in: How to master...
Interior Doors: Understanding the Variations
Interior doors pose unique measurement challenges based on their construction. Hollow-core doors, frequently used for closets or pantries, are lightweight and need less clearance than their solid counterparts. Solid-core doors, typically found in bedrooms or bathrooms, are heavier and require slightly more clearance for smooth movement. Panel doors, with their detailed designs, necessitate careful attention to panel dimensions. This ensures a proper fit within the frame and prevents binding.
Exterior Doors: Prioritizing Weather Protection and Thresholds
When measuring for exterior doors, weatherproofing takes center stage. The gap between the door and frame needs careful consideration. It should be small enough to prevent drafts, yet large enough to accommodate expansion and contraction due to temperature fluctuations. The threshold, the bottom section of the door frame, plays a crucial role in preventing water intrusion. Precise threshold measurements are essential for effective sealing and weather resistance. This means taking accurate dimensions of the threshold is paramount when measuring for exterior doors.
Specialty Doors: Pocket and Barn Door Considerations
Specialty doors, such as pocket doors and barn doors, introduce their own specific measurement requirements. Pocket doors, which slide into a wall cavity, demand precise measurements of both the pocket opening and the door itself. Barn doors, sliding along an external track, require accurate measurements of the track length and hardware clearances. This ensures smooth operation and proper coverage of the doorway. Overlooking these details can lead to costly revisions and unnecessary frustration. Interestingly, the global door market is massive, reflecting the wide array of door types and applications. It’s estimated that there are approximately 33 billion doors worldwide, averaging about four doors per person. Find more detailed statistics here.
Practical Application: Illustrative Examples
Let’s look at a few examples. Consider replacing a standard interior door with a pocket door. You'll need to measure the door's height and width, as well as the depth and width of the wall cavity. This guarantees the pocket door hardware fits correctly. Similarly, when installing a barn door, ensure the track length extends beyond the door opening on both sides. This allows full access to the opening when the door is open. These seemingly small details can significantly impact both the functionality and aesthetics of your door installation. It's worth noting that doors contribute to roughly 11% of heat loss in a typical home, highlighting the importance of accurate measurements for energy-efficient installations.
Avoiding the Measurement Mistakes That Cost Time and Money
Even seasoned DIYers can make measuring mistakes when figuring out how to measure for a new door. These errors often lead to wasted time and money, not to mention the frustration of a door that just doesn't fit. This section highlights common pitfalls and offers simple solutions for a perfect fit the first time.
The Single-Point Measurement Trap
One of the biggest mistakes is taking just one measurement for the height or width of the door opening. Door frames can shift or warp over time, so a single measurement might not be accurate. This could leave you with a door that's either too big or too small, resulting in unsightly gaps or a door that binds.
The solution is simple: measure at three points for both height and width. Measure the height on the left, middle, and right sides, and the width at the top, middle, and bottom. Use the smallest measurement to ensure your new door fits snugly.
The Level Floor Fallacy
Many people assume their floors are perfectly level, but even a slight slope can affect how a door hangs and swings. A door installed on an uneven floor might bind or swing open or closed on its own.
Always use a level to check both the floor and the top of the rough opening before measuring. This simple check can prevent major headaches later. A door that binds at the top might need trimming, while a gap at the bottom might require shimming.
Rough Opening vs. Finished Opening Confusion
It's easy to confuse the rough opening with the finished opening. The rough opening is the framed space before the door jamb is installed. The finished opening is the space after the jamb is in.
Ordering a door based on the wrong measurement means it simply won't fit. Always confirm which measurement is needed – it depends on whether you are replacing just the door slab or the entire door unit. Check out this guide on How to master... for more details on door installations.
The Case of the Missing Context
Jotting down measurements without noting what they represent (height, width, thickness, location) can cause confusion later. Trying to decipher a jumble of numbers without context is a recipe for disaster.
Always label your measurements clearly, indicating exactly what each number represents. A simple sketch of the opening with corresponding measurements is also helpful. This visual aid can be incredibly useful when ordering your new door. This small step can prevent ordering the wrong size and the headaches that follow. These simple practices can greatly improve your odds of a successful door installation and save you valuable time and money.
Navigating Door Standards and Sizing Across Regions
Understanding door measurements involves more than simply knowing the height and width. It also requires navigating the sometimes confusing world of door standards and regional differences. These standards, often shaped by building codes and historical precedents, can significantly influence your project, particularly when replacing or renovating existing doors.
Residential Vs. Commercial Door Standards
Residential and commercial doors adhere to distinct standards. Residential doors prioritize aesthetics and energy efficiency. Commercial doors, on the other hand, emphasize durability, security, and fire safety. Commercial doors are frequently subject to more stringent building codes and accessibility regulations that impact their required dimensions and materials. While residential door sizes offer greater flexibility, they still generally follow guidelines to ensure they're compatible with standard framing.
Regional Building Codes and Door Sizes
Regional building codes vary considerably, influencing acceptable door dimensions. Some regions might require wider doors to improve accessibility, while others might mandate specific fire ratings for exterior doors. These codes are designed with safety and accessibility in mind and should always be consulted before purchasing a new door. For further reading, you might be interested in: How to master...
Nominal Vs. Actual Door Dimensions
It’s important to understand the critical difference between nominal and actual door dimensions. The nominal size, typically used when ordering, is a rounded-up approximation. The actual size is the precise measurement of the door itself, usually slightly smaller than the nominal size to allow for installation within the frame. For instance, a door labeled 30 inches wide might actually measure 29 1/2 inches. Overlooking this subtle difference can lead to ordering errors and installation headaches.
To illustrate these variations, let's look at a comparison of typical door sizes across different regions:
Regional Door Size Standards Comparison
| Region/Country | Standard Interior Height | Standard Interior Width | Standard Exterior Height | Standard Exterior Width | Notes |
|---|---|---|---|---|---|
| USA | 80 inches (6 ft 8 in) | 24, 28, 30, 32, 36 inches | 80 inches (6 ft 8 in) | 30, 32, 36 inches | Variations exist based on local codes |
| Europe (Metric) | 2040 mm (6 ft 8 in approx.) | 610, 710, 810, 910 mm | 2040 mm (6 ft 8 in approx.) | 810, 910 mm | Variations based on country and specific regulations |
| Australia | 2040 mm (6 ft 8 in approx.) | 820, 870, 920 mm | 2040 mm (6 ft 8 in approx.) | 820, 870, 920 mm | Generally follows metric system |
This table highlights some of the common door sizes found internationally. It’s crucial to consult local building codes and suppliers for precise requirements in your area.
Addressing Non-Standard Openings in Historical Properties
Historical properties often present unique challenges with their non-standard door openings. The decision to adapt a modern door or invest in a custom solution depends on several factors. If historical accuracy is paramount, a custom door, although more costly, might be necessary. However, adapting a standard-sized door with custom trim can sometimes offer a cost-effective solution while preserving the original aesthetic.
Working With Manufacturers for Custom Solutions
When standard sizes won't suffice, working directly with door manufacturers can open up a range of options. Many manufacturers offer semi-custom options, allowing modifications to standard doors for unique openings without the expense of a fully custom door. This can be an effective compromise between historical accuracy and budget. For truly unusual openings, a fully custom door, while pricier, guarantees a perfect fit and provides greater design flexibility.
The Perfect Measurement Toolkit: Beyond the Tape Measure
Accurately measuring for a door involves more than just a tape measure. While essential, a tape measure is just one piece of the puzzle. Using the right tools and techniques can significantly improve your accuracy, saving you time, money, and potential headaches down the line. This transforms measuring for a door from a potentially frustrating chore into a precise and manageable process.
Essential Tools for Precise Measurement
Building your measurement toolkit starts with a high-quality tape measure, but it certainly doesn't end there. Here’s a breakdown of essential tools that can dramatically improve your accuracy:
-
Tape Measure: Choose a 25-foot tape measure with clear markings for easy reading.
-
Pencil and Notepad: Always jot down your measurements immediately. This simple step helps avoid confusion and errors later.
-
Level: A level ensures your measurements are plumb and true, which is especially important for checking the floor and the top of the opening.
-
Carpenter's Square: This tool is vital for verifying 90-degree angles and ensuring your opening is perfectly square.
-
Laser Measure: Laser Measure offers fast and incredibly accurate measurements, especially helpful for larger openings or those tricky hard-to-reach areas.
-
Digital Calipers: For precise thickness measurements, digital calipers are invaluable. They capture minute details that a standard tape measure might miss.
Smartphone Apps and Manufacturer Resources
Incorporating digital tools and resources can further enhance your measurement process. Several smartphone apps designed for home improvement projects can assist with door measurements. These apps often store, organize, and even generate shopping lists based on your recorded dimensions.
Additionally, utilize manufacturer resources. Many door manufacturers offer online sizing guides and calculators. These tools can simplify the process for more complex door scenarios, like doors with sidelights or transoms.
When to Call in a Professional
While taking measurements yourself is often doable, it's crucial to know when to consult a professional. For complex installations, unusually shaped openings, or historic properties, a professional installer can provide invaluable expertise. Their experience ensures accurate measurements and a smooth installation, saving you from costly mistakes. This includes situations where the opening isn't square or needs significant modifications.
The Comprehensive Measurement Checklist
Before you order that door, use this checklist to guarantee you've captured every crucial dimension:
- Height (at three points): Left, Middle, Right
- Width (at three points): Top, Middle, Bottom
- Thickness: Include the existing jamb.
- Diagonal Measurements (both ways): This verifies a square opening.
- Swing Direction: Inward or outward
- Handing: Left or right
- Threshold Height (for exterior doors): Account for transitions.
- Trim Gap (for exterior doors): This ensures proper trim fit.
- Sidelight Dimensions (if applicable): Both glass and frame measurements are needed.
- Notes on any obstructions or irregularities: Document anything unusual about the opening.
Following this detailed approach and assembling a reliable toolkit goes a long way in making measuring for a door a straightforward and accurate undertaking. Ready to upgrade your home? Gladiator Window and Doors offers a wide selection of custom-made, thermally rated doors at competitive prices. From extra-large sliding doors to elegant pivot doors, they have the perfect solution for your needs. Visit Gladiator Window and Doors today!


