


Why Your Doors Start Sagging (And How To Spot It Early)
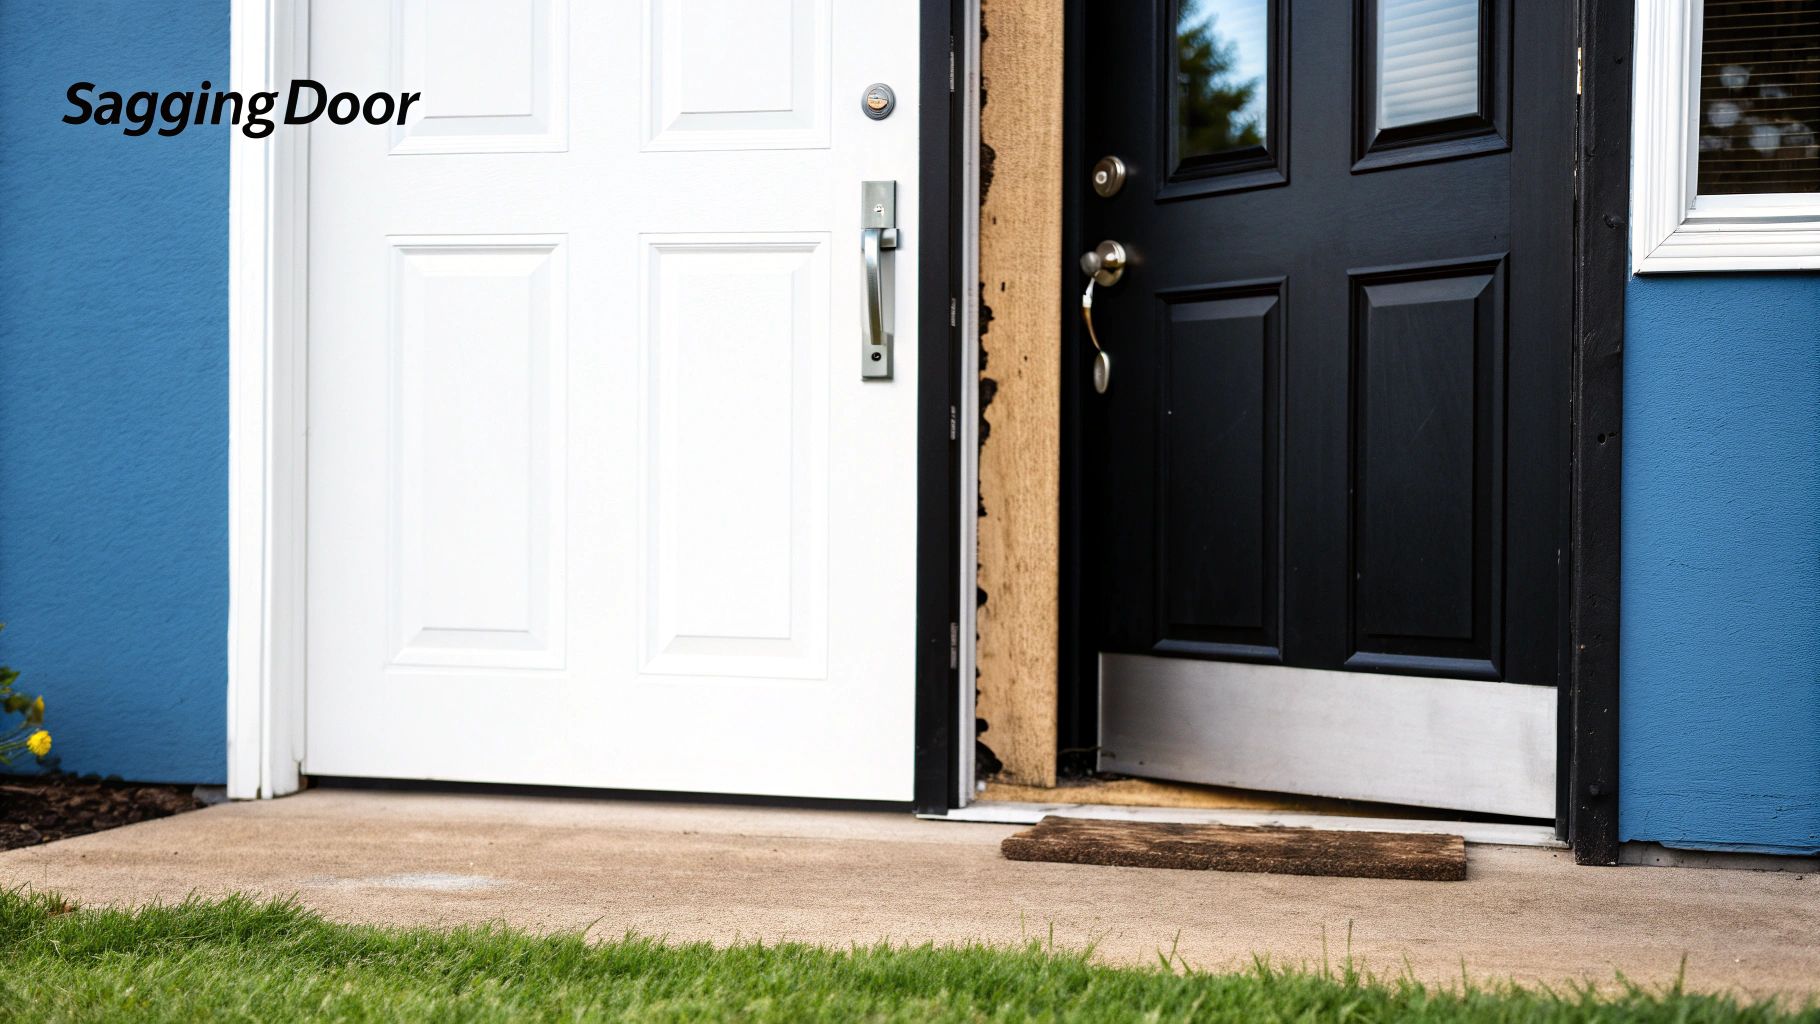
That frustrating sticking or dragging of a door is a common issue: door sag. One of the main causes is the simple wear and tear on your door hinges. Just like our own joints, hinges experience wear with constant use, becoming loose and less effective over time. This can lead to the door shifting and, eventually, sagging.
The door frame itself is another key factor. The screws securing the hinges can loosen, worsening the sag. This is especially prevalent with exterior doors exposed to weather changes. Humidity and temperature fluctuations cause wood to expand and contract, stressing both the frame and hinges. A humid summer, for instance, can cause a wooden door to swell, rubbing against the frame and straining the hinges.
Subtle shifts in your home's foundation can also contribute to sagging doors. Even with perfectly good hinges, a shifting frame can throw a door out of alignment. This foundation settlement, while often minor, can create enough misalignment to cause problems. Door sag is primarily a result of hinge wear and frame misalignment, impacting the door hinges market.
The global door hinges market, currently valued at USD 9.5 Billion, is expected to see a growth of over 4.8% CAGR. New technologies, like concealed hinges and rust-resistant materials, address these common issues. Learn more about the door hinges market here.
Recognizing the Early Signs of Door Sagging
How can you catch door sag before it becomes a major repair? Look for these indicators. First, observe how the door operates. Does it stick or rub against the frame? This friction is often an early sign of a developing sag.
Next, check the gaps around the door. An uneven gap, particularly at the top or bottom, signals misalignment. Look for scratches or scuff marks on the door or frame, evidence of rubbing during operation. Learn how to adjust a door. Finally, listen closely. Creaking or groaning sounds when opening or closing the door may indicate stressed hinges or a misaligned frame. Addressing these early signs can prevent bigger problems down the road.
Tools That Actually Work For Door Sagging Repair
A sagging door can be a real nuisance. But with the right tools, you can tackle this issue effectively and achieve a long-lasting repair. Choosing appropriate tools is key to a successful fix.
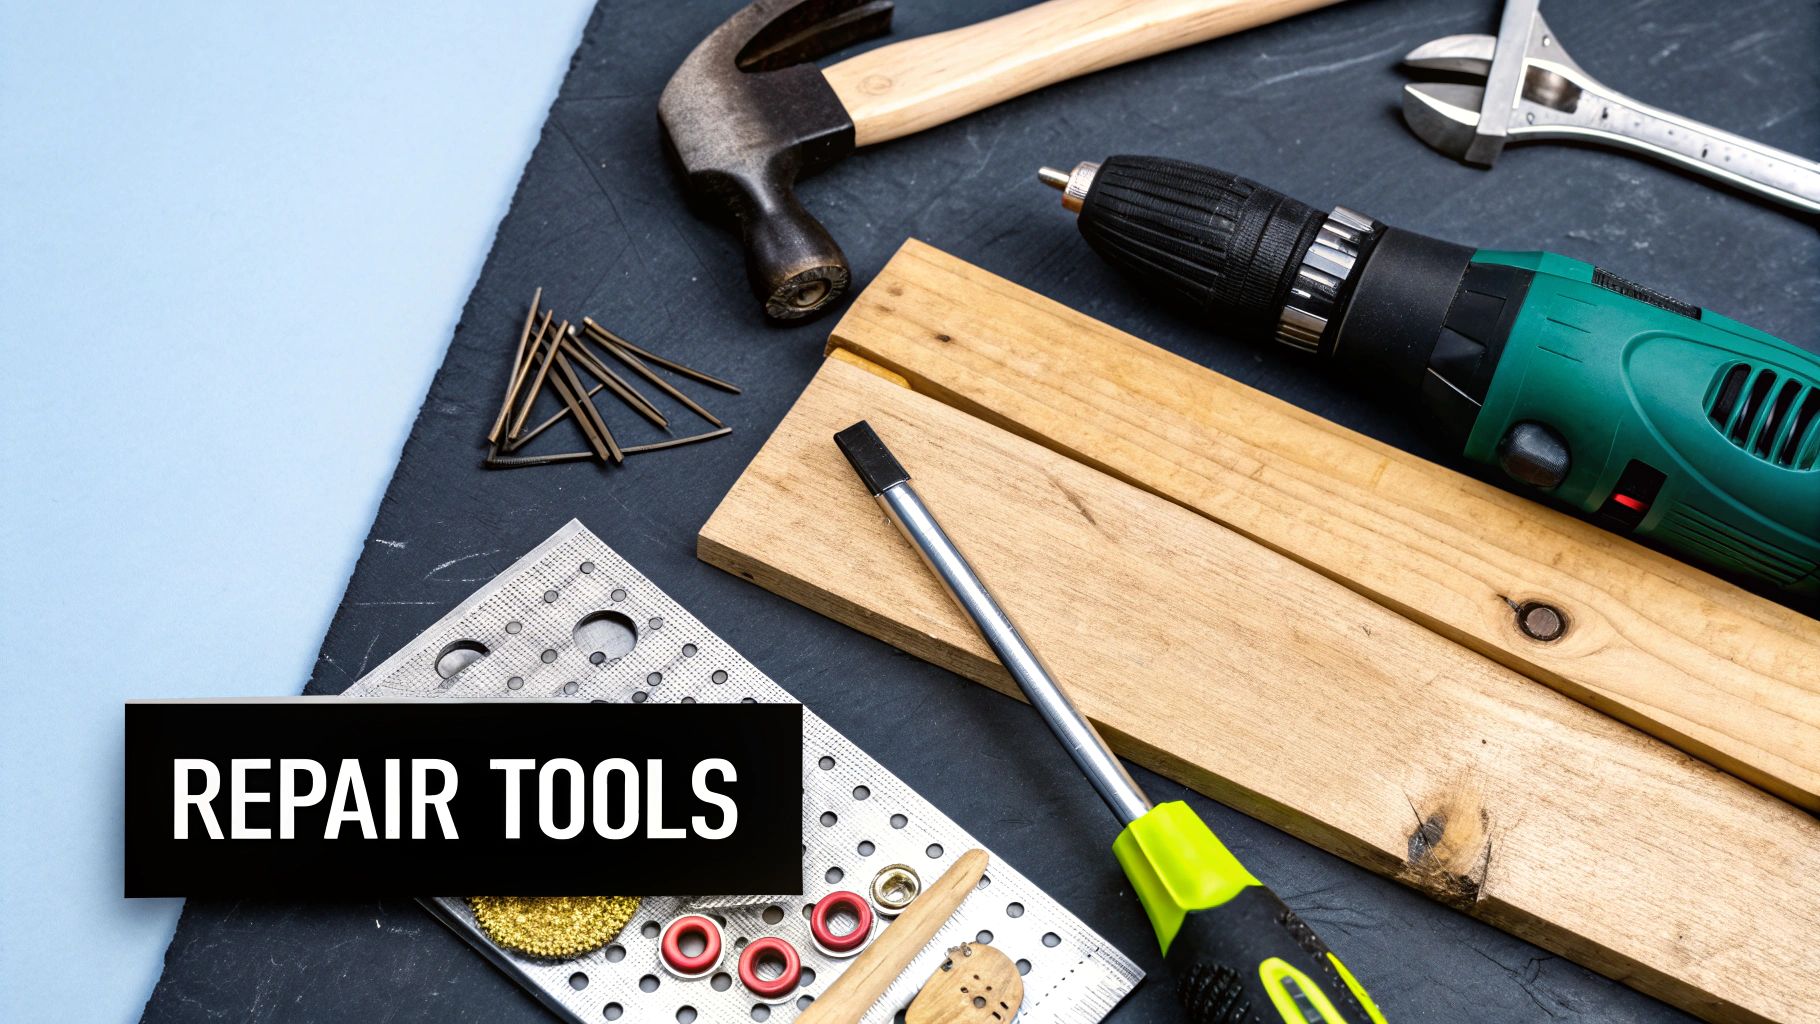
Essential Tools for Door Sagging Repair
Having the correct tools on hand simplifies the repair process. A good screwdriver set is essential. Investing in quality screwdrivers, rather than opting for a cheaper set, helps avoid stripped screws and damaged hinges, preventing a simple repair from escalating into a larger problem.
Precise measurements are crucial for proper door alignment. A tape measure and a level are indispensable for accurately assessing the door's position and identifying any misalignments. How to master door measurements. These tools help ensure your door hangs level and operates smoothly.
Additional Tools for More Complex Repairs
More complicated repairs may require additional tools. Shims, thin pieces of wood or cardboard, are invaluable for fine-tuning hinge placement, ensuring the door sits perfectly within the frame. A hammer is useful for tapping shims into position and securing them.
If your door or frame requires more substantial work, a wood chisel and wood filler can be quite helpful. These allow you to repair any minor damage or fill gaps, strengthening the door structure and addressing the root cause of the sagging.
Choosing the Right Materials
Selecting the right hardware is just as important as choosing the right tools. Using high-quality screws, especially longer ones, significantly increases the durability of the repair. Longer screws offer greater holding power, keeping hinges firmly attached.
Durable hinges are also vital, especially for doors used frequently. Strong hinges can withstand regular use and help prevent future sagging. Investing in quality materials will save you time and money down the road.
To help illustrate the cost and effectiveness differences between professional and DIY tools, let's look at the following comparison:
Door Sagging Repair Tools Comparison
Comparison of professional vs DIY tools with cost analysis and effectiveness ratings
| Tool Type | Professional Grade | DIY Alternative | Cost Difference | Effectiveness Rating |
|---|---|---|---|---|
| Screwdriver Set | High-torque, magnetic tip | Basic screwdriver set | $30 - $50 | Professional: 5/5, DIY: 3/5 |
| Level | Digital Level | Standard bubble level | $40 - $60 | Professional: 4/5, DIY: 3/5 |
| Shims | Precision-cut wood shims | Cardboard or thin wood scraps | $5 - $10 | Professional: 4/5, DIY: 2/5 |
| Hammer | Carpenter's hammer | Standard claw hammer | $15 - $25 | Professional: 4/5, DIY: 3/5 |
| Wood Chisel | Set of beveled chisels | Single-bevel chisel | $20 - $30 | Professional: 5/5, DIY: 3/5 |
| Wood Filler | Two-part epoxy wood filler | Standard wood putty | $10 - $15 | Professional: 4/5, DIY: 2/5 |
As you can see, while DIY alternatives can be more budget-friendly, professional-grade tools often offer greater precision and durability, leading to a more effective and longer-lasting repair. By using appropriate tools and quality materials, you’ll achieve a lasting solution to your door sagging problem.
The Complete Door Sagging Repair Process That Works
Properly aligned doors are crucial for smooth operation and a polished look. Just like a well-structured website uses responsive design for optimal viewing across devices, a well-aligned door ensures proper functionality and a seamless fit within its frame. This guide will walk you through the steps to fix a sagging door.
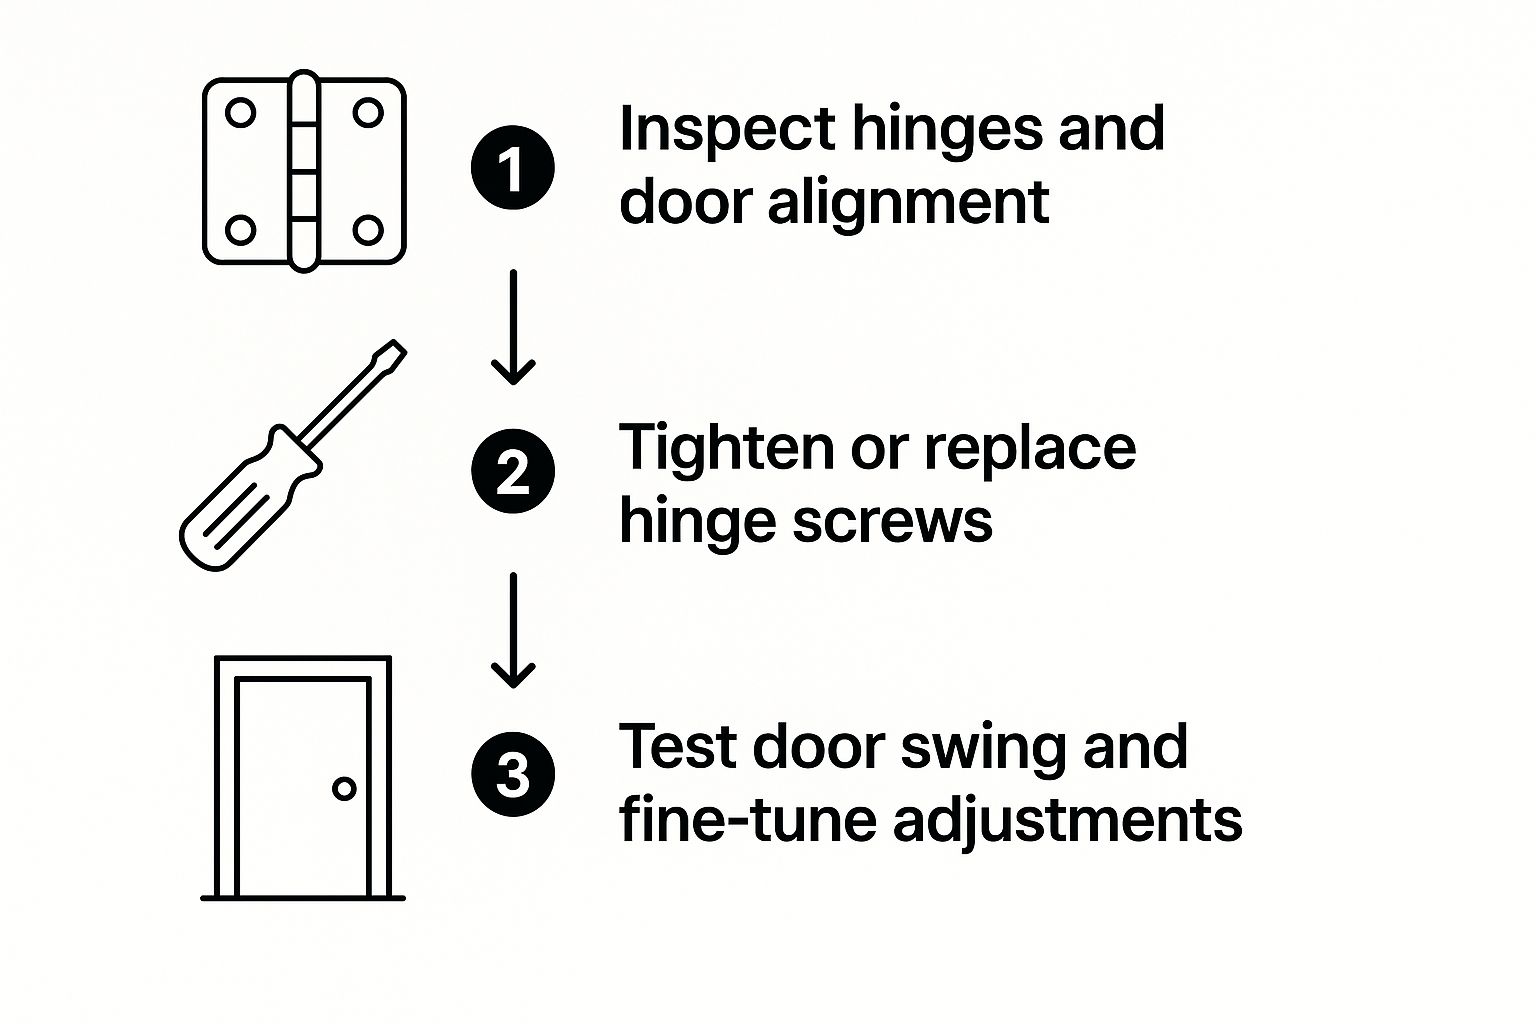
This infographic provides a visual overview of the door sagging repair process. It starts with inspecting the door and its hinges, progresses to tightening or replacing screws, and finishes with testing and fine-tuning. Each step is connected, highlighting the importance of a systematic approach. Now, let's explore each step in detail.
Inspecting the Door and Hinges
A thorough inspection is the first step. Begin by observing the door's movement. Note any sticking or rubbing against the frame. Check the gaps around the door, especially at the top and bottom. Inconsistent gaps often indicate misalignment. Also, examine the hinges for wear, loose screws, or any damage.
Tightening or Replacing Hinge Screws
Loose hinge screws are a common cause of door sag. Use a good screwdriver to tighten them. If the screws are stripped or too short, replace them with longer, heavier-duty screws (at least 3 inches long). Longer screws provide a stronger hold. This simple fix often solves minor sagging. If the problem remains, further steps may be needed. For more information, check out this article on how to fix a warped door.
Addressing Hinge Issues
If the door still sags after addressing the screws, the hinges themselves might be the problem. Look for wear, rust, or damage. Replace worn or damaged hinges with new ones of the same size and strength. Ensure proper alignment during installation. Shims can help with precise adjustments.
Checking and Adjusting the Door Frame
Sometimes, the issue lies with the door frame. Check for warping, rot, or damage. Wood filler can repair minor damage. More significant damage might require replacing sections of the frame. This ensures both proper door function and overall structural integrity.
Testing and Fine-Tuning
After working on the hinges and frame, test the door. Open and close it several times, observing its movement and listening for any unusual noises. Fine-tune as needed. Minor adjustments to the hinges or the strike plate can improve the swing and ensure a secure latch. This process will restore your door to its proper alignment and function.
When To DIY Vs. Call The Pros For Door Sagging Repair
Knowing when to tackle a sagging door yourself and when to call a professional can save you time and money. This important decision hinges on several factors, from the problem's complexity to your DIY comfort level. Let's explore the key considerations to help you make the informed choice.
Simple Fixes You Can Handle
Many sagging door issues stem from loose hinges or minor misalignments. These are often easy fixes most homeowners can manage. Tightening loose screws, using shims, or simply lubricating the hinges can often solve the problem. These minor repairs are budget-friendly and require only basic tools.
For example, if your door sticks slightly, tightening the hinge screws might do the trick. If the screws are stripped or the surrounding wood is damaged, a slightly more involved DIY approach might be necessary. For sliding glass door issues, you might find this helpful: How to master sliding glass door repair.
When to Call a Professional
More complicated problems often demand professional expertise. Significant frame damage, major warping, or structural door issues are best left to the pros. If you’re uncomfortable using tools or unsure about the repair process, it's always wiser to consult a professional.
If your door is significantly misaligned, extensively damaged, or requires specialized tools you don’t own, professional help is the best route. Attempting complex repairs beyond your skillset can worsen the damage and lead to greater expense down the line.
The True Costs of DIY vs. Professional Repair
While DIY appears cheaper initially, hidden costs can accumulate. Incorrectly performed repairs can create further damage, necessitating more work and higher expenses. Professional repairs, while having an upfront cost, offer expert service and often come with guarantees, ensuring a long-lasting fix.
The global door repair services market highlights the increasing need for professional assistance. Currently valued around USD 5.4 billion, this market is projected to reach USD 8.2 billion with a 5.5% CAGR. More detailed statistics can be found here. This growth underscores the value of skilled professionals in effectively addressing door problems.
Considering Long-Term Durability
DIY repairs, even if initially successful, may not offer the same longevity as professional solutions. Professionals use their expertise, specialized tools, and quality materials to ensure enduring results. This significantly contributes to the overall lifespan of the repair. For those interested in the role of AI in home maintenance, this article may be of interest: Artificial Intelligence In Real Estate. Choosing the best approach—DIY or professional—depends on a thorough evaluation of your particular situation and the repair's complexity.
Stopping Door Sagging Before It Starts
The best repair is the one you avoid entirely. Proactive maintenance is essential to prevent door sagging. By understanding what causes sagging and taking preventative steps, you can ensure your doors operate smoothly for years. This saves you both money and the headache of major repairs.
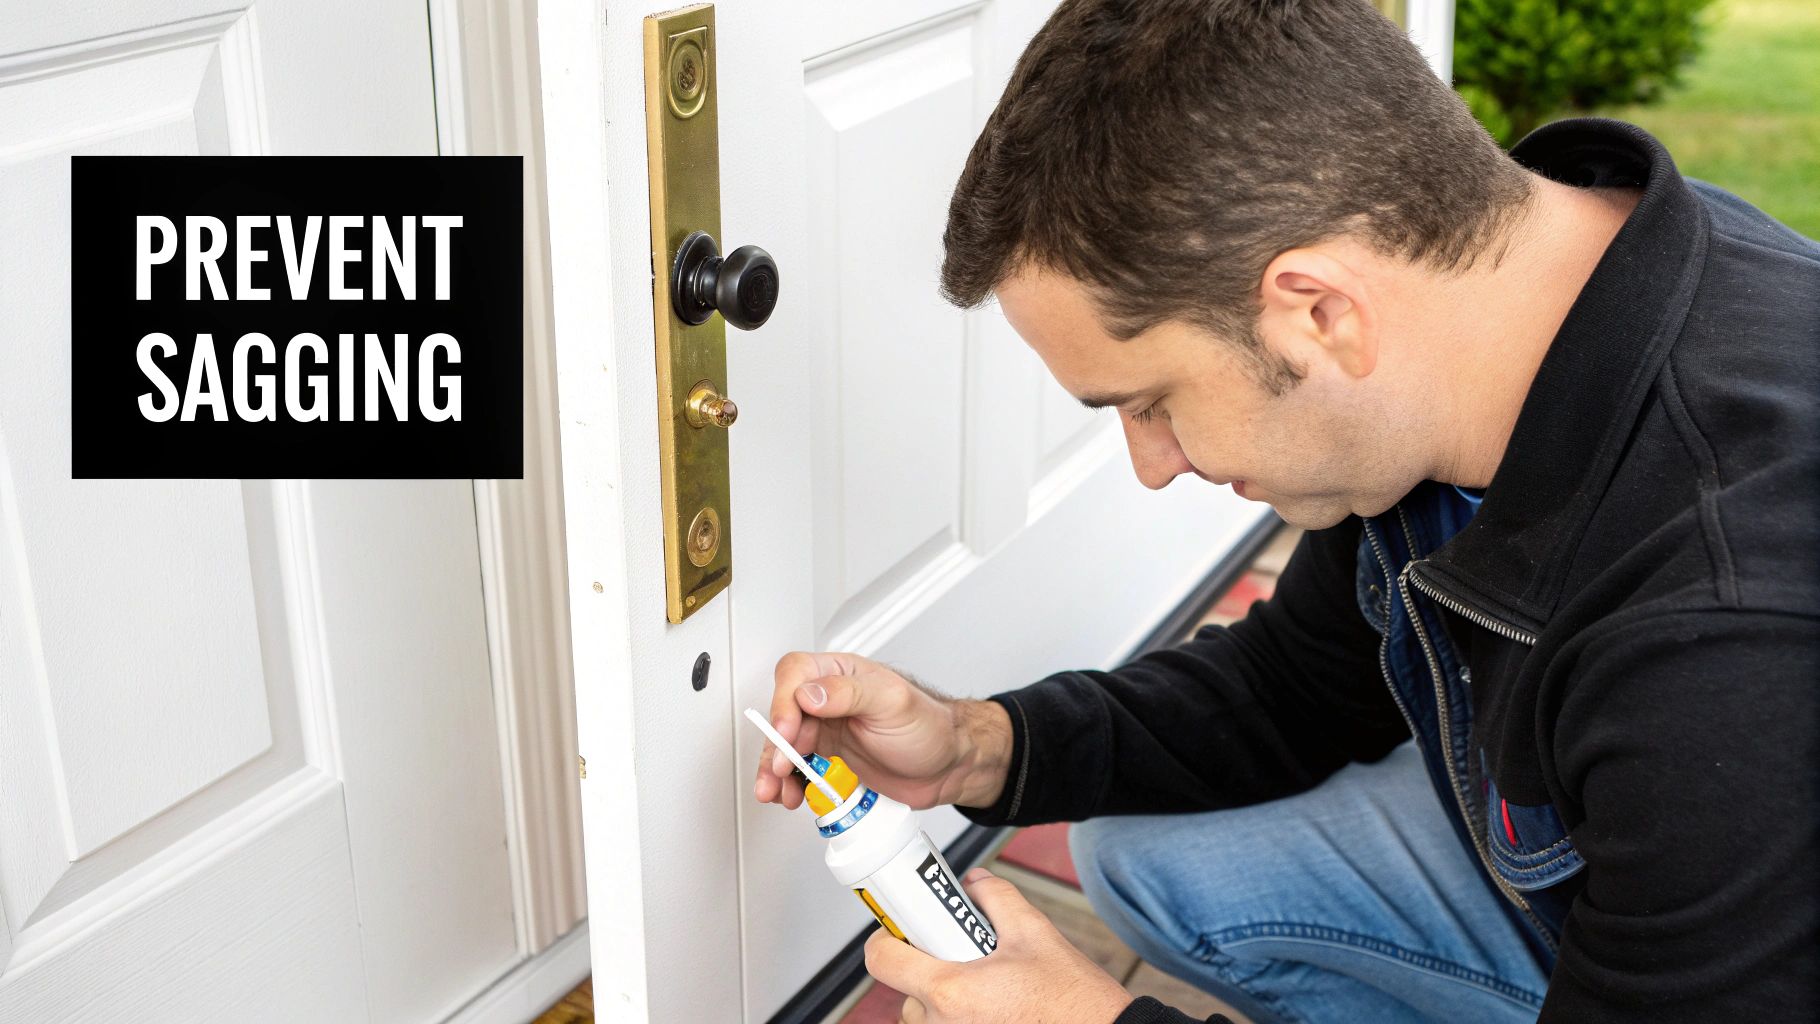
Proactive Maintenance for Long-Term Door Health
Just like your car needs regular oil changes, your doors need lubrication. Lubricating your door hinges every six months can prevent wear and tear, ensuring they operate smoothly. Also, be mindful of environmental factors. Excessive humidity can cause wood to swell, putting stress on door frames and hinges. Controlling indoor humidity can mitigate this risk. You might find helpful tips in this article: How to master window and door sealing for better home comfort.
Early intervention is key. Addressing minor issues, like a slightly sticking door, before they worsen can prevent significant sagging. Tightening loose hinge screws or adding shims can often correct small misalignments. This proactive approach prevents more extensive and expensive repairs down the line.
The Importance of Proper Installation and Quality Hardware
Proper installation is the foundation of a smoothly operating door. This involves ensuring the door is correctly aligned in the frame and the hinges are securely fastened with the correct size screws. Investing in high-quality hardware is also crucial. Durable hinges and screws can handle regular use and resist wear, reducing the chance of sagging.
Choosing the right materials upfront is a smart investment. Using sturdy, high-quality hinges and screws can significantly extend the lifespan of your doors and minimize future repairs. This forward-thinking approach pays dividends in the long run. The door repair service sector is expected to reach an estimated USD 1 billion globally, with a CAGR of 6.8%. You can find more detailed statistics here. This growth underscores the widespread need for door repairs, highlighting the importance of preventative measures.
Seasonal Maintenance and Early Issue Recognition
Seasonal changes can affect your doors. A seasonal maintenance routine, like checking for loose screws and lubricating hinges in the spring and fall, can help prevent sagging. Regularly inspecting your doors for early signs of problems is also important. Look for sticking, uneven gaps, or unusual noises. Addressing these minor issues promptly can prevent them from becoming major sagging problems that require more extensive repairs. By proactively maintaining your doors and addressing issues early, you can significantly extend their lifespan and avoid costly repairs.
Door Sagging Repair Mistakes That Cost You Money
Repairing a sagging door might seem like a simple DIY project, but beware of common mistakes that can escalate a minor fix into a costly and time-consuming ordeal. Understanding these pitfalls will save you both money and frustration.
Using the Wrong Screws
One of the most frequent errors is using incorrect screws. Short screws lack the necessary grip in the door frame, causing hinges to loosen quickly and perpetuating the sagging. The solution? Use longer, heavy-duty screws (at least 3 inches long) to ensure a firm, lasting hold. These provide the necessary support and prevent future sagging.
Over-Tightening Screws
While proper screw length is crucial, over-tightening can strip the screw holes, weakening the frame and exacerbating the problem. The key is to tighten firmly but cautiously, stopping as soon as you feel resistance. This secures the hinges without compromising the frame's integrity.
Ignoring Frame Issues
Another costly oversight is neglecting the door frame. A warped or damaged frame is a major contributor to sagging. Simply replacing hinges won't resolve the issue if the frame is the root cause. Carefully inspect the frame for damage. Repairing or replacing affected sections ensures a stable foundation for the door and hinges.
Not Using Shims
Shims are essential for precise hinge alignment. Skipping this step often results in uneven gaps and a misaligned door, even with new hardware. Using shims allows for fine-tuning the hinge placement, ensuring a perfect fit and smooth operation.
To help visualize these common mistakes, their consequences, and the correct solutions, let's look at the following table. It provides a clear comparison and highlights the key aspects of each issue.
Door Sagging Repair Mistakes and Solutions
| Common Mistake | Why It Happens | Potential Consequences | Correct Approach | Prevention Tip |
|---|---|---|---|---|
| Using the wrong screws | Screws are too short to grip the frame securely. | Hinges loosen quickly, and the door continues to sag. | Use longer, heavier-duty screws (at least 3 inches). | Always choose screws of appropriate length for the job. |
| Over-tightening screws | Excessive force is applied when tightening the screws. | Screw holes are stripped, weakening the door frame. | Tighten screws firmly, but stop before they strip. | Use a screwdriver that fits the screw head properly. |
| Ignoring frame issues | The focus is solely on the hinges, while a damaged frame is the underlying problem. | Sagging persists even after hinge repair or replacement. | Inspect the frame and repair or replace any damaged sections. | Regularly check the door frame for signs of damage or warping. |
| Not using shims | Hinges are not precisely aligned within the frame. | Uneven gaps around the door and improper door function. | Use shims to fine-tune hinge placement and achieve perfect alignment. | Always use shims when installing or adjusting door hinges. |
By understanding and avoiding these common errors, you can confidently tackle door sagging repairs and achieve long-lasting, professional results. This proactive approach ensures a smoothly functioning door for years to come.
Key Takeaways For Lasting Door Sagging Repair Success
This section offers a practical guide to achieving long-term success in repairing sagging doors. We'll explore key metrics for evaluating your success, quality checks to ensure professional-grade results, and maintenance schedules for sustained effectiveness. Each takeaway is designed for practical application, providing realistic timelines and cost considerations for different repair situations.
Measuring Your Success: Beyond Just a Closing Door
A successful door sagging repair involves more than just getting the door to close. True success lies in achieving optimal functionality and longevity.
- Smooth Operation: The door should open and close smoothly, without any sticking or resistance.
- Even Gaps: Consistent gaps around the door frame signal proper alignment.
- Secure Latch: The latch should engage securely with the strike plate.
- No Unusual Noises: The absence of squeaking or grinding sounds indicates a properly executed repair.
These measurable metrics offer clear evidence of a job well done. By prioritizing these aspects, you're ensuring a long-term solution, not a temporary fix.
Quality Checkpoints: The Hallmarks of a Professional Repair
The difference between a DIY repair and a professional one often lies in the attention to detail. These quality checkpoints will help you achieve professional-grade results:
- Hinge Alignment: Precise hinge alignment is essential for smooth door operation.
- Screw Integrity: Use the correct screw size and avoid over-tightening, which can strip the screw holes.
- Frame Stability: A secure and undamaged frame is the foundation of a lasting repair.
- Weatherstripping: Inspect and replace any worn weatherstripping to improve energy efficiency and create a tighter seal.
These checkpoints distinguish quick fixes from lasting repairs. By incorporating them into your process, you'll prevent future issues and extend the life of your door.
Maintenance: Your Long-Term Strategy for Door Health
Just like any other part of your home, doors require regular maintenance. Simple preventative measures can keep your doors functioning smoothly for years:
- Lubrication: Lubricate your hinges every six months to minimize wear and tear.
- Inspection: Regularly inspect the hinges, screws, and door frame for any signs of damage.
- Tightening: Check and tighten any loose screws periodically.
- Cleaning: Keep the door tracks clean to prevent debris buildup that can obstruct smooth operation.
This routine maintenance can prevent minor problems from becoming major repairs, ultimately saving you time and money. Consider it an investment in the long-term health of your doors.
Ready to tackle your door project with confidence? Visit Gladiator Window and Doors for high-quality, custom-made doors. We offer the best warranty in the industry and specialize in a wide variety of door styles, from extra-large sliding doors to elegant pivot doors. Get a free quote today!


