


Why DIY Your Pergola: The Rewards Beyond Saving Thousands
Building a pergola yourself offers significant advantages beyond substantial cost savings. While hiring a professional might simplify the process, the personal satisfaction of completing such a project is often unmatched. This sense of accomplishment goes beyond simply adding a new structure to your yard. It signifies a tangible investment in your property and a boost to your DIY skills. You might be interested in: How to master...
Customization and Personalization
One of the best rewards of a DIY pergola installation is the freedom to customize. Pre-fabricated kits offer a good starting point, but a little creativity can transform them into unique outdoor features. Imagine modifying the design to complement your home’s architecture, adding decorative elements, or integrating custom lighting. This level of personalization isn't always easy or affordable with professional installers.
Cost Savings and Value Addition
The financial benefits of DIY are clear. A DIY pergola project typically costs between $1,500 and $3,000. This contrasts sharply with the $5,000 to $10,000 often charged by professionals. This cost difference can free up your budget for other improvements. A well-built pergola can also increase your property value, providing a solid return on investment. The growing popularity of outdoor living spaces means a pergola could be a key selling point in the future.
North America's pergola kit market is thriving, driven by DIY enthusiasts. Fixed and adjustable kits are fueling a 5.5% annual growth within the global industry. Home Depot reports 30% yearly sales increases for pergola kits. Wood remains a popular choice but requires yearly maintenance, while aluminum kits—preferred by 40% of buyers—offer a 20-30 year lifespan with less upkeep. More detailed statistics are available here.
Realistic Timeframes and Skill Assessment
While the rewards are attractive, it’s important to realistically assess the time and skills needed. A simple pergola project for a moderately skilled DIYer might take a weekend or two, while more complex designs could take several weeks. However, this time investment translates into a better understanding of construction and increased confidence for future projects. Honestly evaluating your skills and available time is crucial before starting.
To help you decide if DIY is right for you, take a look at the comparison table below:
DIY vs. Professional Pergola Installation Comparison: A detailed comparison of the costs, time requirements, and considerations between DIY and professional pergola installation.
| Factor | DIY Installation | Professional Installation |
|---|---|---|
| Cost | $1,500 - $3,000 | $5,000 - $10,000 |
| Time | Weekend(s) - Several Weeks | Typically faster |
| Customization | High degree of flexibility | Limited by pre-designed options or additional costs |
| Skill Required | Moderate to High, depending on design complexity | Professional expertise |
| Personal Satisfaction | Very High | Less personal involvement |
| Warranty | Dependent on materials used | Typically includes a warranty |
This table highlights the key differences in cost, time, and customization between DIY and professional installation. While DIY offers greater control and cost savings, professional installation provides speed and a warranty. Choosing the right approach depends on your individual circumstances and priorities.
Choosing Your Perfect Pergola Material: Beyond the Basics
The material you select for your pergola is more than just an aesthetic choice; it's the very foundation of your project. This choice will influence everything from how easy it is to install to the long-term maintenance required. Looking beyond the marketing materials and understanding real-world performance is key to making an informed decision. Consider not only the initial price tag but also the long-term costs associated with each material, especially how they hold up against the elements over time.
Material Selection and Climate Considerations
Different climates require different material properties. For instance, in humid areas, cedar and redwood naturally resist rot and insects, but they necessitate consistent upkeep. In drier climates, less rot-resistant options like pressure-treated pine might be suitable if properly sealed. Aluminum and vinyl offer excellent durability and require minimal maintenance, making them solid choices for a variety of climates, though they often have a higher upfront cost. Considering how your local weather interacts with your pergola material is crucial to ensuring it lasts.
Installation Difficulty: Weekend Project or Professional Job?
Your chosen material also plays a major role in how complicated installation will be. Aluminum pergolas, being lightweight, frequently come in pre-assembled kits, making them perfect for weekend DIY projects. Some homeowners can assemble these kits in as little as 2-3 days with standard tools. On the other hand, wood, while attractive, can require more advanced carpentry skills and significantly more time to install, possibly taking 5-7 days, including staining and sealing. This difference in installation time can greatly influence a project's feasibility for busy homeowners. You might be interested in: Gladiator Window and Doors Products
The pergola installation market is shifting globally toward aluminum structures. Europe is leading this trend with a 30% market share, due to the material's durability and low maintenance requirements (5.90% CAGR from 2023-2030). This increasing adoption of aluminum, especially in DIY projects, comes down to its pre-assembled parts and easy installation, which ultimately reduces labor costs and time. This preference for pre-cut materials and readily available online tutorials is further reflected in the anticipated growth of the global pergola kit market, expected to reach $4.89 billion by 2027 (6.1% CAGR). Explore this topic further here.
Balancing Cost and Maintenance: Long-Term Value
Finding the right balance between initial cost and long-term maintenance is essential. While vinyl may seem budget-friendly upfront, its tendency to fade and crack can lead to more expensive replacements later. Fiberglass, although more expensive initially, requires very little maintenance, offering significant long-term cost savings. Choosing the right material for your pergola hinges on balancing your budget with your desired level of maintenance.
Sustainability and Material Choice: Building Green
Think about the environmental footprint of your pergola material. Sustainably sourced wood, like FSC-certified lumber, presents an environmentally friendly option. Recycled materials, such as composite lumber made from recycled plastic and wood fiber, help reduce landfill waste. Choosing sustainable options not only benefits the environment but can also make your home more appealing to eco-conscious buyers.
The data chart below provides a visual comparison of popular pergola materials across several key factors, including average lifespan, maintenance needs, and relative cost. For example, cedar offers a longer lifespan compared to pressure-treated pine but requires more maintenance. Aluminum, despite the highest initial cost, offers the longest lifespan and the least maintenance. This chart demonstrates the importance of considering long-term value when selecting a material.

By carefully evaluating these factors, you can select the ideal pergola material that matches your aesthetic preferences, budget, and lifestyle, ultimately creating an outdoor space you can enjoy for years to come.
| Material | Cost Range | Lifespan | Maintenance Level | Installation Difficulty | Weather Resistance |
|---|---|---|---|---|---|
| Pressure-Treated Pine | Low | 10-15 years | Moderate | Moderate | Good with sealant |
| Cedar | Medium | 20-30 years | High | Moderate to Difficult | Excellent |
| Redwood | High | 25-40 years | High | Moderate to Difficult | Excellent |
| Aluminum | High | 50+ years | Low | Easy | Excellent |
| Vinyl | Low to Medium | 20-30 years | Low | Easy | Good |
| Fiberglass | High | 50+ years | Low | Moderate | Excellent |
This table offers a comprehensive comparison of different pergola materials, highlighting key attributes for DIY installers. It clarifies the trade-offs between cost, lifespan, maintenance, and installation difficulty, empowering you to make the best decision for your specific needs and circumstances.
Tools & Materials Mastery: Setting Yourself Up for Success
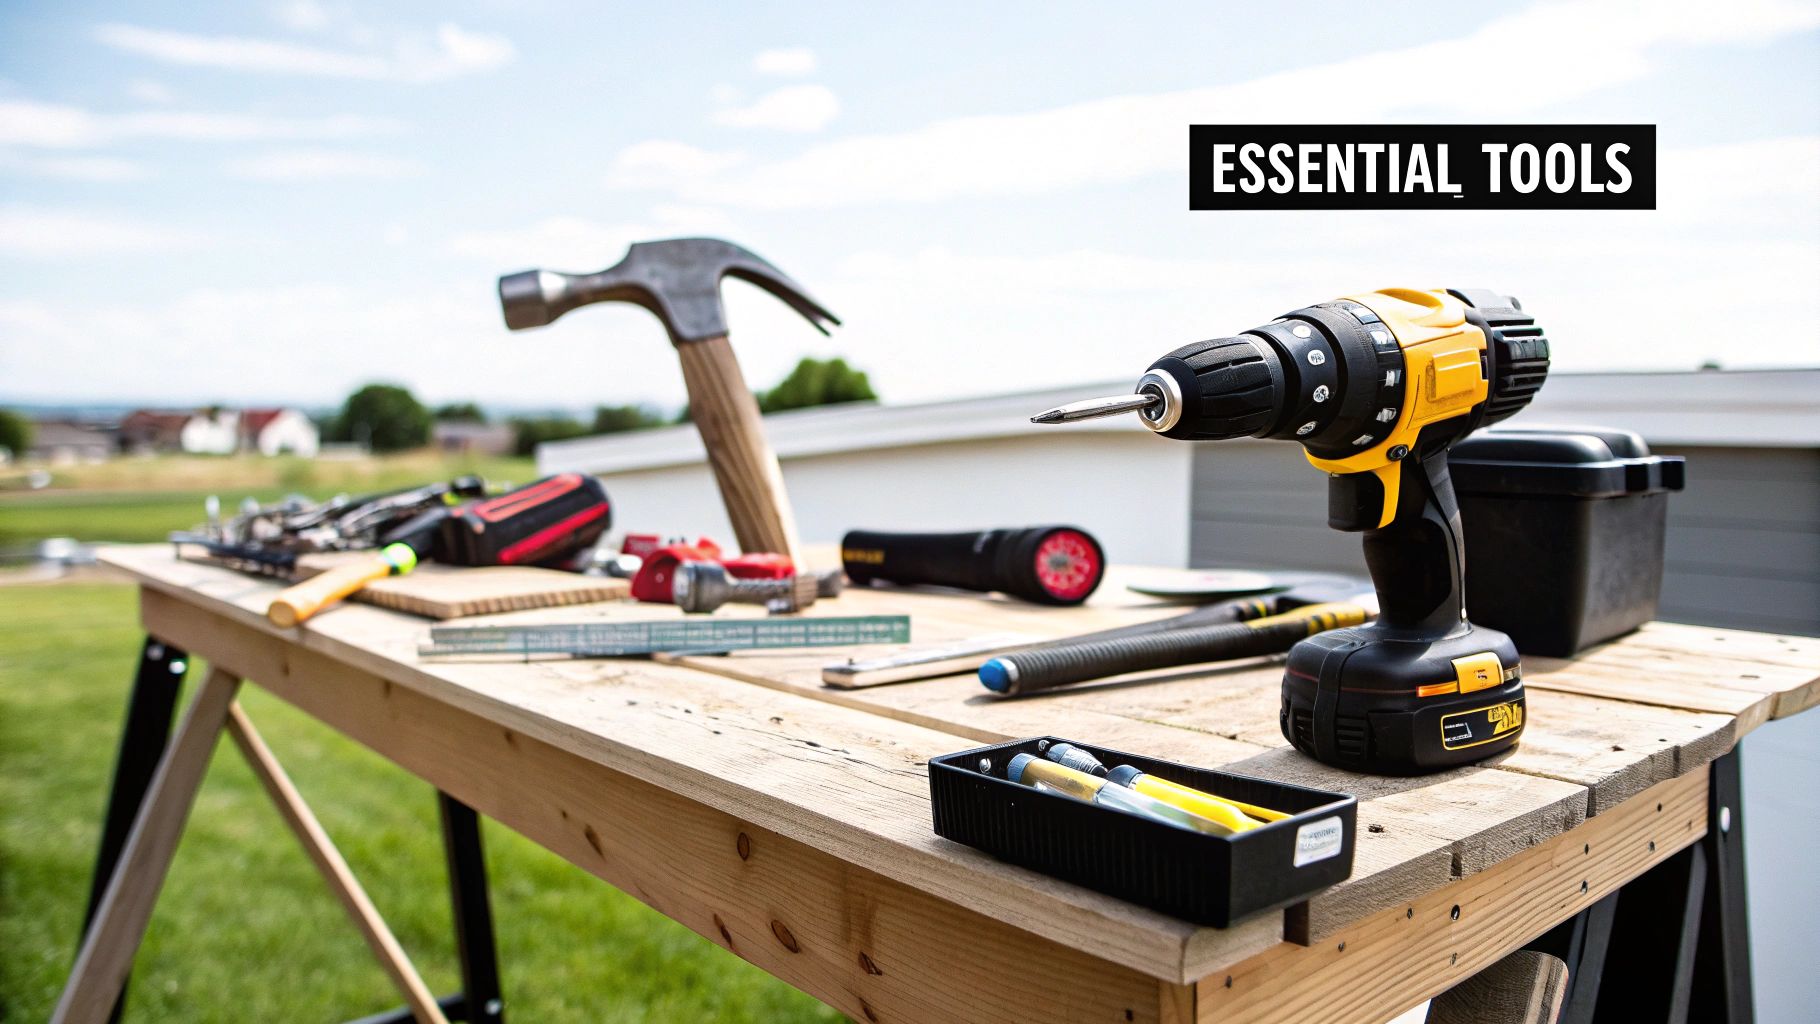
Building a pergola can feel like a huge undertaking. But with the right preparation, it can be a truly rewarding experience. Having the right tools and materials on hand can make all the difference. This section helps you get ready, moving beyond basic checklists to offer practical advice. We'll cover not only what you need, but also why each item is important for a strong, beautiful, and lasting pergola.
Essential Tools: Rent, Buy, or Borrow?
Knowing which tools are absolutely essential and which ones you can borrow, rent, or substitute can save you both money and storage space. A post hole digger, for instance, is incredibly helpful for setting posts, especially in dense soil. Renting one is often the most economical choice. A power drill is key for driving screws and bolts, but a manual drill might be sufficient for smaller pergolas. Thinking through your tool needs like this allows you to budget effectively.
Hidden Gems: Tips From Experienced Builders
Seasoned DIYers often rely on certain tools and materials not typically found on standard checklists. A laser level from Bosch will help you ensure your posts and beams are perfectly aligned, preventing structural problems later on. Keeping extra screws, bolts, and brackets handy will save you trips to the hardware store mid-project. Small preparations like these can significantly streamline the entire process.
Material Math: Avoiding Overspending and Extra Trips
Getting your material quantities right from the start prevents overspending and frustrating project delays. For instance, figuring out exactly how much lumber you need for the posts, beams, and rafters ensures you have enough without a lot of leftover material. This means carefully considering the pergola's size and design, as well as factoring in cuts and adjustments.
Toolkit Customization: Matching Materials and Style
The tools and materials you'll need depend heavily on your chosen pergola style and construction materials. An aluminum pergola kit typically requires fewer specialized tools than a custom-built wooden pergola. A wooden pergola often calls for saws, chisels, and other woodworking tools that aren’t needed for aluminum structures. Understanding these material-specific requirements will ensure you're prepared.
Complete Pergola Installation Tool & Material Checklist
The table below provides a comprehensive guide to ensure you're ready for each step of the building process. Having these items gathered in advance will streamline your workflow and minimize potential holdups. Remember to adjust the quantities based on your specific pergola plan.
| Category | Item | Purpose | Essential/Optional |
|---|---|---|---|
| Safety Gear | Safety Glasses, Gloves, Work Boots | Protect from debris and hazards | Essential |
| Measuring & Layout | Tape Measure, Level, String Line, Marking Paint | Accurate measurements and placement | Essential |
| Digging & Foundation | Post Hole Digger, Shovel, Gravel, Concrete Mix | Secure post foundations | Essential |
| Cutting & Fastening | Saw (circular or reciprocating), Drill, Screws, Bolts, Brackets | Constructing the frame | Essential |
| Finishing | Sandpaper, Stain/Sealant (for wood), Paint (optional) | Protect and enhance the pergola's appearance | Optional |
| Miscellaneous | Wheelbarrow, Buckets, Drop Cloths, Safety Mask | Assist with various tasks and protect the surrounding area | Optional |
This checklist covers most situations, but be sure to check your specific pergola plan for additional requirements. Planning ahead will make the entire process go smoothly.
By taking these preparatory steps, you’ll be well-equipped for a successful pergola build. Having the right tools, materials, and knowledge empowers you to create a beautiful and long-lasting outdoor space you can enjoy for years. This preparation will contribute to both the efficiency and the enjoyment of your project.
Pergola Installation Walkthrough: From Ground to Gorgeous
This guide takes you through the process of building a pergola, turning a pile of materials into a beautiful addition to your outdoor space. We'll go beyond basic assembly, providing the important details that ensure a strong and attractive structure. It's about understanding not just how to connect the parts, but why specific techniques are essential for a pergola that will last.
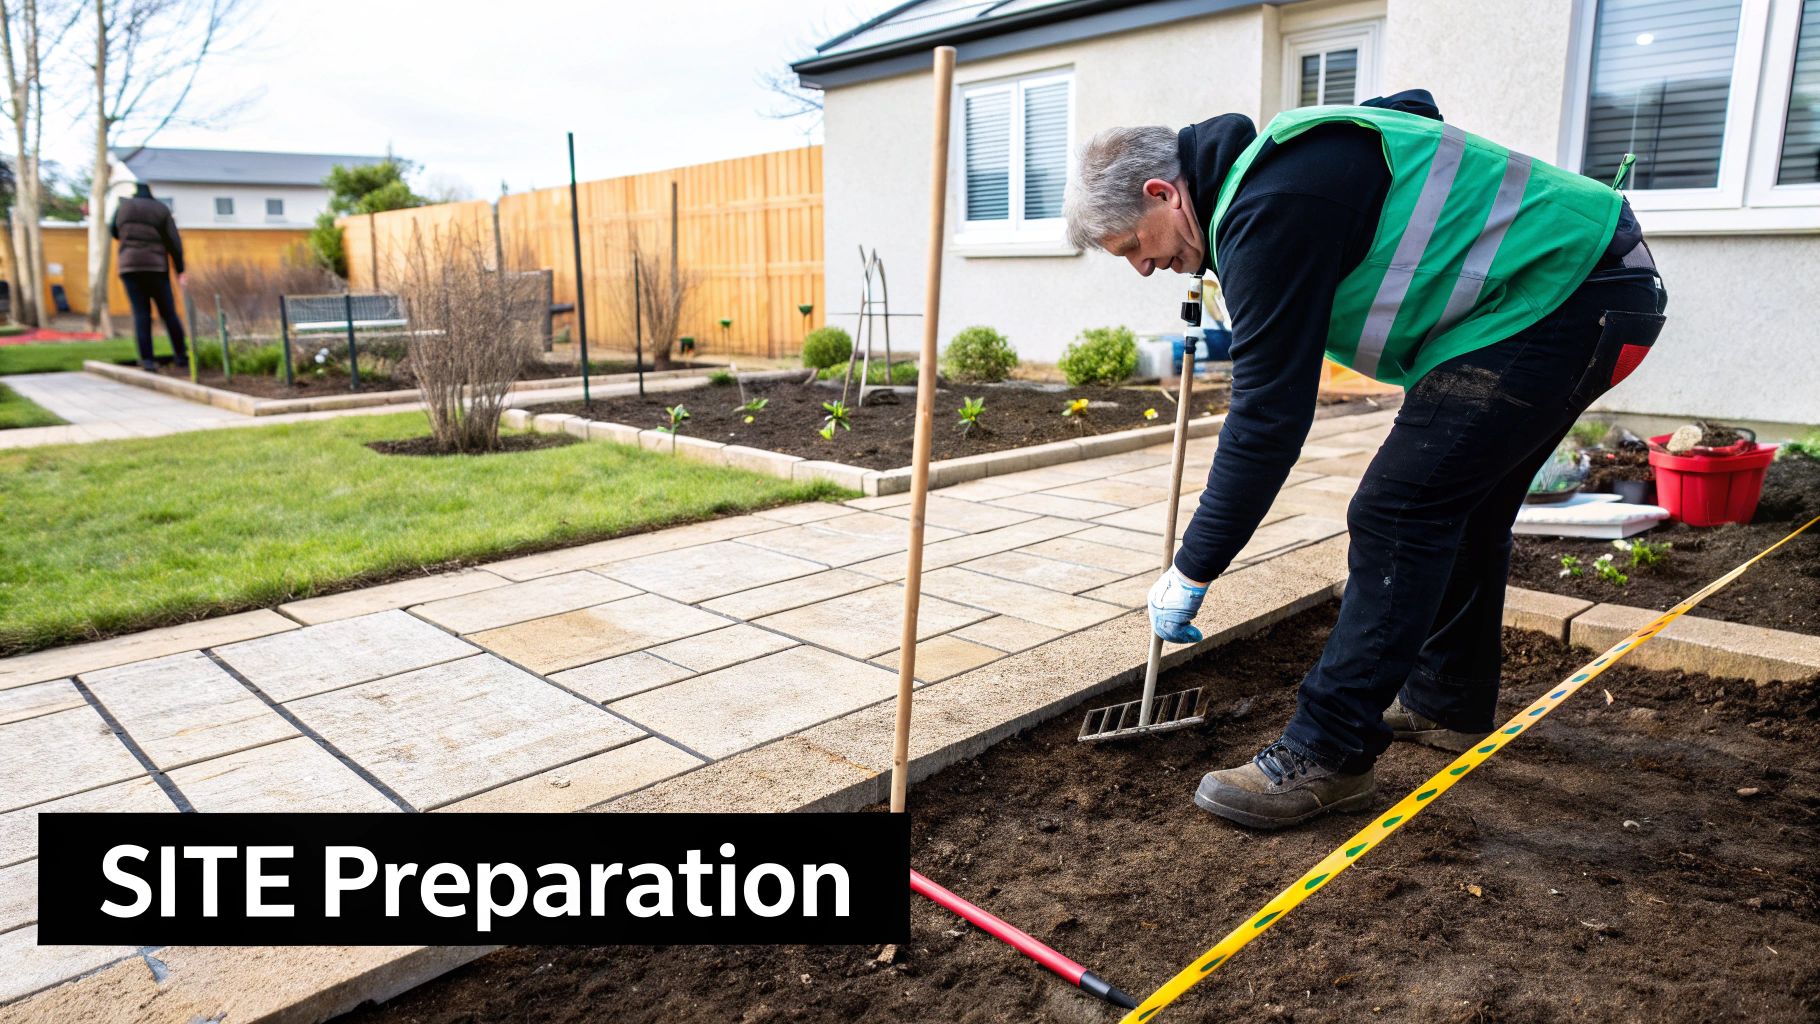
Laying the Groundwork: Site Preparation and Layout
Proper site preparation is the first step to a successful pergola installation. This involves more than just clearing the space. Careful planning and accurate measurements are crucial. This initial stage sets the foundation for the entire project. Precisely marking post locations, for example, is vital for a level and stable pergola. This early accuracy will save you trouble down the line.
-
Clear the Area: Remove all obstacles such as plants, rocks, and debris. This creates a clean work area and allows for precise measurements.
-
Mark Post Locations: Use string lines and batter boards to accurately mark the corners and post positions as shown in your pergola plan. Double-check these measurements.
-
Level the Ground: Ensure the ground is level using a level. Even small adjustments at this stage can prevent big problems with stability later. This step is often missed, but it's incredibly important.
Setting the Posts: A Solid Foundation for Success
The posts are the backbone of your pergola. Correct installation is vital for structural integrity and how long it will last. This means understanding the details of setting posts securely, regardless of the material you choose. This is where many DIYers run into their first significant challenge. With the right guidance, however, this step can be completed confidently. For more information, check out our article about Gladiator Window and Doors Sitemaps.
-
Digging Post Holes: Dig holes deep enough to meet local frost line requirements and provide ample support for the size and weight of your pergola. Proper depth is essential for preventing movement during freeze-thaw cycles.
-
Setting the Posts: Place the posts in the holes, making sure they are plumb (perfectly vertical) using a level. Securely brace the posts to hold them in place while the concrete sets.
-
Pouring Concrete: Fill the holes with concrete, ensuring it fully surrounds the posts. Allow the concrete to cure completely before moving on. This patience is essential for long-term stability.
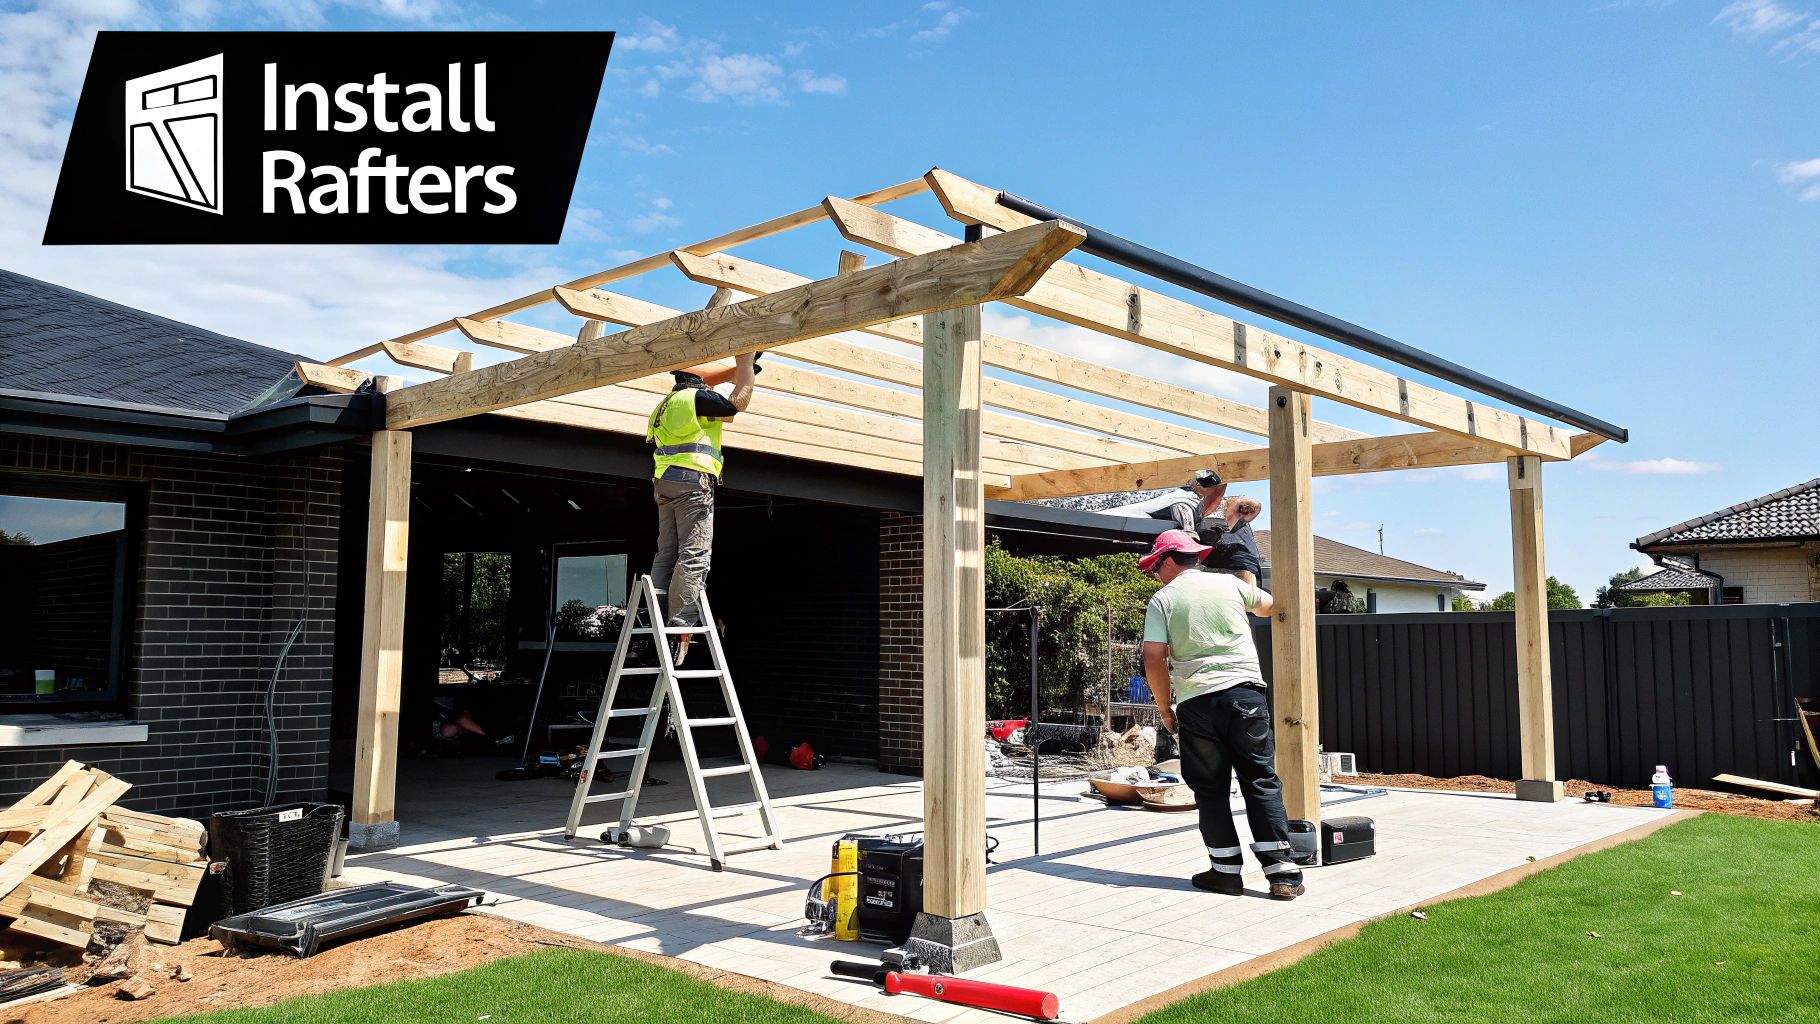
Building the Framework: Beams and Rafters
With the posts securely in place, the next step is building the framework. This is where the structure starts to take shape. Precisely attaching the beams and rafters is crucial for both a beautiful and structurally sound finished pergola. This means paying attention to the strength of the connections and the overall appearance.
-
Attaching Beams: Securely attach the beams to the posts using appropriate hardware like brackets or through-bolts. Ensure correct alignment and spacing. This connection is a key structural component.
-
Installing Rafters: Position the rafters across the beams, following the spacing in your pergola plan. Secure them to the beams using appropriate fasteners. Even spacing creates visual appeal.
-
Checking for Level and Square: Check regularly throughout the framing process that all components are level and square. This prevents small errors from becoming larger problems and ensures a professional-looking result.
Finishing Touches and Final Inspection: The Details Matter
The final stage is about more than just finishing touches. It’s about making sure the entire structure is safe, stable, and attractive. This involves a detailed inspection and attention to the small details that really enhance the finished product. These seemingly minor tasks make a significant difference in the overall quality and longevity of your pergola.
-
Adding Decorative Elements: Consider decorative elements like lattice panels or climbing plants to enhance the look of your pergola. These additions personalize the structure and create an inviting outdoor space.
-
Applying Sealant or Paint (for wood): Protect your pergola by applying a weather-resistant sealant or paint to wooden structures. This is a critical step to protect it from the elements and prolong its life.
-
Final Inspection: Conduct a final inspection to ensure everything is securely attached, level, and plumb. This is your last opportunity to address any minor issues before enjoying your new outdoor oasis.
By following these steps, you'll be well on your way to enjoying a beautifully built and structurally sound pergola. Remember, patience and attention to detail are the keys to success. This process not only creates a pergola but also builds your DIY skills and creates a lasting outdoor space for years to come.
Creating an Unshakable Foundation: The Secret to Pergola Longevity
While the visible design elements of your pergola deserve attention, its longevity relies heavily on a strong foundation. This section delves into the essential foundation techniques professionals use, offering valuable insights for homeowners. A solid foundation ensures your pergola withstands the elements and provides enjoyment for years to come.
Understanding Your Soil: The Foundation's First Ingredient
The type of soil significantly impacts your foundation strategy. Understanding your soil composition is crucial. Clay soil, for instance, retains water and expands when wet, necessitating deeper footings and proper drainage. Sandy soil, conversely, drains quickly but is less stable, requiring wider footings to distribute the pergola's weight. Rocky terrain presents its own set of challenges, often demanding specialized digging techniques or concrete pier construction. Assessing your soil type is the first step towards a stable foundation.
Calculating Footing Depth: Defying the Frost Line
The frost line, the depth to which the ground freezes, is critical in determining footing depth for your pergola posts. Footings must extend below this line to prevent heaving during freeze-thaw cycles. Calculate the appropriate depth based on your local frost line and the pergola's size and weight. A general guideline is burying one-third of the post's length, but consulting local building codes is essential. For example, a six-foot post in a region with a four-foot frost line requires a footing depth of at least four feet. Accurate calculations here prevent structural issues later. You might be interested in: How to master...
Waterproofing and Concrete: Protecting Your Investment
Water is detrimental to wooden structures. Proper waterproofing is crucial to prevent rot and ensure your pergola's longevity. This includes using pressure-treated lumber for posts in direct ground contact, wrapping posts with waterproof membrane, and applying sealant to exposed wood. Correctly mixing concrete is also vital. A standard ratio of 1:2:4 (cement:sand:gravel) provides the optimal balance of strength and workability, ensuring a solid, durable foundation.
Anchoring for Stability: Standing Strong Against the Wind
How you anchor your posts greatly affects the pergola's wind resistance. Different anchoring methods exist for various soil types and wind conditions. Metal post anchors embedded in concrete offer excellent stability in high-wind areas. In milder climates, direct burial with proper concrete encasement may suffice. Choosing the right method ensures your pergola remains secure.
Learning From Experience: Successes and Failures
Examining real-world examples of successful and failed pergola foundations highlights the importance of this hidden element. A properly built foundation ensures a pergola lasts for decades, while a poorly executed one can lead to deterioration and costly repairs. Understanding these differences emphasizes the importance of careful planning and meticulous execution.
Overcoming Installation Hurdles: Real Solutions That Work
Even with the best-laid plans, pergola installations can throw a curveball. The secret to success? Knowing how to handle these bumps in the road. This section offers practical advice from seasoned builders, providing a handy troubleshooting guide for common installation problems. This empowers you to confidently tackle unexpected issues and achieve a professional-looking finish.
Salvaging Materials: Turning Mistakes into Opportunities
Cutting mistakes are a reality of any building project. But a slightly short piece of lumber doesn't have to mean a wasted trip to the lumberyard. For instance, a short beam can often be salvaged with a technique called sistering. This involves attaching a second piece of lumber alongside the original, adding both length and strength. This saves material and precious time.
Also, think about repurposing offcuts for smaller design details. Decorative brackets or trim can add a unique, personal touch to your pergola. This resourceful approach minimizes waste and elevates your design.
Correcting Post Alignment: Keeping Things Straight and True
Discovering a misaligned post mid-installation can be incredibly frustrating. Fortunately, there are ways to fix this without having to tear everything down and start again. If the misalignment is minor, you might be able to carefully excavate around the post base and nudge it into the correct position.
For larger misalignments, adjustable post bases can be a lifesaver. These bases allow for fine-tuning even after the concrete has set, giving you the flexibility needed for perfect alignment.
Adapting to Site Conditions: Working with the Unexpected
Sometimes, you uncover hidden surprises underground. Buried rocks or tree roots can throw a wrench into your perfectly planned post locations. Rather than fighting nature, adapt your design. One solution is to slightly adjust the post location, making corresponding changes to the overall pergola dimensions.
Alternatively, consider using concrete piers to elevate the pergola structure above the obstacle. This method preserves structural integrity while accommodating the site's quirks. You might be interested in: How to master...
Adjusting Dimensions: Making the Plan Fit the Reality
Occasionally, your on-site measurements might differ slightly from your original plan. This discrepancy could require adjusting the pergola's dimensions. If the difference is minimal, trimming beams or rafters might be all you need. For larger discrepancies, consider adding or removing a rafter bay. This flexibility ensures a perfect fit.
Recovering from Weather Damage: Protecting Your Progress
Multi-day installations are at the mercy of the elements. Protect your hard work by covering exposed wood with tarps and securing materials against wind. If rain damages partially cured concrete, let it dry completely before assessing the extent of the damage. You might need to remove and repour the affected areas. Taking these precautions will protect your investment and prevent setbacks.
By understanding these practical solutions, you can turn potential problems into opportunities for creative problem-solving. Armed with this knowledge, you'll be prepared to handle any surprises that pop up, ensuring a successful and rewarding pergola project.
Beyond Basic Assembly: Elevating Your Pergola Experience
The journey of pergola installation goes beyond the initial construction. The real transformation happens when you turn a simple structure into a personalized outdoor haven. This involves thoughtful additions and consistent upkeep that elevate your pergola from ordinary to extraordinary. Let's explore how enhancements and maintenance can create a cherished backyard centerpiece.
Weaving Nature into Your Design: Climbing Plants and Pergolas
Adding climbing plants brings natural beauty and a vibrant, living element to your pergola. Choosing the right plants and understanding their growth is key. Some vigorous climbers can overtake a structure or even cause damage. For instance, Wisteria, known for its beautiful blooms, can become heavy, requiring a sturdy pergola made of aluminum or thick wood. Lighter climbers like Clematis or Jasmine suit less robust pergolas. Careful plant selection ensures your greenery enhances, not compromises, your pergola.
Illuminating the Night: Strategic Lighting for Ambiance
Well-placed lighting transforms your pergola into an enchanting evening escape. Strategic lighting creates a warm and inviting atmosphere, extending your outdoor enjoyment into the night. Consider weaving string lights through the rafters for a whimsical touch, or use uplighting on posts for dramatic effect. For pergolas near gardens, pathway lighting increases safety and adds elegance. The right lighting enhances both beauty and function.
Shade Solutions: Balancing Sun Protection and Airflow
The ideal shade solution boosts comfort and creates a welcoming space. Retractable canopies offer versatile sun protection while maintaining airflow, letting you adjust shade throughout the day. For a more permanent option, consider louvered roofs, providing adjustable shade and rain protection for increased usability. Shade sails are a stylish and budget-friendly choice, creating dappled shade while allowing breezes. Your climate and intended pergola use will guide your shade selection.
Maintaining Your Masterpiece: Extending Pergola Lifespan
Regular maintenance is essential for maximizing your pergola's life. Wood pergolas benefit from yearly cleaning and sealing to prevent rot and weathering. Aluminum pergolas require less maintenance, usually just occasional cleaning. Inspecting your pergola seasonally for loose hardware, damage, or insects helps catch potential issues early, preventing costly repairs later. This proactive approach ensures your pergola's longevity. Martha Stewart's pergola restoration project (read here) highlights the importance of long-term care and occasional renovations for a beautiful and functional outdoor space.
For a truly luxurious and low-maintenance experience, consider Gladiator Window and Doors. We offer fully equipped pergolas with integrated lighting and adjustable shade. Explore our custom pergola options today! Our expert team can help design and install the perfect pergola to create your ultimate backyard oasis.


