Why Window Insulation DIY Projects Transform Energy Bills
Drafty windows can significantly impact your energy bills. These small gaps can contribute to a surprising 25-30% of home heat loss. This means a large portion of your heating and cooling budget is wasted. Proper window insulation DIY projects can improve comfort and lower costs, transforming a drafty home into a cozy space while saving you money.
This improvement happens because window insulation addresses key energy efficiency factors. It tackles infiltration, the movement of air between inside and outside. It also combats radiation heat loss through the glass. This dual action stabilizes indoor temperatures and reduces reliance on your HVAC system. These benefits extend to both homeowners and renters, as non-permanent solutions are available.
One popular DIY solution for homeowners is using window insulation kits. These kits typically involve applying a thin plastic film to the window with tape or magnets. This creates an air barrier and reduces heat loss. Kits generally cost between $10 and $20 per square foot. This makes them a budget-friendly alternative to full window replacements, which can cost from $200 to $1,800 per window. Learn more about these kits: Window Insulation DIY: How to Insulate Windows. DIY window insulation is a cost-effective approach, especially for immediate savings.
Understanding Thermal Bridging
The impact of window insulation is clearer when understanding thermal bridging. This occurs when a highly conductive material, like a window's metal frame, allows heat to transfer easily. This creates a “bridge” for heat escape, increasing energy loss. Window insulation breaks this bridge by adding an insulating layer between the frame and your home's interior.
Choosing the Right Insulation for Your Climate
Different insulation approaches have varying effectiveness based on specific issues and your climate. In cold climates, preventing infiltration with tight seals and thick insulation is crucial. In hotter climates, reflecting radiant heat is more effective. Choosing the right materials and techniques maximizes comfort and energy savings. You may find this helpful: Exploring other blog topics. Well-insulated windows maintain the desired indoor temperature, regardless of the season.

Choosing Your Window Insulation Arsenal: Materials That Work

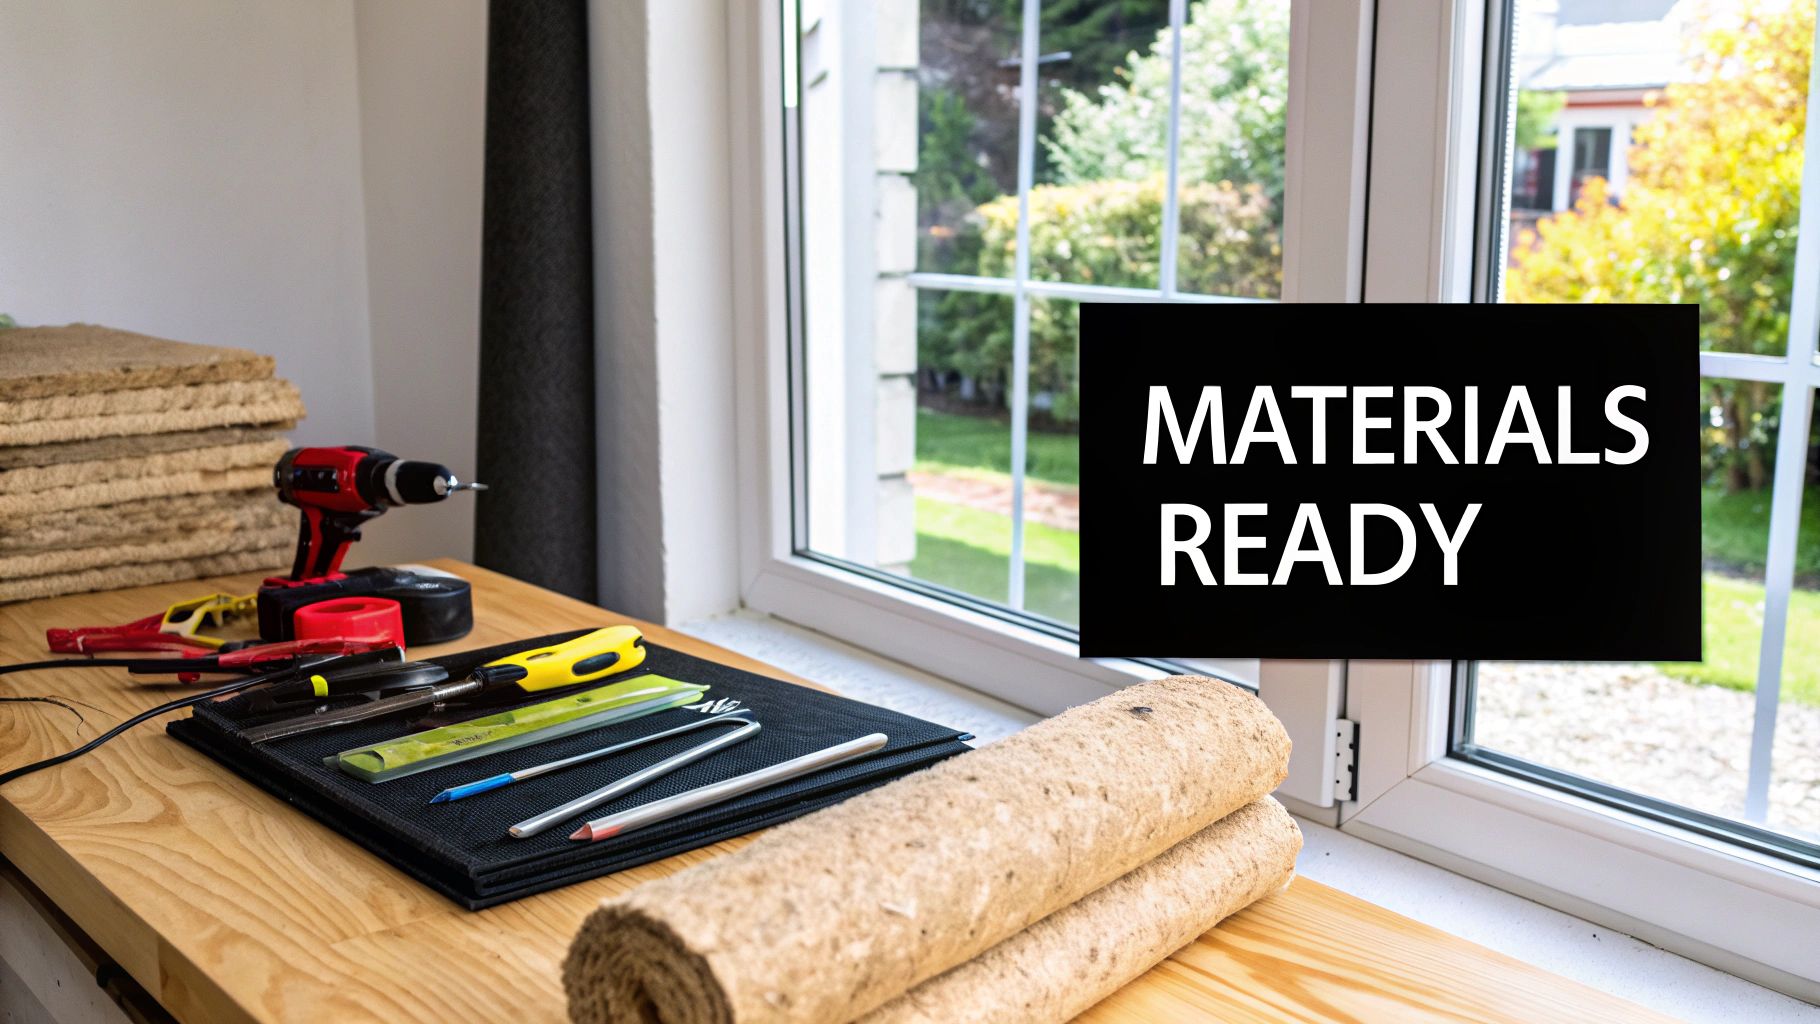
Effective window insulation goes beyond a simple plastic film. A variety of DIY window insulation materials are available, each with its own advantages and disadvantages. Understanding these differences is crucial for selecting the right materials for your window insulation DIY project and achieving optimal results. This includes short-term solutions and more permanent options.
Exploring the Range of Insulation Materials
The ideal window insulation DIY material depends on your budget, window type, and desired insulation level. For example, shrink film window insulation kits offer an economical temporary fix. These kits create an airtight barrier, trapping air against the window and reducing heat transfer. However, their effectiveness depends on proper installation and the window's existing condition.
For a more robust, semi-permanent solution, magnetic insulation strips offer excellent performance. These strips use magnets to form a tight seal around the window frame, particularly beneficial for older windows with gaps. They tend to be more expensive than film kits.
Foam tape is another easy-to-install choice. This compressible tape seals gaps and cracks around window frames. It's a budget-friendly and widely available option. However, questions often arise about foam tape's durability, as it can deteriorate over time, especially with sun and temperature changes.
You might be interested in: How to master window and door selection and installation.
Matching Materials to Window Styles and Climate
Different window styles present unique insulation challenges. Casement windows, for instance, benefit from weatherstripping on the sashes. Double-hung windows often require rope caulk to seal gaps between the sashes. Choosing the appropriate material for your window style ensures a proper seal and maximum effectiveness.
Climate also influences material selection. In colder climates, thicker materials like cellular shades or heavy thermal curtains offer superior protection. In warmer climates, reflective films can minimize heat gain. Considering your local climate helps optimize your window insulation DIY project.
To help you choose the right material, take a look at the comparison table below:
Window Insulation DIY Materials Comparison This table compares the most popular window insulation materials by cost, effectiveness, difficulty level, and durability.
| Material Type | Average Cost | Effectiveness Rating | Installation Difficulty | Durability | Best For |
|---|---|---|---|---|---|
| Shrink Film | Low | Moderate | Easy | Low (1 season) | Temporary fixes, budgets |
| Magnetic Strips | Moderate | High | Easy | Moderate (several seasons) | Drafty windows, easy removal |
| Foam Tape | Low | Low | Easy | Low (1-2 seasons) | Small gaps, temporary fixes |
| Cellular Shades | High | High | Moderate | High (several years) | Energy efficiency, light control |
| Thermal Curtains | Moderate | Moderate | Easy | High (several years) | Heat retention, light blocking |
| Weatherstripping | Low | Moderate | Easy to Moderate | Moderate (several seasons) | Sealing gaps around sashes |
| Rope Caulk | Low | Moderate | Moderate | Moderate (several seasons) | Sealing gaps in older windows |
| Reflective Film | Low | Moderate | Moderate | Low (1 season) | Reducing heat gain in summer |
As you can see, each material has its own unique set of benefits and drawbacks. Choose wisely based on your individual needs and circumstances.
Ensuring Material Compatibility and Durability
Before beginning your project, consider material compatibility. Some materials may react poorly with your window frames. For instance, certain adhesives in insulation film can damage older wood frames. Also, make sure chosen materials are UV resistant, particularly for windows exposed to direct sunlight. This prevents premature deterioration.
Prioritizing durability ensures long-term effectiveness. While temporary solutions like film kits provide immediate savings, they require yearly replacement. Semi-permanent options like magnetic strips or rope caulk offer extended lifespans, reducing long-term costs and effort.
Estimating Quantities and Avoiding Common Pitfalls
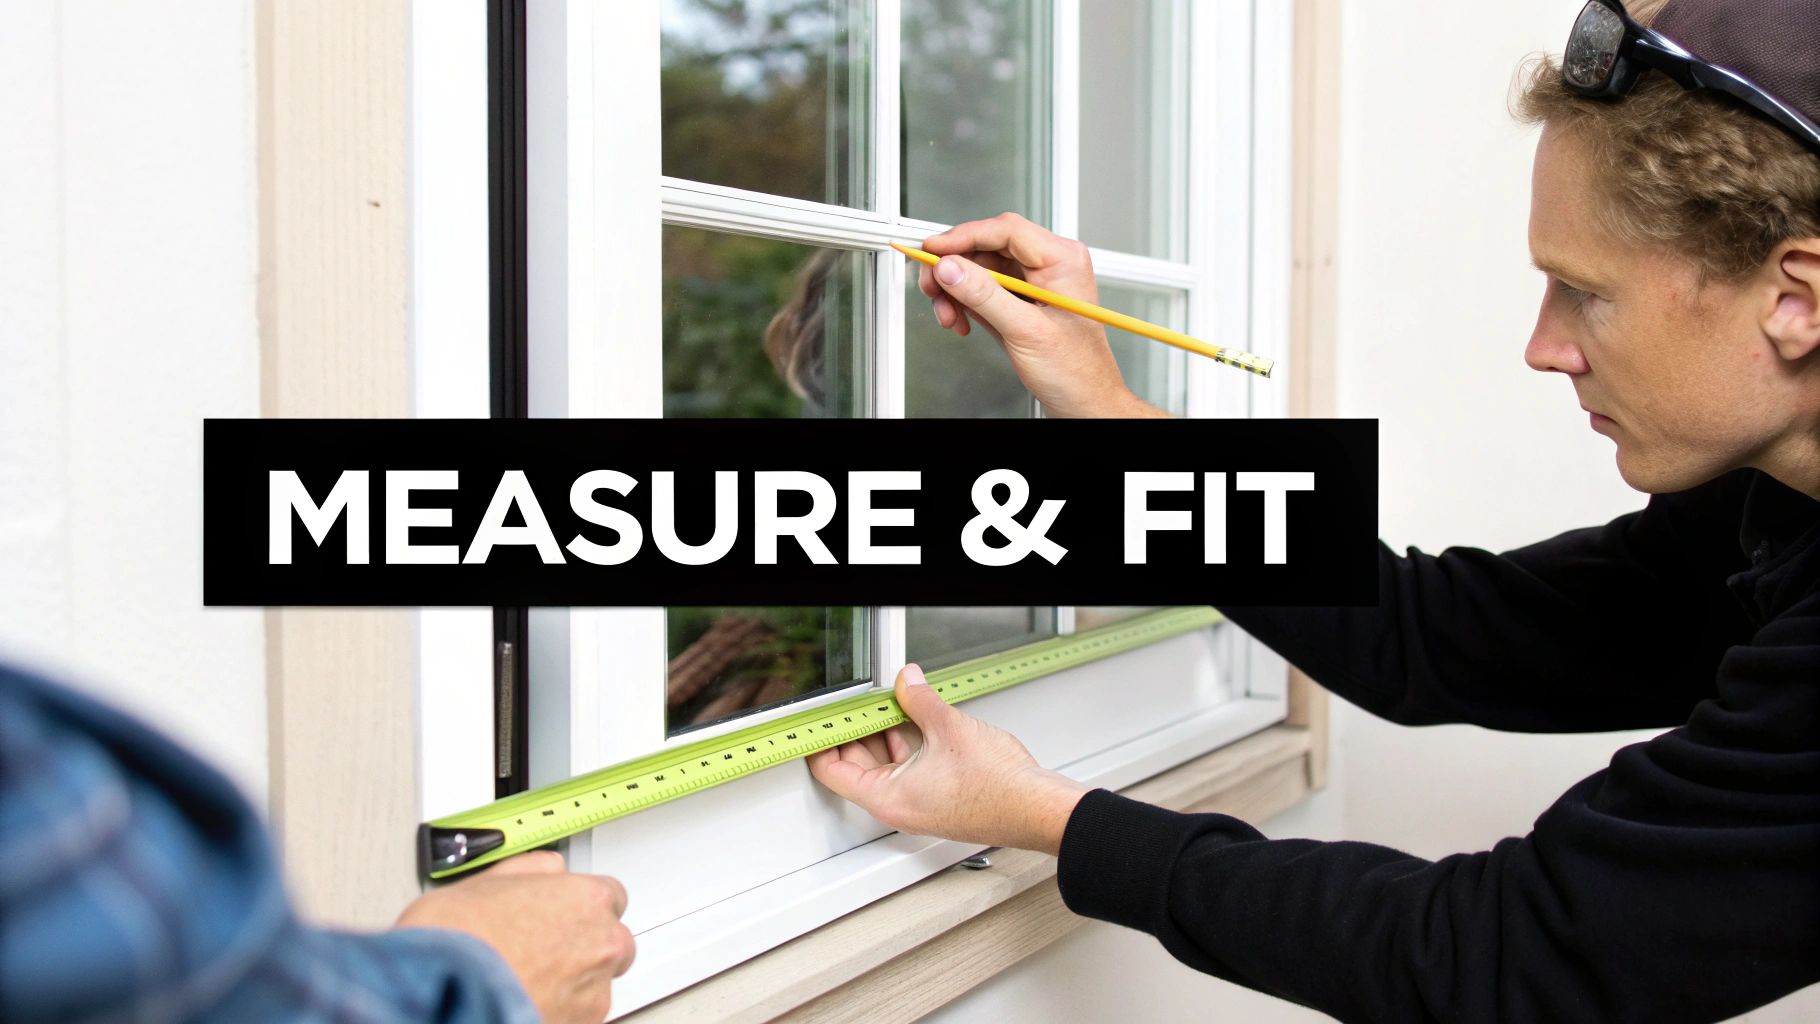
Accurately estimating material quantities prevents mid-project shortages and minimizes waste. Carefully measure your windows and include a small extra amount for cutting mistakes. For film kits, calculate based on window square footage. For weatherstripping or foam tape, determine the linear feet required.
Improper surface preparation is a common installation problem. Thoroughly cleaning window frames before applying any material ensures proper adhesion. Neglecting to address gaps and cracks before adding insulation is another issue. Sealing imperfections first maximizes insulation effectiveness. These steps ensure a successful window insulation DIY project.
DIY With a Professional Touch
Interestingly, professional installers often use similar DIY materials in their own homes. This demonstrates the effectiveness and affordability of these solutions. However, professionals stress meticulous preparation and correct installation as crucial for professional-grade results. By focusing on these aspects, DIYers can maximize their chosen materials' benefits.
Mastering Window Film Installation: The Complete Guide

Window film offers a fantastic way to boost your window insulation DIY efforts. However, improper installation can lead to frustrating bubbles and diminished effectiveness. This guide will walk you through the steps professionals use to achieve a flawless, practically invisible finish.
Preparation is Key: Setting the Stage for Success
Before you begin, thorough preparation is essential. This starts with meticulously cleaning the window and frame. A simple solution of water and a few drops of dish soap works wonders. Many professionals, however, opt for a specialized cleaning solution to prevent adhesion problems down the line. For instance, a mix of isopropyl alcohol and water can effectively remove any stubborn residue that might interfere with the film.
This crucial cleaning step is often missed in typical instructions, but it's the secret to professional-looking results.
Precise Cutting and Application: Achieving a Seamless Look
Once the window is clean and dry, it's time to cut the film. Accurate measurements are key. Measure the windowpane carefully, adding a small margin on all sides for complete coverage. Using a sharp utility knife and a straight edge, cut the film precisely.
A pro tip is to hold the blade at a slight angle. This prevents jagged edges and ensures a clean, precise cut, resulting in a perfect fit within the window frame. For more detailed instructions, you might find this helpful: How to master...
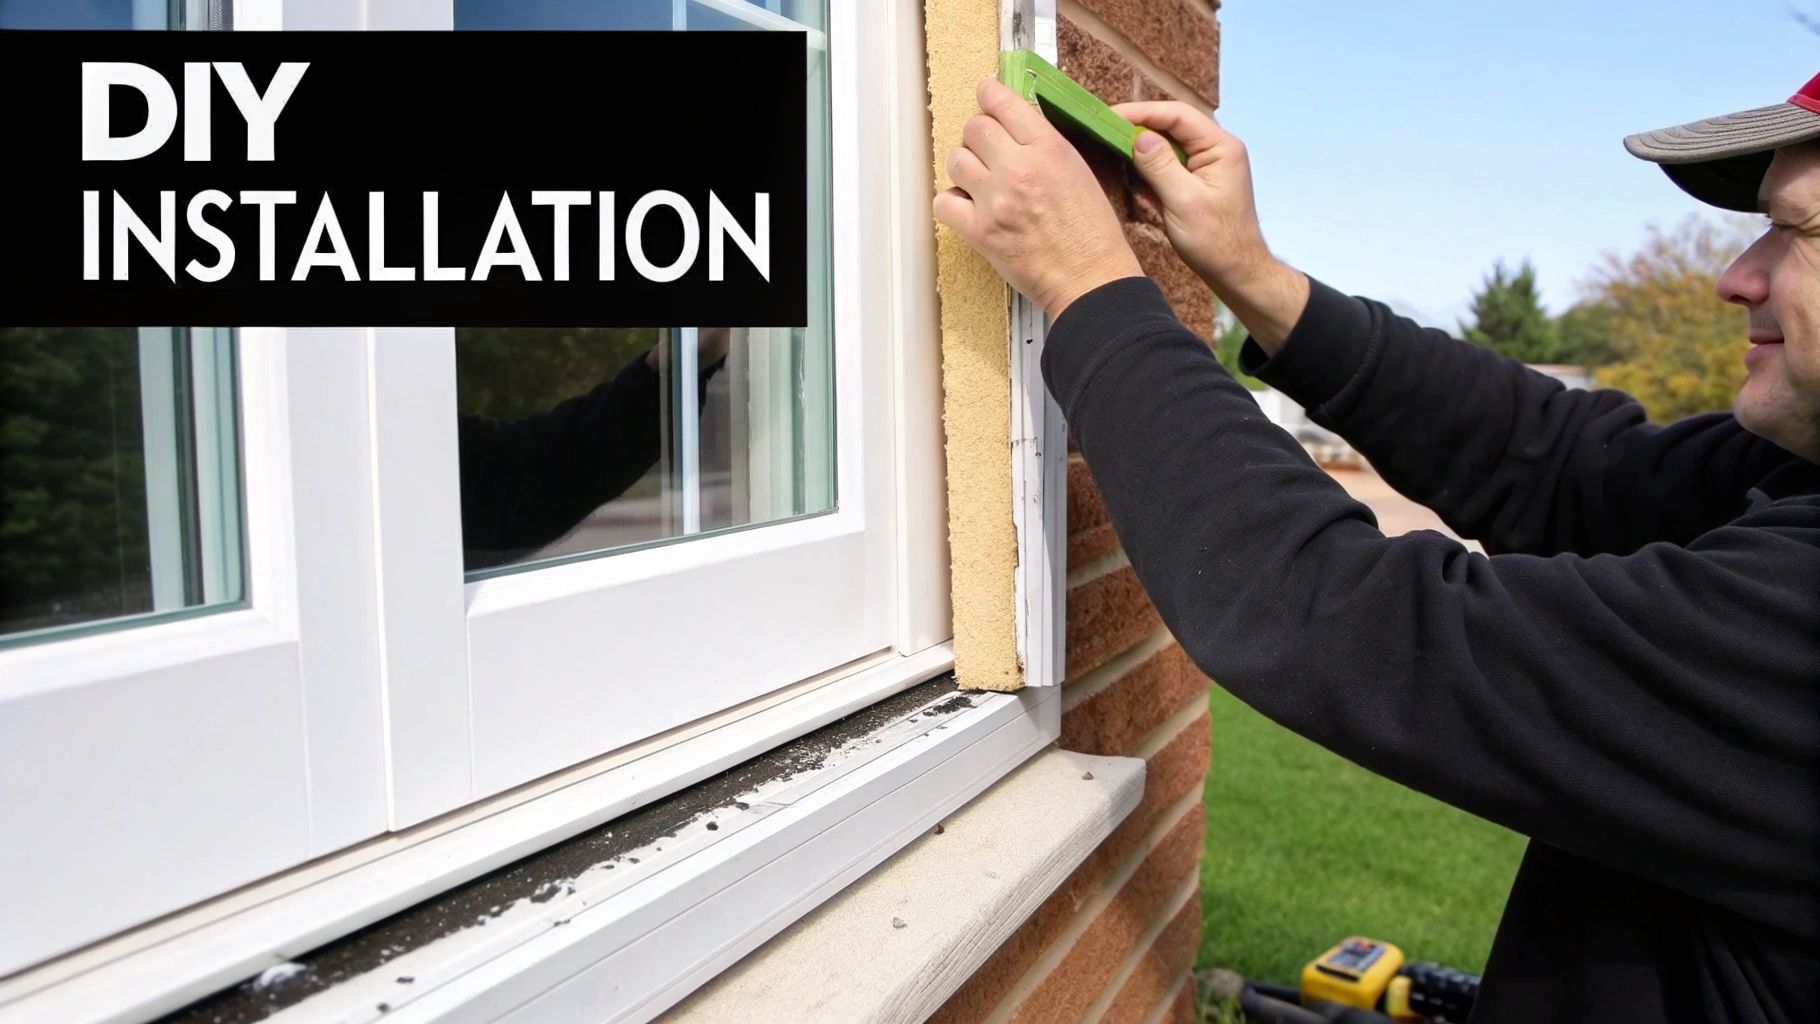
Next, apply double-sided tape to the window frame, positioning it on the outer edge. This creates a small air pocket between the film and the glass, adding an extra layer of insulation. Carefully peel off the backing and apply the pre-cut film, starting from the top corner. Smooth out the film as you go, ensuring it adheres firmly to the tape.
Correctly installed window insulation kits can significantly reduce energy costs. Studies show potential savings of 30% to 40% on utility bills. The film is also easily removable during warmer months, allowing for better ventilation. However, it's important to remember that these kits aren't suitable for all windows, especially those with existing damage, highlighting the importance of proper window maintenance. Learn more about window insulation here.
The Hairdryer Trick: Achieving a Drum-Tight Finish
The hallmark of a professional finish is the use of a hairdryer. This is where many DIY attempts fall short. Gently heat the applied film with the hairdryer, keeping it moving to avoid overheating. The heat shrinks the film, creating a drum-tight, wrinkle-free surface.
This not only looks better but also improves the film's insulation properties, similar to how shrink wrap works, but on a larger scale.
Handling Challenging Shapes and Creating Seams
Not every window is a perfect rectangle. For arched or circular windows, the same principles apply with a few adjustments. Relief cuts in the film allow it to conform to the curves. For larger windows requiring multiple sheets, overlapping slightly and using the hairdryer to blend the edges creates a virtually invisible seam.
Troubleshooting and Maintaining Your Window Film
Even with meticulous installation, occasional issues can arise. Shrinkage gaps might appear over time due to temperature changes. A small piece of film and a hairdryer can easily patch these. A cloudy appearance can indicate trapped moisture. Peeling back the film carefully and allowing the moisture to evaporate usually solves this.
Regular maintenance extends the life of your window film. Cleaning with mild soap and water removes dirt and grime. Avoid abrasive cleaners, which can scratch the film. Periodically inspect the film for any damage. With proper care, your window insulation DIY project will provide years of comfort and energy savings.
Testing Installation Effectiveness
After installation, test for drafts around the film's edges. An incense stick can help detect subtle air movement. This will pinpoint areas needing additional sealing.
By following these steps, you can master window film installation, turning your windows into energy-efficient barriers and maximizing your window insulation DIY investment.
Beyond Plastic Film: Alternative Insulation Techniques

While plastic film is a popular DIY solution for insulating windows, other methods often deliver superior results. This is especially true when dealing with different window types and specific insulation challenges. This section explores a variety of DIY weatherization techniques, going beyond simple film, and incorporates expert insights from energy auditors and restoration specialists. These alternative methods can significantly boost the effectiveness of your window insulation DIY projects.
Weatherstripping: Maintaining a Tight Seal
Weatherstripping plays a vital role in effective window insulation DIY. It seals those pesky gaps around window sashes and frames, preventing drafts and air leakage. However, not all weatherstripping is equal. Some types, like foam tape, are prone to rapid deterioration, particularly with fluctuating temperatures.
For long-lasting performance, opt for weatherstripping materials that can withstand seasonal expansion and contraction. Silicone or felt weatherstripping generally provide better durability and maintain their seal over time. This helps ensure your windows remain properly sealed throughout the year.
Draft-Stopping: European Techniques for Superior Performance
Consider draft-stopping techniques in addition to weatherstripping. European methods often surpass American standards in this area. Using specialized draft excluders, such as brush seals or rubber gaskets, can substantially reduce air infiltration around window frames.
These European approaches often offer more comprehensive sealing compared to traditional American methods, which typically rely on foam tape or V-strips. By targeting specific areas prone to drafts, these methods maximize energy savings in your window insulation DIY projects.
Thermal Curtains and Shades: Blocking Cold Effectively
Thermal curtains and shades are another valuable tool for window insulation DIY. However, their effectiveness varies. Some curtains may seem heavy but lack real insulating properties. For genuine cold-blocking performance, pay close attention to the curtain's construction.
Look for features like multiple layers, tight weaves, and insulating linings. Cellular shades, also known as honeycomb shades, are an excellent choice. Their unique cellular structure traps air, creating an effective insulation barrier. You might be interested in: How to master window and door options.
Combining Methods for Maximum Impact
Combining different window insulation DIY methods often produces the best results. For example, applying weatherstripping to seal gaps and then adding thermal curtains creates a powerful combination against drafts and heat loss. However, the installation sequence matters.
Apply weatherstripping before hanging curtains to ensure a seamless and effective seal. Also, understanding material compatibility is essential. Some adhesives in insulation film may not bond well with weatherstripping. Researching compatibility beforehand prevents potential issues.
Addressing Problematic Windows
Certain windows pose unique insulation challenges. Basement hopper windows, due to their design, frequently require specialized sealing techniques. Historic wood casements necessitate careful consideration to preserve their architectural integrity while improving energy efficiency.
Adapting your window insulation DIY approach to these specific window types ensures effective insulation without sacrificing aesthetics or functionality. Careful planning is key for these more challenging window types.
Aesthetic Considerations
Effective window insulation DIY doesn't have to mean compromising your home's appearance. Choose weatherstripping and draft excluders that blend seamlessly with your window frames. Select thermal curtains and shades that complement your interior décor.
By considering aesthetics, you can improve energy efficiency without impacting your home's style. Practical solutions can also be visually appealing.
DIY Insulation Methods Effectiveness Rating
The following table rates different window insulation DIY methods based on several factors, including energy savings, cost-effectiveness, and ease of installation. It provides a quick overview of the pros and cons of each method.
| Insulation Method | Energy Savings | Cost-Effectiveness | Ease of Installation | Appearance Impact | Ideal Window Types |
|---|---|---|---|---|---|
| Weatherstripping | Moderate | High | Easy | Low | All Types |
| Draft Excluders | Moderate | High | Easy to Moderate | Low | Drafty Windows |
| Thermal Curtains | Moderate | Moderate | Easy | Moderate | All Types |
| Cellular Shades | High | Moderate | Moderate | Moderate | All Types |
| Combination of Methods | High | High | Moderate | Moderate | All Types |
As this table illustrates, combining methods generally provides the highest energy savings and cost-effectiveness. While individual methods offer benefits, a layered approach is often the most effective. By exploring these alternatives and following these tips, you can enhance your window insulation DIY efforts, achieving optimal energy savings and greater home comfort.
The Real ROI of Window Insulation DIY Projects
Beyond simply feeling warmer, many homeowners wonder about the true return on investment (ROI) of DIY window insulation. How do these projects translate into actual savings? This section explores the measurable financial benefits of various DIY approaches, analyzing real-world examples and demonstrating how to calculate your potential savings.
Analyzing Case Studies and Energy Monitoring Data
Examining utility bills from homeowners before and after they've insulated their windows reveals the tangible impact of these projects. In many cases, significant reductions in heating and cooling costs are evident. Combining this data with energy monitoring allows us to pinpoint the most effective methods and materials. These real-world examples offer concrete evidence of the financial perks.
The economic benefits of DIY window insulation are considerable. By reducing heat loss and improving a home's overall energy efficiency, window insulation kits can lead to substantial savings on utility bills. Homeowners can anticipate reductions in energy consumption between 30% and 40%, depending on the seal's effectiveness and the insulation kit's quality. However, it's important to remember these kits aren't permanent and require annual replacement. For more information on temporary window insulation, read Does plastic window film really help with drafts?.
Calculating Your Potential Savings
Your potential savings depend on several factors, including your local climate, energy rates, and your windows' current efficiency. However, you can estimate your potential savings by calculating your current energy loss through your windows and comparing it to the projected reduction after adding insulation.
For instance, if your annual heating bill is $1,000 and you anticipate a 20% reduction after insulation, you could save $200 annually. This simple calculation provides a realistic view of the potential financial benefits. For guidance on window selection and installation, check out this resource: How to master window and door selection and installation.
Short-Term vs. Long-Term Value: Finding the Right Balance
Different insulation methods offer different types of ROI. Temporary solutions like window insulation film provide immediate returns due to their low initial cost, but require yearly replacement. Semi-permanent options such as weatherstripping or magnetic strips have higher upfront costs but last longer, reducing recurring expenses.
When Temporary Solutions Outperform Permanent Ones
Sometimes, temporary solutions can be more financially sensible than permanent upgrades. In milder climates or for renters, for example, annually applying window film may offer a better return than investing in costly window replacements. This is especially relevant given the relatively short payback period of temporary solutions.
Comparing DIY with Professional Alternatives
Comparing DIY costs with professional services highlights substantial savings potential. While professional window replacement provides the most significant long-term benefits, it carries a higher price tag. DIY solutions offer a budget-friendly way to improve energy efficiency dramatically without a large investment.
Knowing When Replacement Makes More Sense
While window insulation DIY offers significant advantages, there are times when full window replacement is the more financially sound choice. For example, severely damaged windows or those significantly impacting structural efficiency might benefit more from replacement. In these instances, insulation can serve as a temporary measure while planning for a full replacement.
By carefully considering your specific needs and situation, you can determine the most effective and financially rewarding approach to window insulation. Understanding the real ROI empowers you to make informed decisions and maximize your energy savings.
When to Call the Professionals: Beyond DIY Solutions
DIY window insulation projects can save you money and boost your home's energy efficiency. However, it's important to know their limits. Knowing when to call a professional can prevent wasted time and resources. This section explores situations where professional help is essential, offering insights from building science and restoration specialists.
Identifying Structural Issues: Beyond the Reach of DIY
Sometimes, problems extend beyond simple drafts. Structural issues, such as rotted window frames or warped sashes, can't be fixed with weatherstripping or film. These problems demand professional repair or replacement. DIY attempts in these situations offer only temporary, ineffective solutions. Professionals can evaluate the damage and suggest the best course of action.
Condensation Problems: Indicators of Larger Envelope Issues
Condensation on your windows might indicate more than just drafts. It could signal problems with your home's building envelope, the barrier separating indoor and outdoor environments. Excessive condensation might point to issues with ventilation, insulation, or even air leaks elsewhere in your home. A professional assessment can pinpoint the root cause.
The Hidden Costs of Delaying Replacement: A Long-Term Perspective
While DIY window insulation provides immediate savings, delaying necessary replacements can lead to hidden expenses. Deteriorating windows continue to lose energy, eventually negating initial DIY savings. Persistent drafts and moisture can damage surrounding walls and trim, resulting in larger, more costly repairs down the road.
It's crucial to consider the long-term effects of postponing replacement and weigh them against the upfront cost of professional service. DIY window insulation kits can improve energy efficiency, but they aren't a replacement for professional window replacement when needed. Incorrect insulation can lead to persistent drafts and worsen the condition of older windows. If windows have structural damage or are beyond repair, insulation kits might offer only temporary relief. Learn more: Choosing Between DIY and Professional Window Replacement.
Professional Evaluation: Questions, Testing, and Informed Decisions
Professionals use specific methods to assess window condition. They consider factors like window age, glass type, and the overall state of frames and sashes. Simple testing methods, like pressurizing the home to detect air leaks or using thermal imaging cameras to locate heat loss, provide valuable information. This allows professionals to give informed advice about repair versus replacement.
Historic Windows: Balancing Preservation and Performance
Historic windows need special attention. Preserving their architectural significance while improving energy efficiency requires a delicate balance. Professionals specializing in historic restoration can offer suitable solutions that respect the historical value of the windows while enhancing their performance.
Finding Qualified Professionals: Ensuring Expertise and Quality
Choosing the right professional is crucial for a successful outcome. Seek certifications and experience related to window installation and repair. Requesting references and checking online reviews can offer helpful insights. Finding qualified professionals ensures quality workmanship and lasting results.
Understanding Cost Factors: Transparent and Predictable Pricing
Professional window replacement costs vary based on several factors, including the number of windows, the type of windows selected, and the installation's complexity. Professionals should provide clear, detailed quotes outlining all costs. Understanding these factors allows you to make informed decisions and budget accordingly.
Beyond DIY: Making Informed Decisions
By understanding the limitations of DIY and recognizing the need for professional expertise, you can make the best decisions for your home. While DIY window insulation is a useful tool for improving energy efficiency, professional intervention provides lasting solutions for more complex issues.
Ready to upgrade your windows with Gladiator? We offer high-quality, custom windows and doors at the lowest prices in the USA. From large sliding doors to fully loaded pergolas, we have the perfect solution for your home. Visit us at Gladiator Window and Doors and discover how we can transform your home's style and energy efficiency.


