


Choosing the Perfect Windows for Your Home

Picking the right windows can feel overwhelming. So many choices! From the style and material to energy efficiency and cost, where do you even begin? This guide breaks down the essentials, making the process easier so you can confidently choose windows that will beautify your home for years to come.
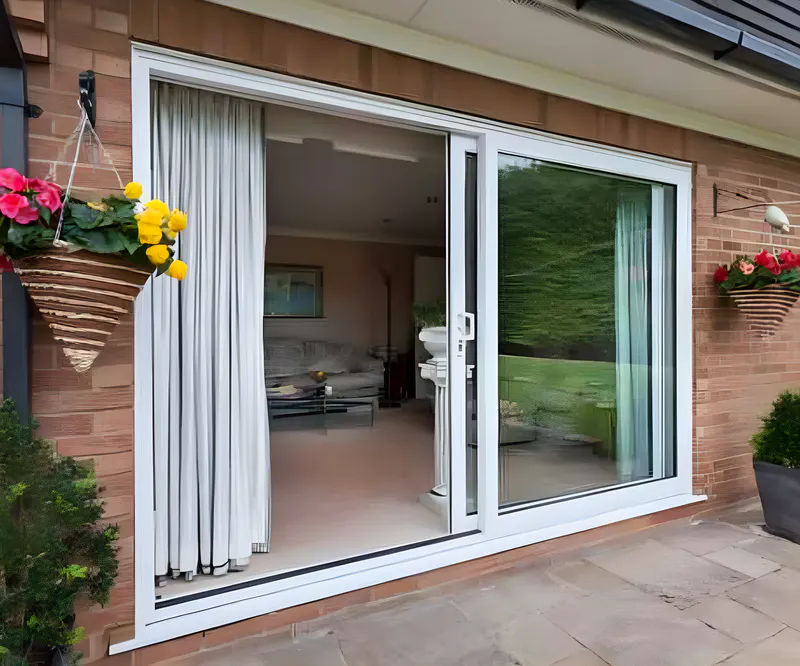
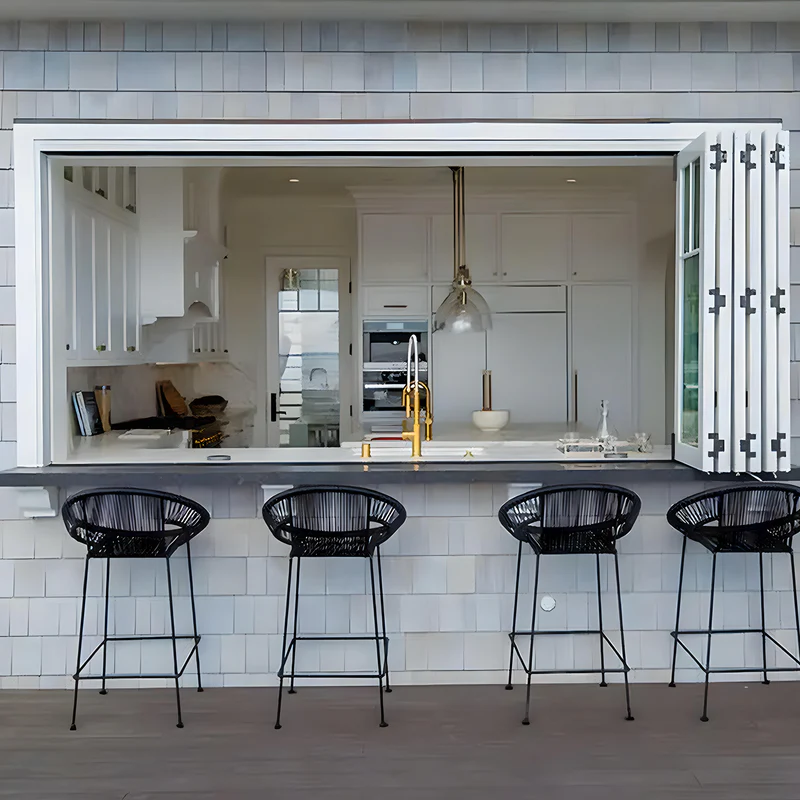
Understanding Window Styles
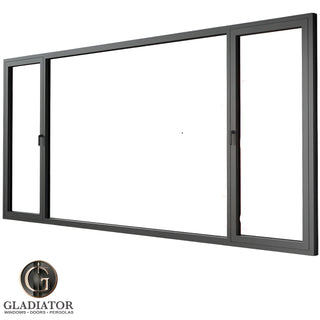
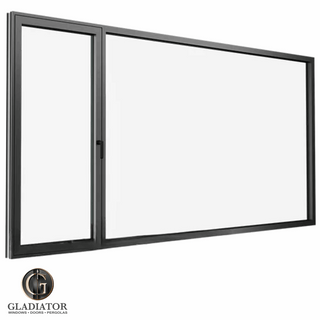
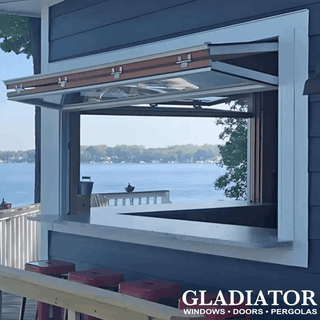
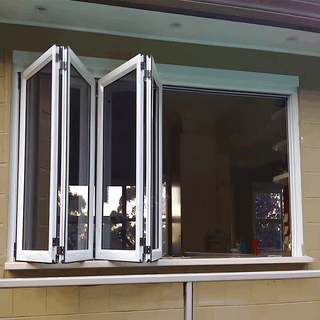
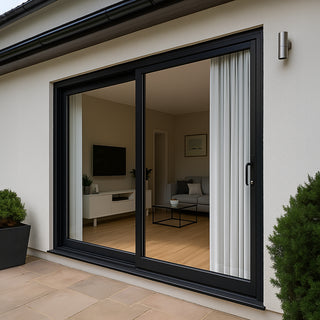
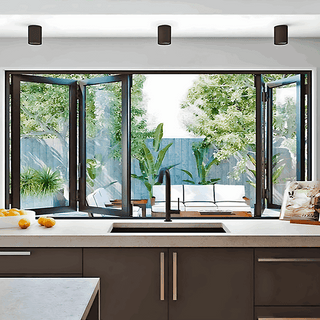
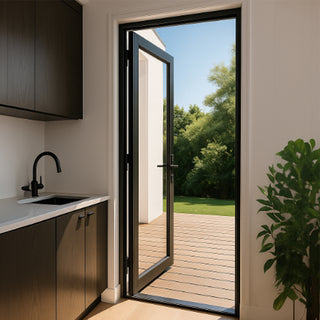
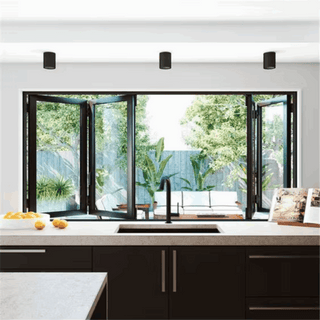
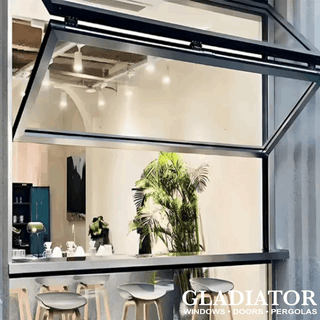
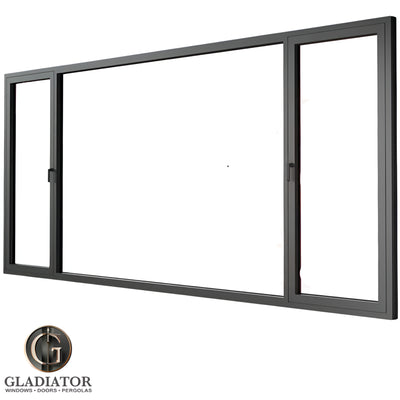
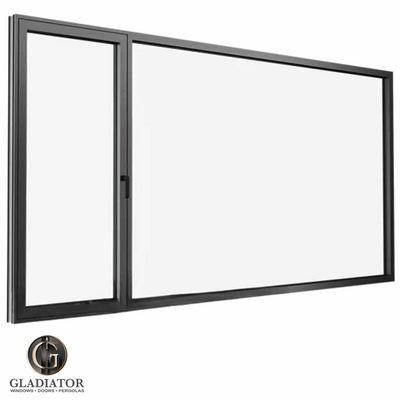
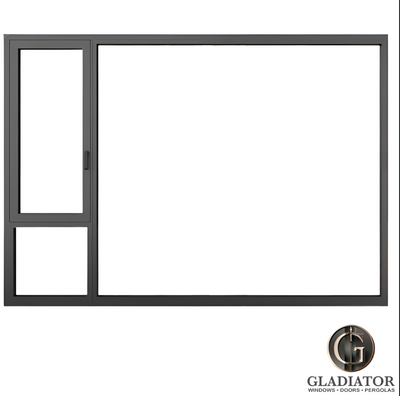
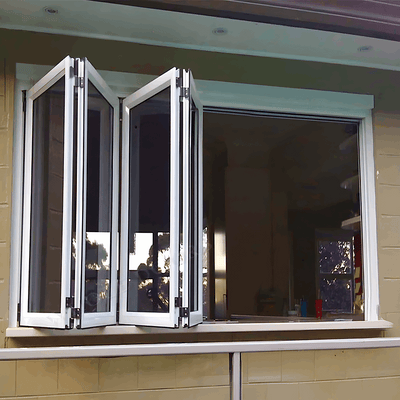
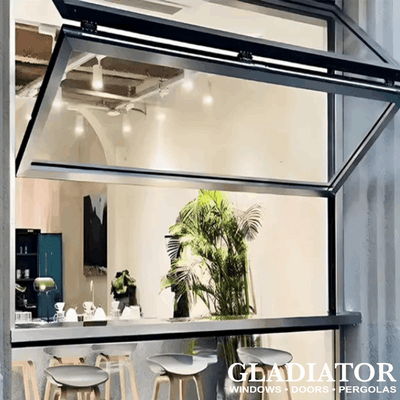
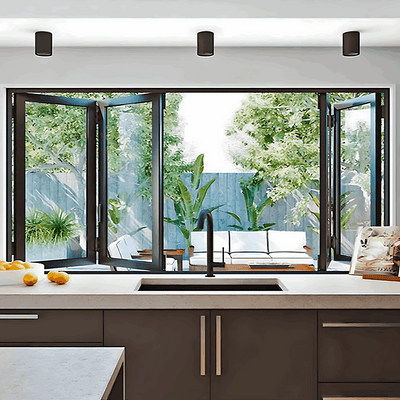
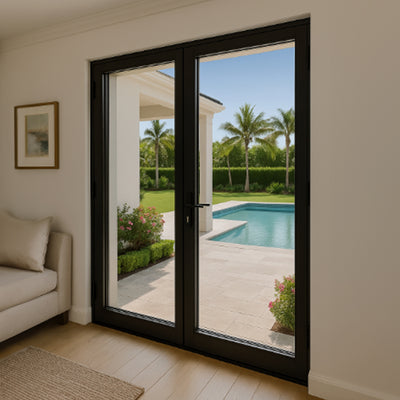
Window styles significantly impact your home's look and how well they work. Double-hung and single-hung windows are timeless options, offering great ventilation. Casement windows, hinged on one side, crank outward, maximizing airflow and providing clear views.
For larger openings, sliding windows or picture windows flood rooms with natural light. For a unique touch, specialty shapes like bay or bow windows add architectural detail and create extra space. Matching the window style to your home's architecture creates a cohesive and attractive final product.
Window Materials: Balancing Performance and Budget
Your choice of window material impacts performance, maintenance, and cost. Vinyl windows are popular for their energy efficiency, affordability, and easy care. Wood windows offer classic beauty but require more maintenance and tend to be pricier.
Fiberglass windows provide excellent durability and energy efficiency but come with a higher price tag. Aluminum windows are strong and rust-resistant but may not be as energy-efficient. To help you compare, we've created a table outlining the pros and cons of each material:
Window Material Comparison This table compares the key properties of different window materials to help homeowners choose the right option for their needs.
| Material | Energy Efficiency | Durability | Maintenance | Cost Range |
|---|---|---|---|---|
| Vinyl | Excellent | Good | Low | Affordable |
| Wood | Good | Good | High | Moderate to High |
| Fiberglass | Excellent | Excellent | Low | High |
| Aluminum | Fair | Excellent | Low | Moderate |
This table highlights the key differences between each material. Consider your climate, budget, and preferred style when making your decision. For instance, in harsh climates, the durability of fiberglass or vinyl makes them ideal choices.
The U.S. windows market, currently valued at about $12.32 billion, offers a vast selection of these materials. Projected to reach $16.41 billion by 2030, this growing market demonstrates the continued importance of window replacements and home improvements. Vinyl windows, holding 45.12% of the market share, prove popular among homeowners looking for energy-efficient and low-maintenance options. More detailed statistics are available in this US Windows Market Report.
Choosing the right windows comes down to balancing style, material, and budget. Careful consideration of these factors will ensure your new windows enhance your home's beauty and functionality. Our blog sitemap offers further information on various window and door topics. By understanding the nuances of each option, you can create a comfortable and energy-efficient home that you'll love for years to come.
Tools and Materials That Actually Make a Difference
Successful window installation relies on having the right tools and materials. It's not about buying the entire hardware store, but about understanding what truly matters. This knowledge saves you both money and frustration. This guide highlights the essential tools and materials, separating the necessities from the extras.
Essential Tools for a Smooth Installation
Some specialized tools are worth the investment. A window installation tool, for example, assists with precise placement and adjustments. Shims are essential for leveling and ensuring a snug fit. A caulking gun is indispensable for applying sealant correctly, preventing drafts and leaks.
Other crucial tools include a tape measure, a level, a drill, and safety glasses. These are fundamental for accurate measurements, proper alignment, securing the window, and protecting yourself throughout the process.
Materials You'll Need for the Job
Besides tools, using the right materials is equally important. High-quality window sealant forms a weathertight barrier, maximizing energy efficiency. Screws specifically designed for window installation provide a secure, long-lasting hold. Shims in various thicknesses are essential for precise leveling, accommodating any minor imperfections in the window opening.
Having enough of these materials is key. For a standard window, plan on roughly 10-12 shims, a box of window screws, and one to two tubes of sealant. Larger windows or more complex installations will naturally require more. Planning ahead avoids mid-project trips to the store.
You might be interested in: How to master your product selection.
Installer Hacks: Unexpected Everyday Items
Surprisingly, some professionals utilize common household items for certain tasks. A putty knife helps clean out old sealant. A small block of wood can act as temporary support. While not replacements for dedicated tools, these can be handy in a pinch.
Interestingly, the global windows market is growing significantly, projected to reach $52 billion by 2029. This is driven by factors like urbanization and the demand for energy-efficient solutions. Learn more about window market trends.
The difference between a DIY and professional installation often boils down to the right tools. Having the essentials and understanding their use leads to a smoother, more efficient process and a better result. Choosing the right tools and materials ensures a properly installed window that improves your home's comfort, energy efficiency, and curb appeal.
The Step-by-Step Installation Process That Works
Updating your home with new windows can seem like a big job. But with a clear guide, a confident DIY installation is entirely possible. This section simplifies the process into easy-to-follow steps, pointing out potential problems and offering professional tips for a top-notch result.
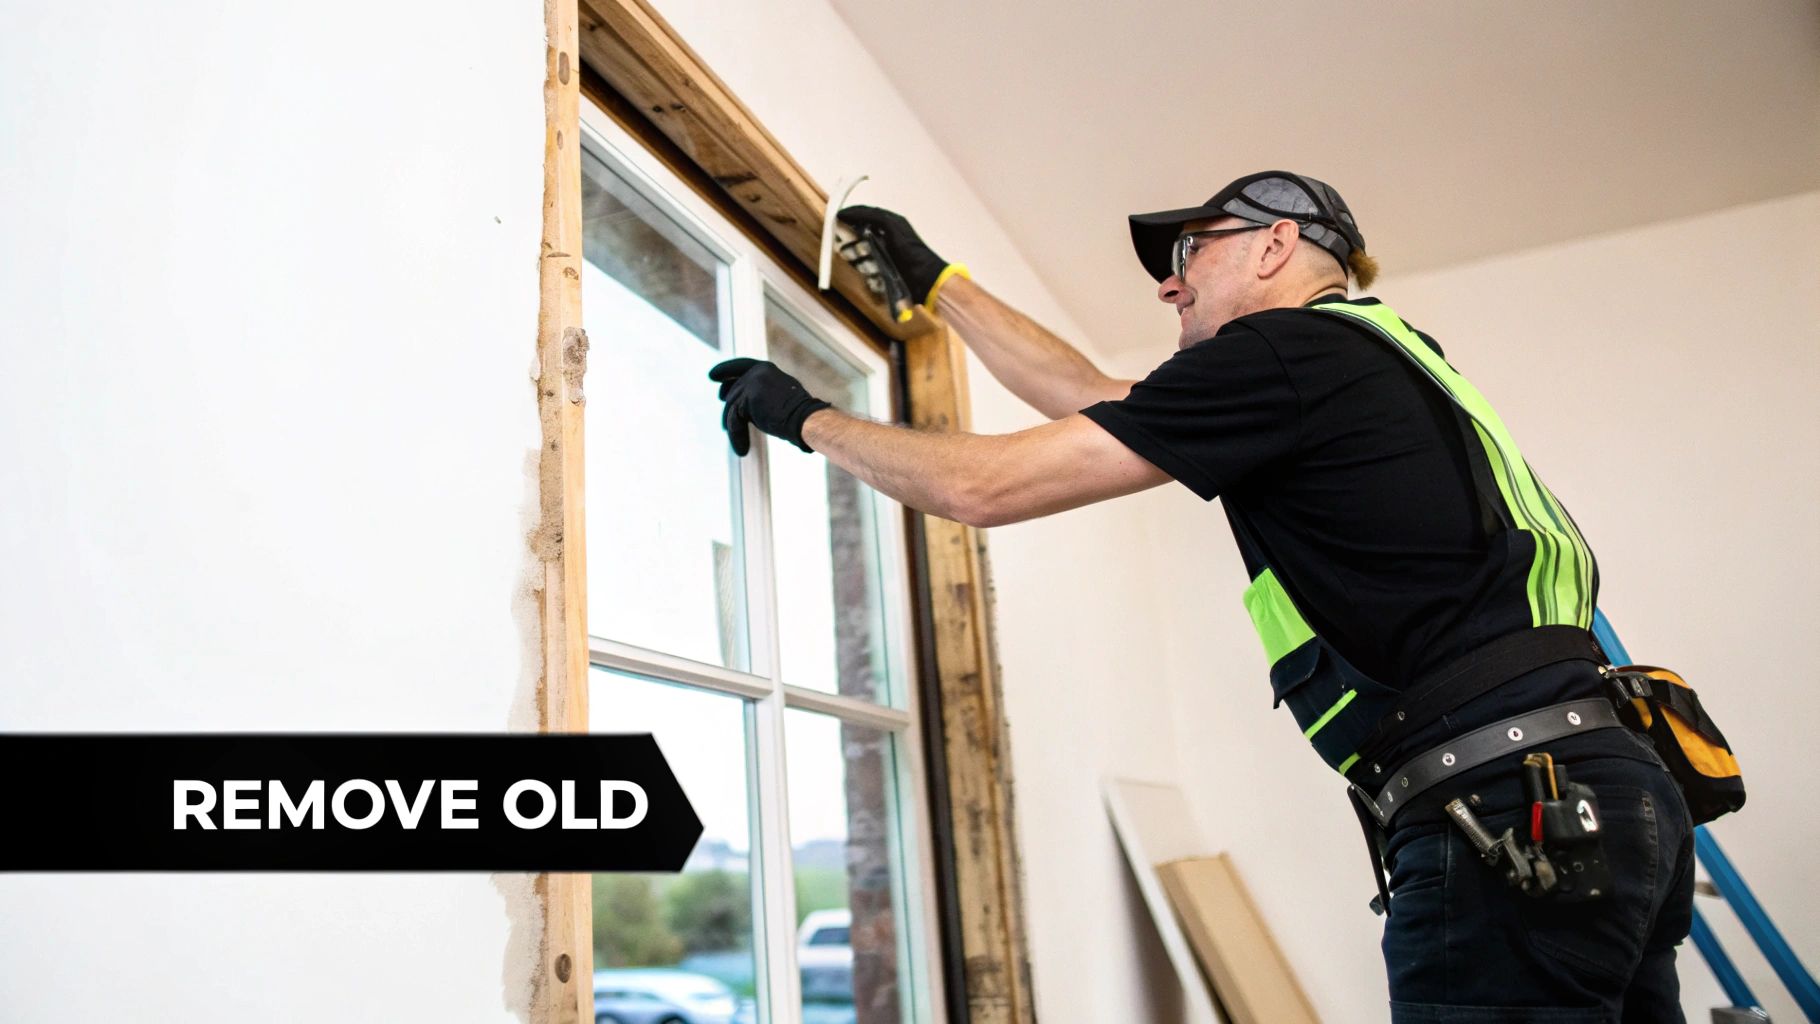
Preparing the Window Opening
Good preparation is essential before you even think about inserting the new window. Make sure the opening is clean, level, and square. Remove any old caulk, debris, or stray nails. This creates a solid base for the new window and helps ensure a weathertight seal.
Measure the opening diagonally in both directions. Matching measurements mean your opening is square. If they're different, you might need to make some adjustments. This small step is crucial for proper window function and avoids problems down the road.
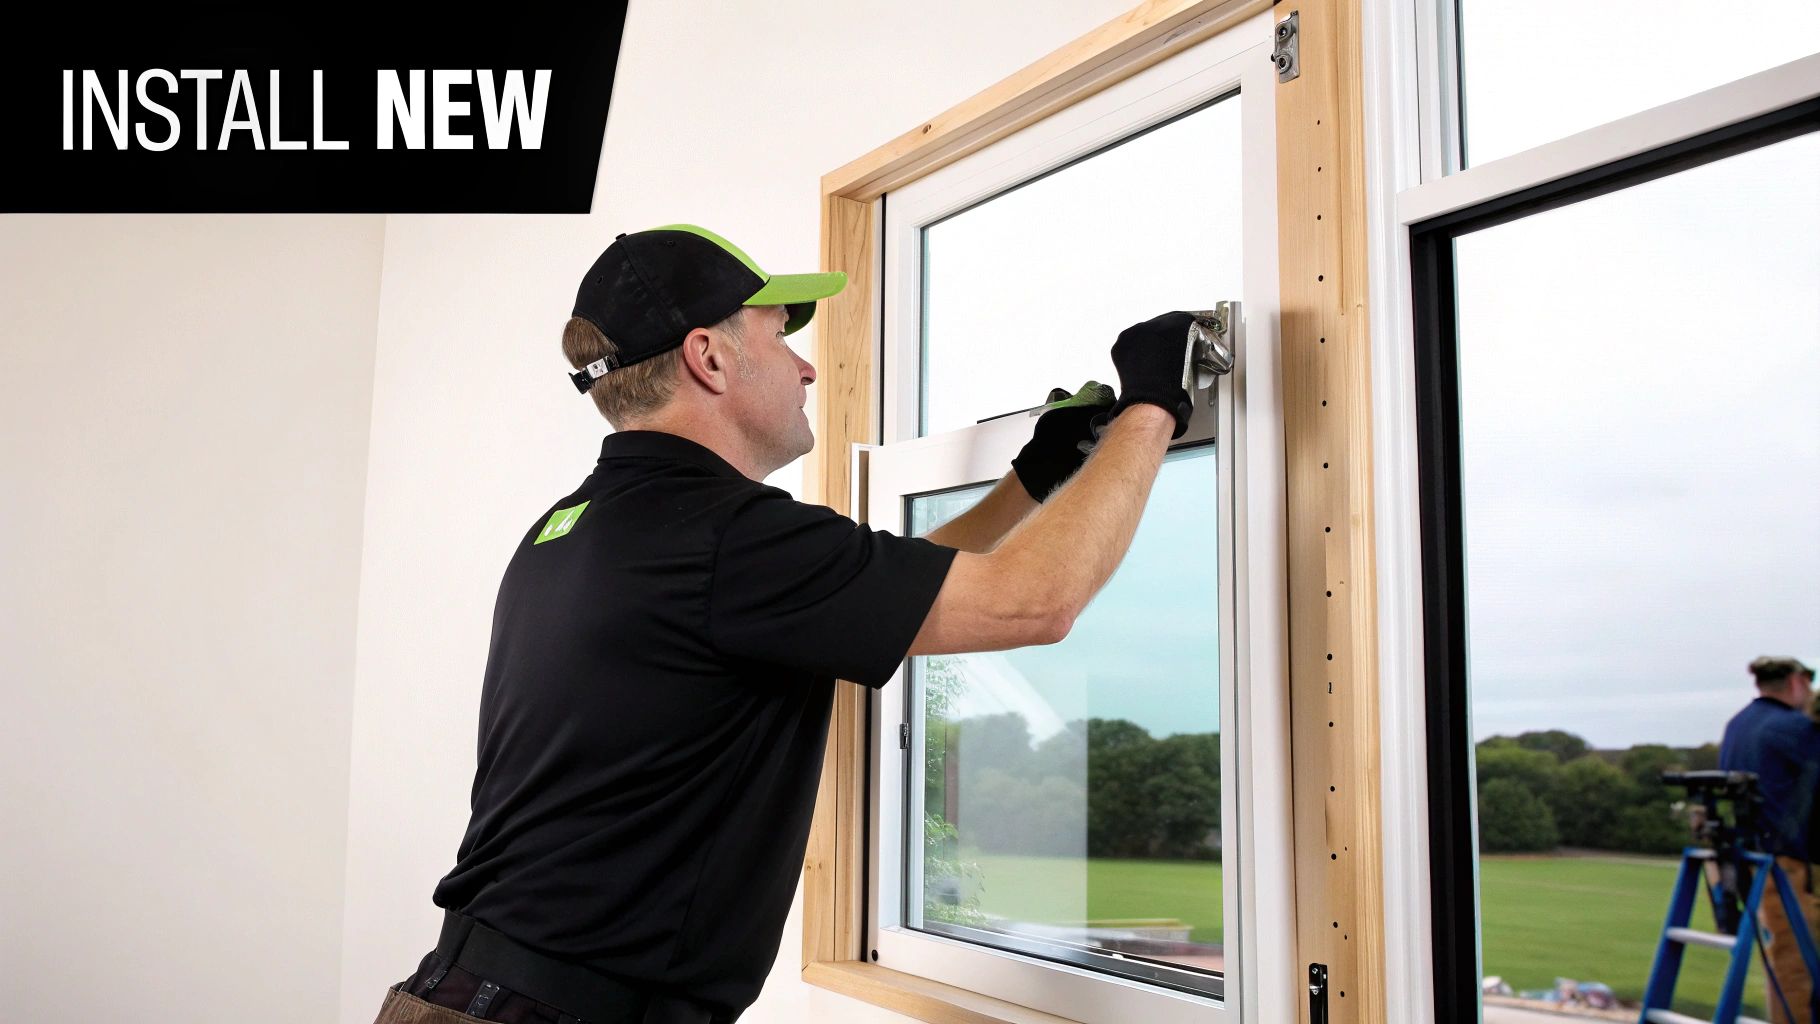
Installing the Window: A Step-by-Step Approach
Now, carefully place the window in the opening. Use shims to level it, making sure it's plumb and square. Precise positioning is key for smooth operation and prevents strain on the window frame.
- Place the window into the opening.
- Check for level and plumb using a level.
- Insert shims as needed to get perfect alignment.
Next, secure the window to the frame with screws. Drive them straight and make sure they’re flush. Over-tightening can warp the frame, so aim for secure but not too tight. This balance maintains the window's structural integrity.
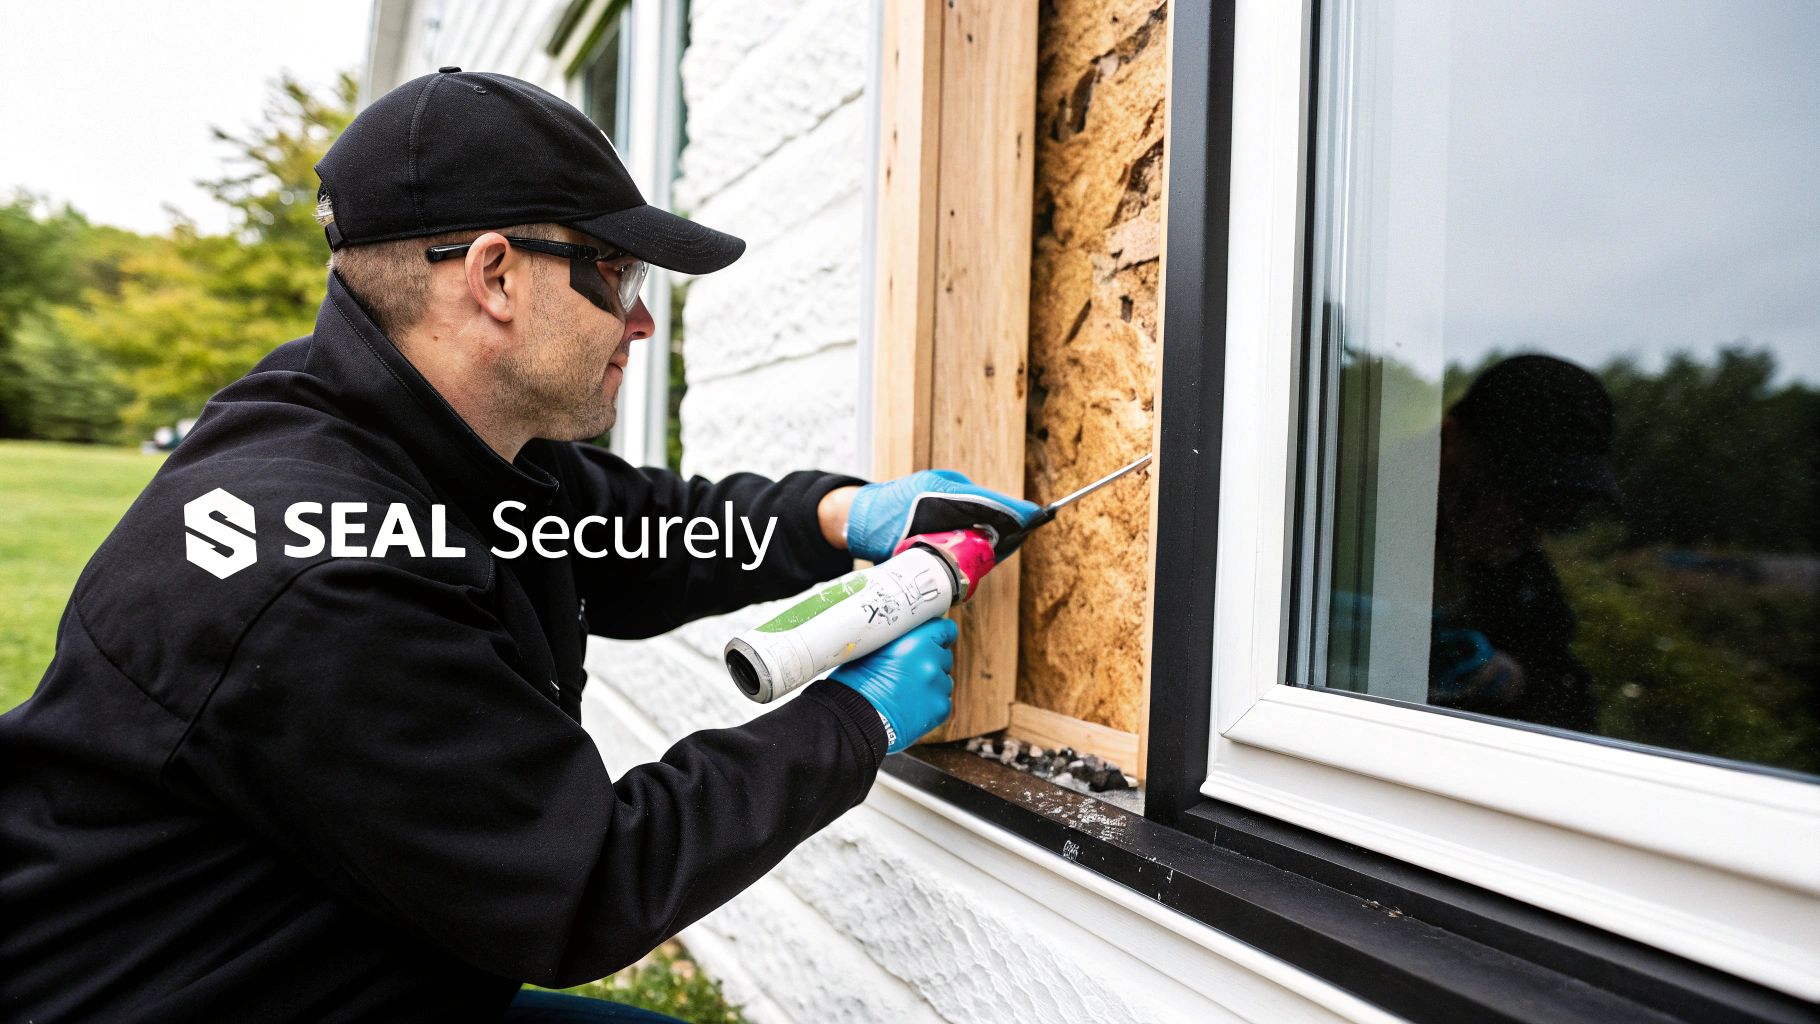
Applying Flashing and Sealant: Preventing Water Infiltration
One of the most important, but often overlooked, parts of window installation is properly applying flashing. Flashing keeps water out, protecting your home from potential damage. It’s a must-do for long-term window performance.
Start by applying self-adhering flashing tape to the exterior sill. Extend it up the sides of the rough opening. Then, install the metal flashing over the tape, overlapping each piece for full coverage. This thorough approach creates a strong barrier against the elements.
Finally, seal any remaining gaps with a high-quality sealant. This creates a completely weathertight seal, preventing drafts and moisture.
Window Installation Timeline
To give you a clearer picture of the project, here's a typical timeline for a standard window installation:
To help you plan effectively, we've prepared a table outlining the estimated time and skill level required for each phase of the installation process.
Window Installation Timeline: A breakdown of the time required for each installation phase to help homeowners plan their project effectively.
| Installation Phase | Estimated Time | Skill Level | Key Considerations |
|---|---|---|---|
| Preparing the Opening | 1-2 hours | Beginner | Ensuring a clean, level, and square opening |
| Installing the Window | 2-3 hours | Intermediate | Precise shim placement and secure fastening |
| Applying Flashing/Sealant | 1-2 hours | Beginner | Meticulous application for watertight sealing |
These times are estimates and might vary depending on the specific installation. It's a helpful benchmark to track your progress. Check out our more technical resources for more information.
Final Checks and Finishing Touches
After the window is secure and the flashing and sealant are applied, do some final checks. Make sure the window operates smoothly, opens and closes easily, and locks securely. This confirms a successful installation and reveals any needed adjustments.
Finally, install the interior and exterior trim. This adds a finished look and provides extra protection from the weather. Proper trimming enhances the appearance and contributes to the window’s performance.
By following these steps and focusing on the details, you can achieve a professional-looking window installation. This will improve your home’s appearance, energy efficiency, and value. This comprehensive approach ensures a long-lasting, weather-resistant, and visually appealing result.
Maximizing Energy Efficiency Without Breaking the Bank
Beyond energy savings, what makes a window truly energy efficient? This exploration delves into practical factors influencing your home's comfort and utility bills during and after window installation. We'll decode energy ratings and uncover installation best practices that truly make a difference.
Understanding Energy Performance Ratings
Window energy performance is often defined by ratings like U-factor and Solar Heat Gain Coefficient (SHGC). The U-factor gauges how well a window prevents heat loss. A lower U-factor signifies better insulation. For instance, a U-factor of 0.30 surpasses 0.50.
SHGC quantifies how much solar heat a window admits. A lower SHGC is preferable in warmer climates to reduce cooling expenses. Conversely, in cooler climates, a higher SHGC can be advantageous for passive solar heating. Selecting appropriate ratings for your climate zone is vital for optimal energy efficiency.
Installation Techniques for Maximum Efficiency
Even top-tier energy-efficient windows can underperform with poor installation. Proper air sealing is paramount. This entails using quality sealant around the window frame to eliminate air leaks. This seemingly minor step significantly impacts energy performance.
Furthermore, shim choice and placement influence both window operation and energy efficiency. Shims ensure proper window alignment but shouldn't impede natural expansion and contraction. This preserves seal integrity, preventing drafts.
You might be interested in: How to master your window and door options.
Regional Considerations and Sealing Methods
Different climates necessitate different approaches. In hot climates, prioritizing a low SHGC to minimize solar heat gain is crucial. In contrast, colder climates benefit from a low U-factor for maximum insulation.
Regardless of climate, meticulous sealing is essential. Using suitable sealants and techniques prevents unseen energy loss. For example, backer rod fills larger gaps before sealant application, ensuring a solid base and a complete seal. Attention to these details optimizes energy performance.
The increasing demand for energy-efficient solutions fuels the growth of the global windows and doors market. This market surpassed £114 billion in 2020 and is projected to grow at a 6.2% CAGR from 2021 to 2027. Learn more about window market growth.
Case Studies and Strategic Choices
Strategic window installation choices significantly affect energy savings. Correct installation can sometimes surpass even the most expensive window options if those premium windows suffer from poor installation.
Maximizing energy efficiency isn't solely about purchasing the priciest windows. Selecting the right window for your climate and ensuring proper installation are fundamental for long-term energy savings and comfort. Prioritizing these factors yields substantial returns over time.
Troubleshooting Like a Pro: Solving Common Challenges
Even the most comprehensive window installation guide can't predict every snag. That's why troubleshooting is such a crucial skill. Knowing how to diagnose and fix issues can save your project and prevent headaches down the road. This section will prepare you to handle some of the most common window installation problems.
Diagnosing Common Installation Issues
Finding the root of the problem is the first step to a successful repair. A drafty window, for instance, could be caused by several factors. Perhaps the sealant wasn't applied correctly, there are gaps around the frame, or the window sash is warped. Simply adding more sealant might not address the underlying issue.
A window that sticks when you try to open or close it could be due to misaligned shims, an incorrectly installed operating mechanism, or even a manufacturing defect. Experienced installers often use a process of elimination. They systematically check each potential cause until they identify the real problem.
Solutions for Common Window Installation Problems
Once you’ve pinpointed the issue, you can implement the right solution. Here are a few common problems and their potential fixes:
-
Gaps around the Frame: Small gaps can often be filled with sealant. Larger gaps may require expanding foam or backer rod in addition to sealant to ensure a secure, long-lasting fill.
-
Uneven Frame: If your window frame isn't level, you'll likely need to adjust the shims underneath. You might need to use multiple shims, placed strategically, to support the frame and correct any tilting.
-
Sticking Window: First, check for obstructions. If there are none, try adjusting the hardware or lubricating the moving parts. In some cases, you may need to plane down parts of the window sash if it's rubbing against the frame.
-
Water Leakage: Proper flashing and sealant are essential for preventing leaks. Check the flashing for damage or gaps, and reapply sealant where needed. Also, make sure water drains properly around the exterior of the window.
Creative Fixes and Specialized Techniques
Sometimes, a bit of ingenuity is necessary to overcome installation challenges. For more tips and techniques, check out this resource: How to master.... For example, you might be able to straighten a slightly warped window frame with clamps and careful pressure. However, use caution, as excessive force can break the window.
Specialized tools, such as a window installation tool, can also be very helpful. These tools offer greater precision and control, minimizing the risk of damage to the window or the surrounding structure.
The window installation industry remains substantial, with a market size estimated at $5.5 billion in the United States in 2024. Learn more about this thriving industry here. This demonstrates the ongoing importance of correct window installation. By understanding potential problems and their solutions, both homeowners and professionals can ensure successful, long-lasting results. This benefits not only property values but also the health of the construction industry as a whole.
Maintaining Your Windows for Decades of Performance
Your perfectly installed windows are an investment. Like any good investment, they need proper care to perform their best over the years. This doesn't require dedicating every weekend to window maintenance. Instead, it's about adopting a few smart strategies and routines. This guide wouldn't be complete without covering these essential maintenance practices.
Simple Seasonal Checklists For Lasting Performance
Just as your car needs seasonal tune-ups, so do your windows. A simple seasonal checklist helps identify and address potential problems before they become major headaches.
- Spring: Clean windows inside and out. Inspect seals for damage and lubricate moving parts.
- Summer: Check weatherstripping for wear and tear. Ensure proper drainage around the window exteriors.
- Fall: Clean window tracks and remove debris. Inspect and clean weep holes, and check for air leaks.
- Winter: Inspect for condensation buildup and address any insulation issues.
These simple checks only take a few minutes each season, but they can significantly extend the lifespan of your windows. A little proactive maintenance goes a long way!
Professional Inspection Techniques You Can Use At Home
While professional inspections are always a good idea, there are some key techniques you can use at home to detect potential problems early.
- Check for drafts: Hold a lit candle near the window frame on a windy day. A flickering flame suggests an air leak that needs attention.
- Inspect the sealant: Look for cracks, gaps, or peeling in the sealant around the window frame. This can point to a weakened seal, potentially leading to water damage or energy loss.
- Operate the window: Ensure smooth operation when opening and closing. Any sticking or resistance might indicate misalignment or a need for lubrication.
These simple checks, borrowed from professional installers, can save you money and hassle down the road by preventing costly repairs. Catching these problems early is key!
Cleaning Products That Won’t Damage Your Windows
Not all cleaning products are the same. Some contain harsh chemicals that can damage window components over time, like the seals or the frame material. Choose gentle cleaning solutions. A mixture of mild soap and water is often enough for regular cleaning. For tougher grime, consider a specialized window cleaning solution, but always test it in an inconspicuous area first to ensure compatibility. Using the right cleaning products can prevent accidental damage and maintain the quality and performance of your windows.
Seasonal Adjustments For Smooth Operation
Windows can expand and contract slightly with temperature fluctuations. To maintain smooth operation year-round, make minor seasonal adjustments.
- Check for tightness: In winter, check that the windows are snug against the weatherstripping. If necessary, make slight adjustments to the locking mechanism to create a tight seal.
- Ease up in summer: During warmer months, slightly loosen the locking mechanism to allow for expansion and prevent binding.
These small seasonal adjustments can prevent premature wear and tear on window mechanisms, keeping them operating smoothly for years.
Ready to upgrade your home with high-quality, affordable windows and doors? Explore our extensive selection at Gladiator Window and Doors and experience the difference quality makes.