


 904-822-1078

By the Gladiator Window & Doors Technical Team — factory-direct aluminum door specialists serving contractors, builders, architects, and developers nationwide.
Installing a large aluminum sliding glass door begins with one non-negotiable task: getting the rough opening right before any glass ever touches the jobsite. Whether you're framing a standard 6068 opening or a 30-foot multi-slide glass wall, the rough opening size, header depth, sill condition, and structural support all need to be resolved at the framing stage — not during trim-out. This guide covers every critical dimension and construction detail for sliding glass door rough opening new construction projects, written specifically for contractors, builders, developers, and architects who spec and install premium aluminum systems.
What rough opening size is required for a large aluminum sliding glass door?
For most aluminum sliding glass doors, the rough opening (RO) should be the nominal door width plus 2 inches in width, and the nominal door height plus 2 inches in height — providing ½-inch to ¾-inch shimming clearance on each side and top, with the remainder for the sill plate and threshold. This is the baseline rule; premium aluminum systems with thicker frame profiles or integrated sub-sill systems may require slightly more clearance, so always verify against the manufacturer's shop drawings before framing.
Concrete minimums for standard aluminum sliding door ROs:
- Width: Unit width + 2″ (½″–¾″ clearance each side)
- Height: Unit height + 2″ (½″–¾″ clearance at head; remainder at sill for leveling)
- Sill: Must be level to within ⅛″ over the full span — more critical as width increases
- Header: Must be structurally sized for the full span; do not rely on the door frame as a structural member
- Sub-sill: For flush or low-profile track systems, the sill deck or concrete substrate must be exactly at the right elevation — confirm with your system's installation manual before pouring
Gladiator's aluminum sliding glass doors ship with system-specific rough opening callouts on every order confirmation. When you order factory-direct, you receive a full technical package — not just a door in a box.
How does the rough opening differ between a standard 6068 sliding door and a wide multi-slide system?
The fundamental RO formula is the same, but wide multi-slide systems introduce four additional framing considerations that a standard 6068 does not: header span engineering, sill flatness tolerance, pocket framing (for pocket-slide configurations), and lateral bracing at the jambs.
A standard 6068 (60″ wide × 80″ tall) is a relatively lightweight two-panel system. The header load is modest and manageable with standard doubled-header framing in wood construction. By contrast, a four- to six-panel multi-slide system spanning 12–24 feet carries substantially more dead load from the glass (Gladiator uses 6mm glass standard) and a much larger header span — requiring engineered lumber (LVL or PSL beam) or structural steel, depending on your wall system and local load requirements.
Key differences by system width:
- Up to 8 ft (6068–8068): Standard doubled 2× header typically adequate in wood frame; verify with structural engineer for specific loads
- 8–16 ft (3- to 4-panel): LVL or engineered beam recommended; jamb king studs and trimmers must be full-height structural members
- 16–32 ft (5- to 8-panel): Structural steel or deep LVL required; consider point loads at each jamb transferring to foundation; pocket framing adds complexity
- Pocket configurations: Add the pocket depth (typically equal to the panel stack width) to the framed opening; pocket walls must be plumb, true, and clear of mechanical/electrical runs
Always consult a licensed structural engineer for any opening wider than 10 feet. Gladiator's trade team provides RO callout sheets and can coordinate with your engineer on framing questions before your order ships.
What does a sliding glass door construction detail look like for new construction framing?
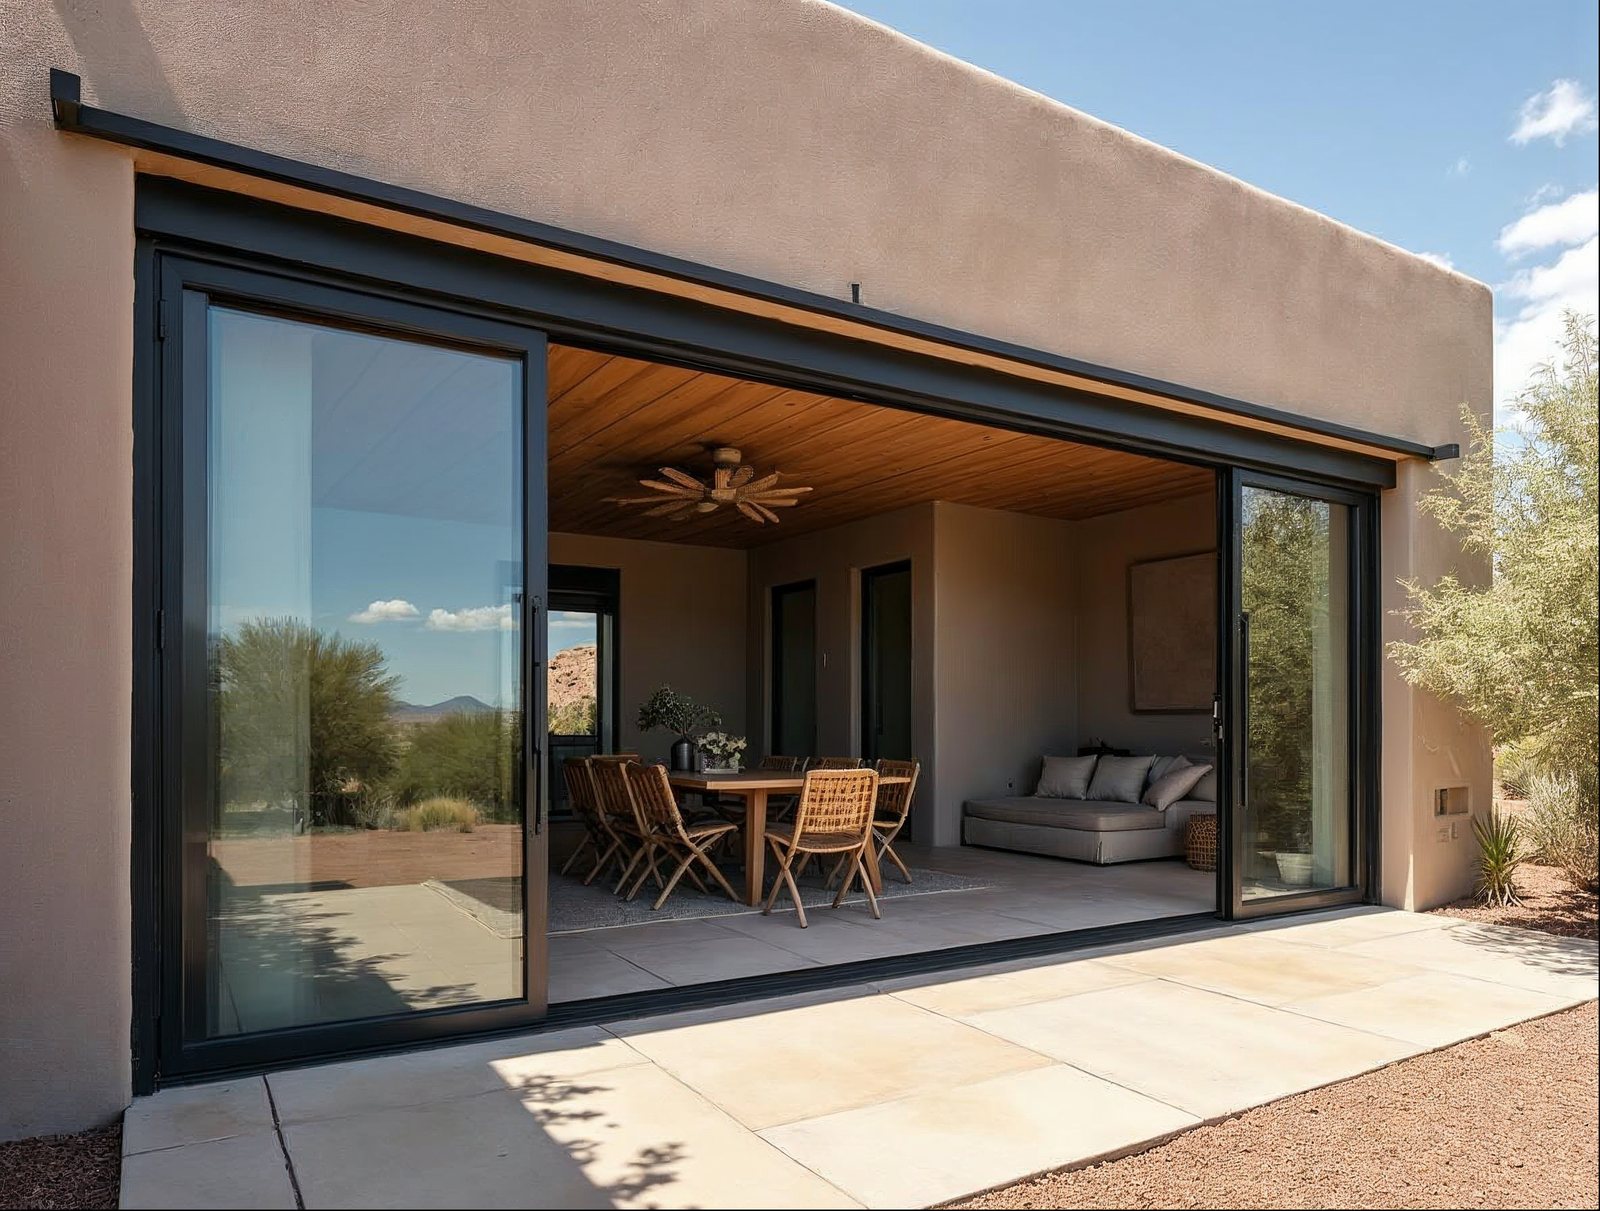
A complete sliding glass door construction detail for new construction includes five zones: the head condition, the jamb condition, the sill condition, the pocket condition (if applicable), and the exterior weather barrier transition. Each zone has specific requirements for a premium aluminum system.
Head Condition
The structural header sits above the rough opening, sized for the span. Below the header is the rough opening's top plate (or a secondary horizontal nailer in steel stud construction). The aluminum door frame head receptor receives flashing tape that laps over the WRB (weather-resistive barrier). Do not apply finish trim or casing until the door is plumb, level, and shimmed — the head is the last place you want to discover a level problem.
Jamb Condition
Full-height king studs and trimmer studs (or equivalent in steel stud and concrete/CMU construction) carry the header load. The aluminum frame jamb receptor is shimmed plumb and fastened through the frame into the trimmer. Shim points should be located near hardware attachment zones — typically at the top, middle, and bottom of each jamb. Flashing tape wraps from the WRB to the face of the frame.
Sill Condition
The sill is the most critical and most often under-specified zone for wide sliding systems. For low-profile track systems (Gladiator's track sits flush or near-flush with the finished floor), the slab or subfloor elevation must be set precisely before the door ships. A sub-sill pan, sloped to drain, is installed first. The aluminum sill receptor is then set in sealant and fastened to the structural sill. For threshold-free configurations, the slab-to-finish-floor elevation requires coordination during rough framing and again before pour or underlayment.
Pocket Condition (Pocket-Slide Systems)
Pocket framing must provide a clear, obstruction-free cavity at least as deep as the stacked panel width. Interior pocket walls are typically finished with drywall after the frame is set. Ensure all mechanical, electrical, and plumbing runs are resolved before framing the pocket — retrofitting a conduit through a finished pocket wall is expensive.
What is the standard rough opening for a 72×80 sliding glass door versus larger custom sizes?
A 72×80 sliding glass door (nominal 6-foot wide by 6-foot-8-inch tall, commonly called a 6068) requires a rough opening of 74″ wide × 82″ tall using the standard +2″ rule. This accommodates ½″–¾″ shimming clearance on each side and at the head, with the balance at the sill for leveling.
The table below gives RO targets for common nominal sizes and extends into the large-format multi-slide range. All widths assume the unit width as specified by the manufacturer; always confirm against your actual order's shop drawing.
| Nominal Size (W × H) | Common Name | Panels | Recommended RO Width | Recommended RO Height | Header Type (Wood Frame — verify with engineer) |
|---|---|---|---|---|---|
| 60″ × 80″ | 5068 | 2-panel | 62″ | 82″ | Doubled 2× structural lumber |
| 72″ × 80″ | 6068 | 2-panel | 74″ | 82″ | Doubled 2× structural lumber |
| 96″ × 80″ | 8068 | 2- or 3-panel | 98″ | 82″ | LVL beam recommended |
| 144″ × 96″ | 12080 | 3- or 4-panel | 146″ | 98″ | Engineered LVL or PSL beam required |
| 192″ × 96″ | 16080 | 4- to 6-panel | 194″ | 98″ | Structural steel or deep LVL — engineer required |
| 240″ × 96″ | 20080 | 5- to 8-panel | 242″ | 98″ | Structural steel — engineer required; point loads at jambs |
| Custom (up to ~32 ft) | Multi-slide wall | 6–10+ panels | Unit width + 2″ | Unit height + 2″ | Steel beam + pilasters; coordinate with Gladiator tech team |
Note on custom sizes: Gladiator fabricates to custom dimensions. If your project calls for a non-standard size, in-stock standard sizes ship faster while custom orders are confirmed with a shop drawing before production begins. Either way, the RO callout is provided on your order documentation.
How should contractors frame a rough opening for a multi-panel sliding glass wall system?
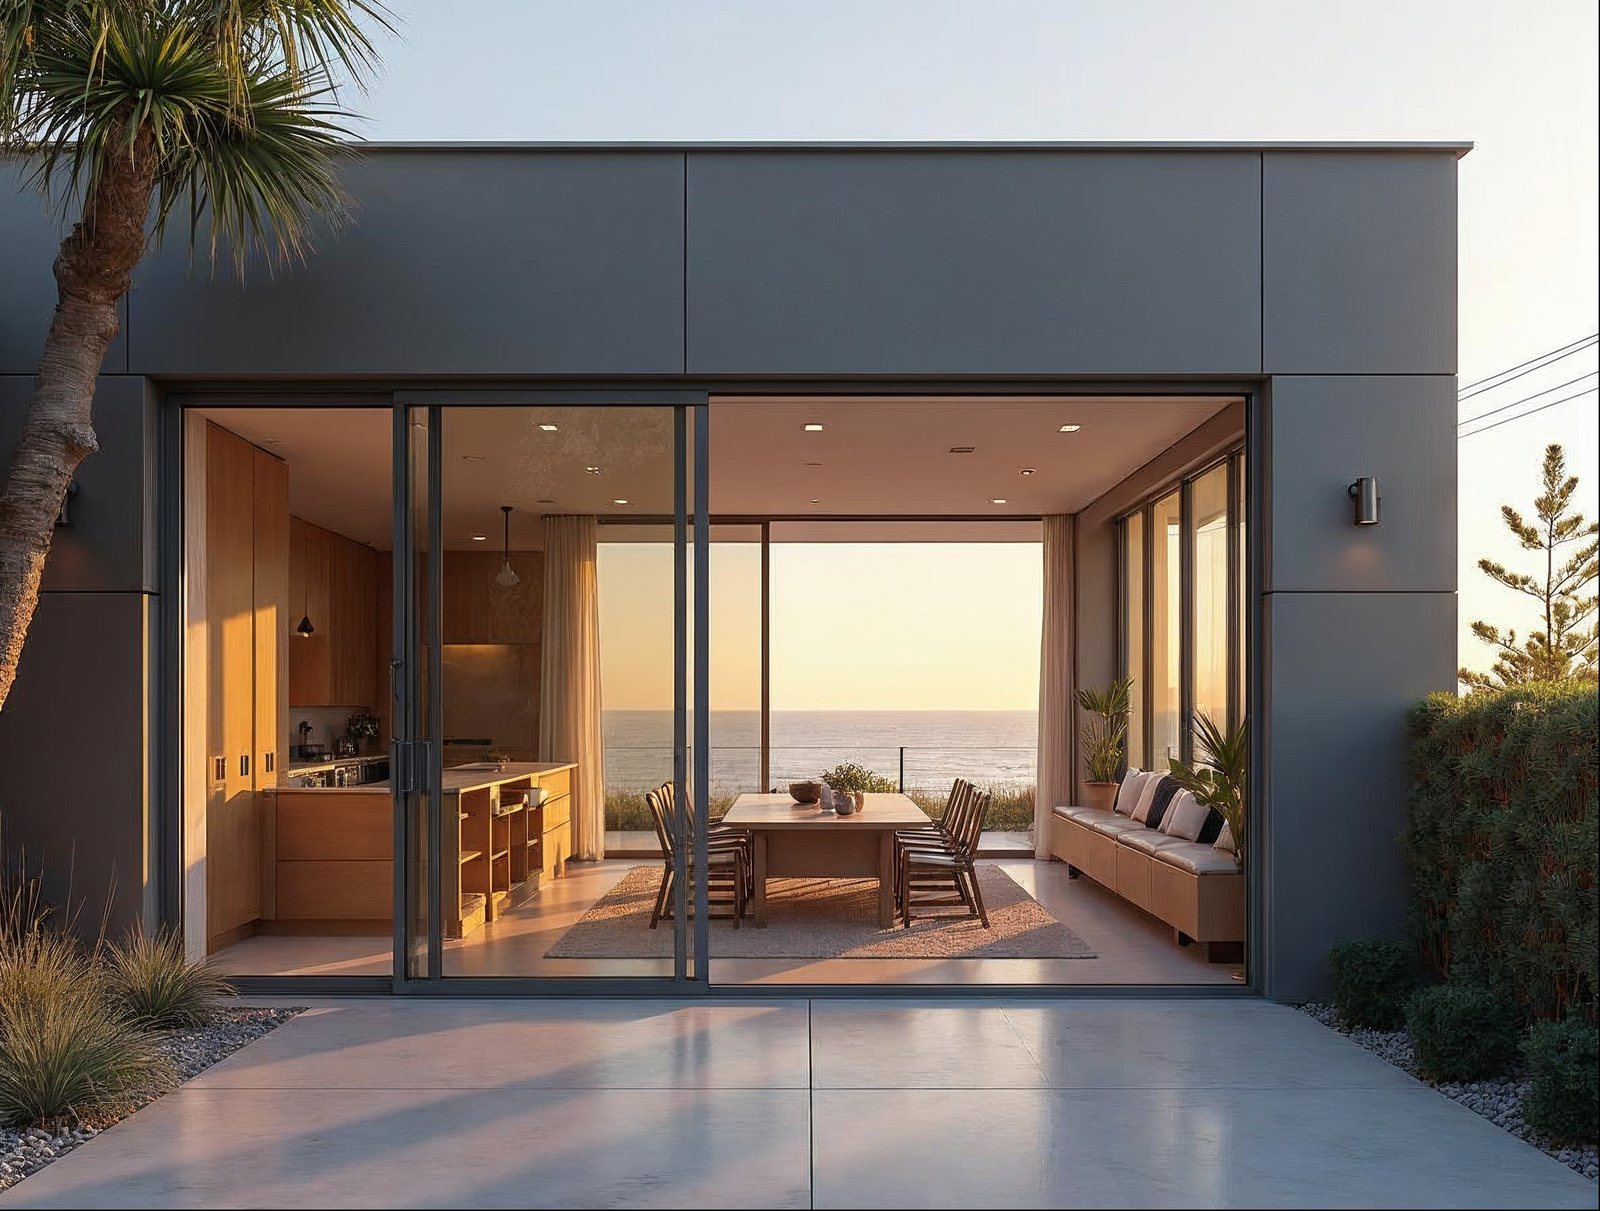
Framing a rough opening for a multi-panel sliding glass wall system requires treating the header as a primary structural beam from the start — not an afterthought. The sequence matters as much as the dimensions.
Step 1: Confirm the Unit Dimensions First
Order the door — or at minimum obtain confirmed shop drawings — before finalizing framing. Wide multi-slide systems are almost always custom-dimensioned to the project. Framing to assumed dimensions and then adjusting is expensive. Factory-direct ordering means you receive confirmed unit dimensions and a RO callout sheet as part of your order package, typically within a few business days of order confirmation.
Step 2: Size and Install the Header Early
For spans over 10 feet, engage your structural engineer before framing begins. The engineer will specify the header member (LVL, PSL, or steel), required bearing length at each end, and any required point-load posts or pilasters down to the foundation. Install the header before setting any interior walls that might complicate beam placement.
Step 3: Frame Jambs for Plumb and Strength
Full-height king studs (or equivalent) on each side of the opening carry the header. Trimmer studs (jack studs) support the header ends. For very wide openings, consider doubling the trimmers or using structural steel columns. All jamb framing must be plumb to within ⅛″ over the full height — aluminum frames will telegraph any deviation.
Step 4: Set the Sill Elevation Precisely
For low-profile aluminum track systems, the finished floor elevation and sill substrate elevation must be coordinated during framing. Establish a benchmark elevation and confirm it with your flooring contractor and the door supplier before framing is closed in. A ½″ error in sill elevation discovered after drywall is a costly problem.
Step 5: Frame the Pocket (If Applicable)
Pocket-slide configurations require a framed pocket cavity on one or both sides of the opening. The pocket interior width must be at least equal to the stacked panel depth (confirm with your order's shop drawing). Keep all MEP runs clear of the pocket framing zone.
Step 6: Install the Weather Barrier and Sub-Sill Pan Before the Door
The WRB wraps into the rough opening and is lapped by the door frame flange and flashing tape. The sub-sill pan drains toward the exterior. Do not skip this step for large openings — the consequences of a failed sill detail scale up with glass area.
What is the rough-in process for installing a sliding glass door in new construction?
The rough-in process for a sliding glass door in new construction follows a clear sequence: confirm dimensions → frame structurally → prepare the substrate → receive the unit → set the frame → shim and fasten → flash and seal → install panels and hardware. Here is how each stage maps to an aluminum system:
Pre-Construction: Confirm and Order
Select your system configuration (2-panel bypass, multi-slide stacking, pocket-slide) and nominal size. For Gladiator aluminum sliding glass doors, factory-direct ordering means no dealer markup and no intermediary — you communicate directly with the source. Lead times for standard in-stock sizes are significantly faster than custom; plan custom orders to arrive ahead of your framing inspection so you have confirmed RO dimensions on paper.
Framing Stage: Execute the RO
Frame to the confirmed RO callout from your order documentation. Structural header in place, jambs plumb, sill level. Confirm the sill substrate elevation relative to your finished floor specification.
Pre-Install: Substrate and WRB
Install the weather-resistive barrier, lapping it correctly at the sill, jambs, and head. Install the sub-sill pan and confirm drainage direction. Prime or seal any wood substrate that will be in contact with the aluminum sill receptor.
Unit Delivery and Staging
Gladiator ships nationwide; coordinate delivery to arrive when the opening is ready but before interior finishes are closed. Large multi-slide units ship in components — frame sections, panels, and hardware packaged separately. Stage the delivery close to the opening; large glass panels require adequate crew and panel movers.
Setting the Frame
Set the sill receptor first, in sealant, level and fastened. Set jamb receptors plumb. Set the head receptor. Shim all three planes — sill, jambs, and head — before final fastening. Confirm square by measuring diagonals.
Flashing and Sealing
Apply flashing tape at the sill (wrapping up the jambs), then jambs (lapping over sill tape), then head (lapping over jamb tape). Seal the exterior perimeter with a compatible low-modulus sealant. Do not use rigid caulk at the sill — allow for thermal movement.
Panel Installation and Hardware
Hang panels onto the track system per the installation manual. Adjust rollers for smooth operation and proper panel alignment. Install locks, handles, and any multi-point hardware. On Gladiator systems, hardware is included and pre-matched to the system — no separate hardware sourcing required.
A Note on Thermal Performance
Gladiator's aluminum sliding doors use thermal-break aluminum frames and 6mm glass standard, with whole-unit NFRC U-factors that meet or support California Title 24 energy compliance on qualifying configurations. If your project requires documented thermal performance (energy code compliance submittals, LEED, etc.), request the NFRC data sheet at time of order. Specifying 6mm glass over the industry-standard 4mm provides meaningful improvements in both thermal performance and acoustic attenuation — a selling point for high-end residential and commercial projects.
Contractors and dealers sourcing multiple projects can access trade pricing and ongoing wholesale support through the Gladiator Reseller & Wholesale Application — factory-direct pricing with no dealer layer means your project margins stay where they belong.
For related installation planning, see our guides on bi-fold door systems and folding passthrough windows — both of which share similar rough opening and structural framing principles for large-format aluminum openings.
Sell Gladiator doors at a wholesale price. Factory-direct aluminum sliding, bi-fold, and pivot doors — premium aluminum, 6mm glass, low-profile tracks, no upcharges, shipped nationwide. Contractors, builders, designers, and retailers get trade pricing and real support.
Apply for a Reseller & Wholesale Account · Call 904-822-1078


